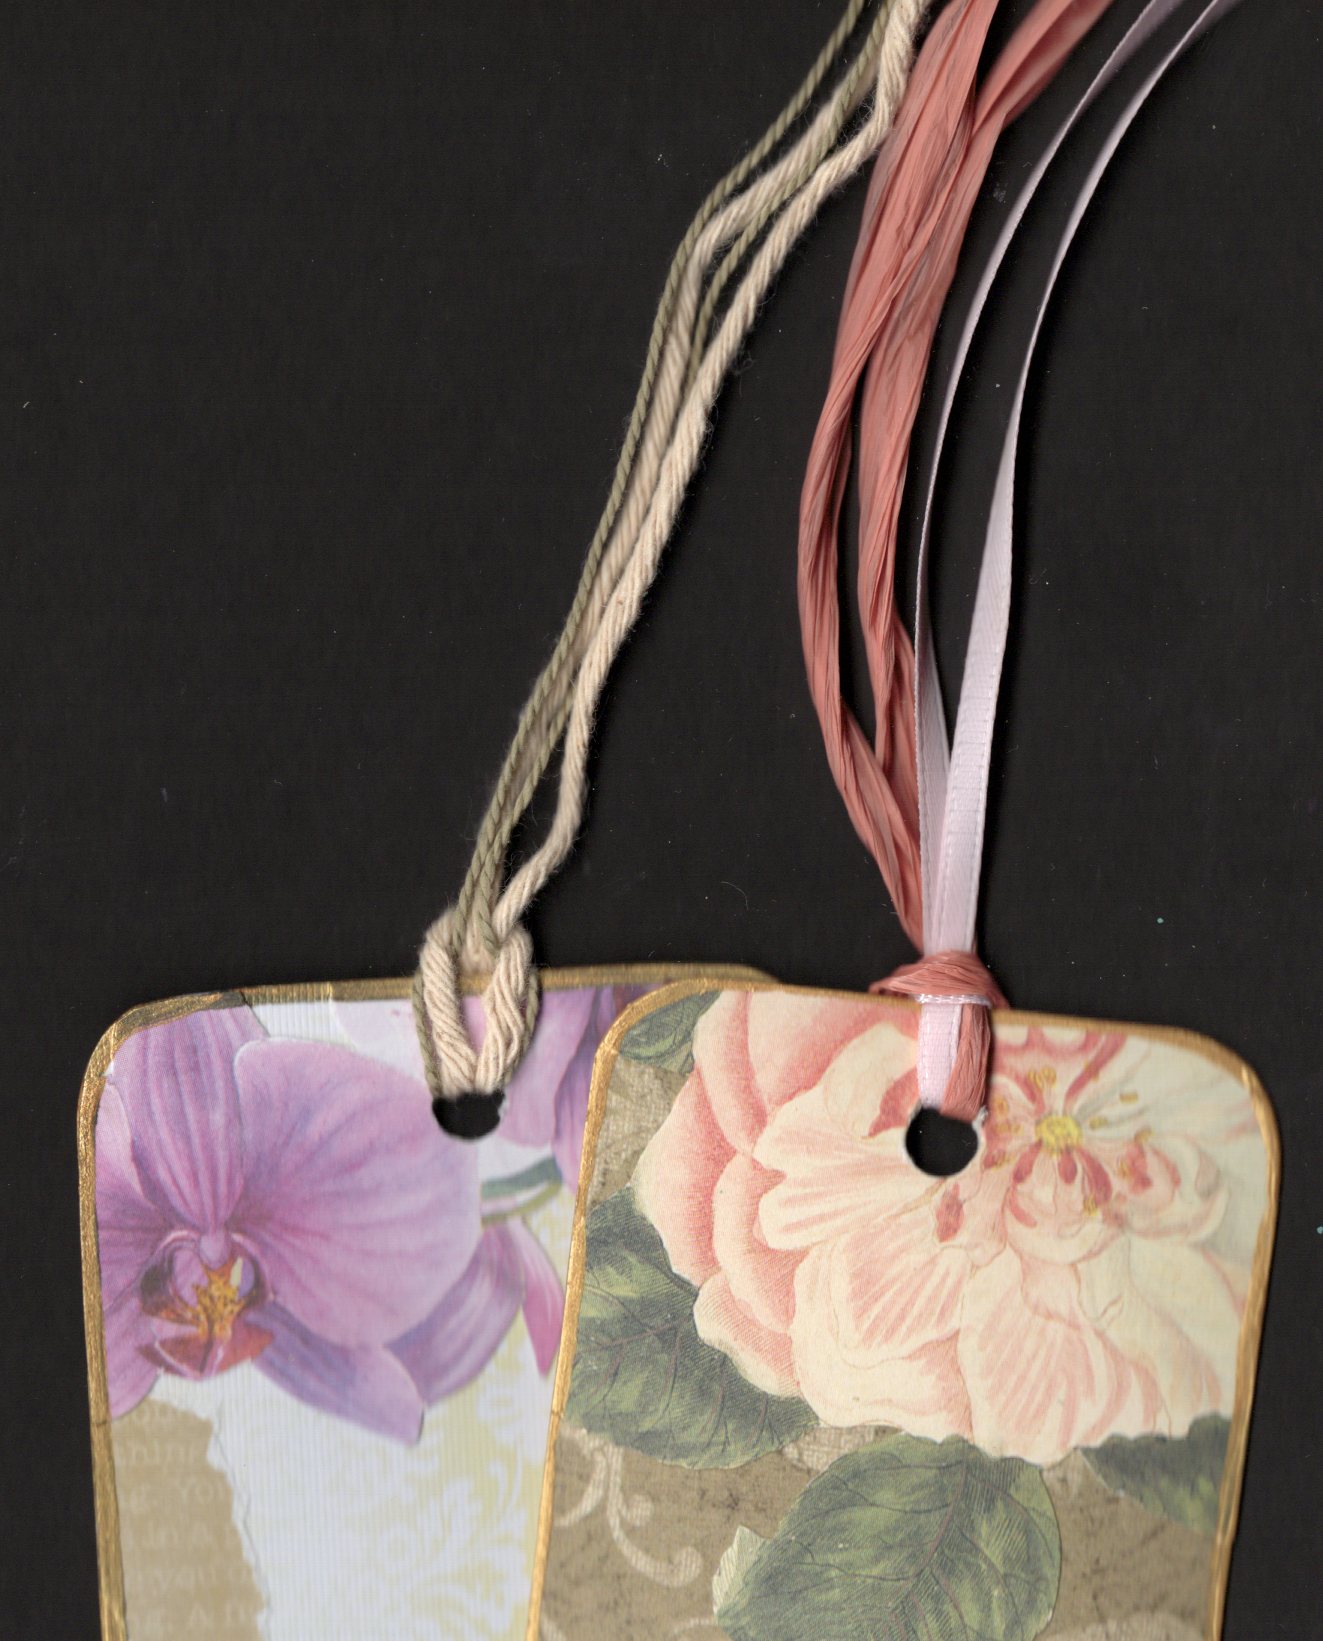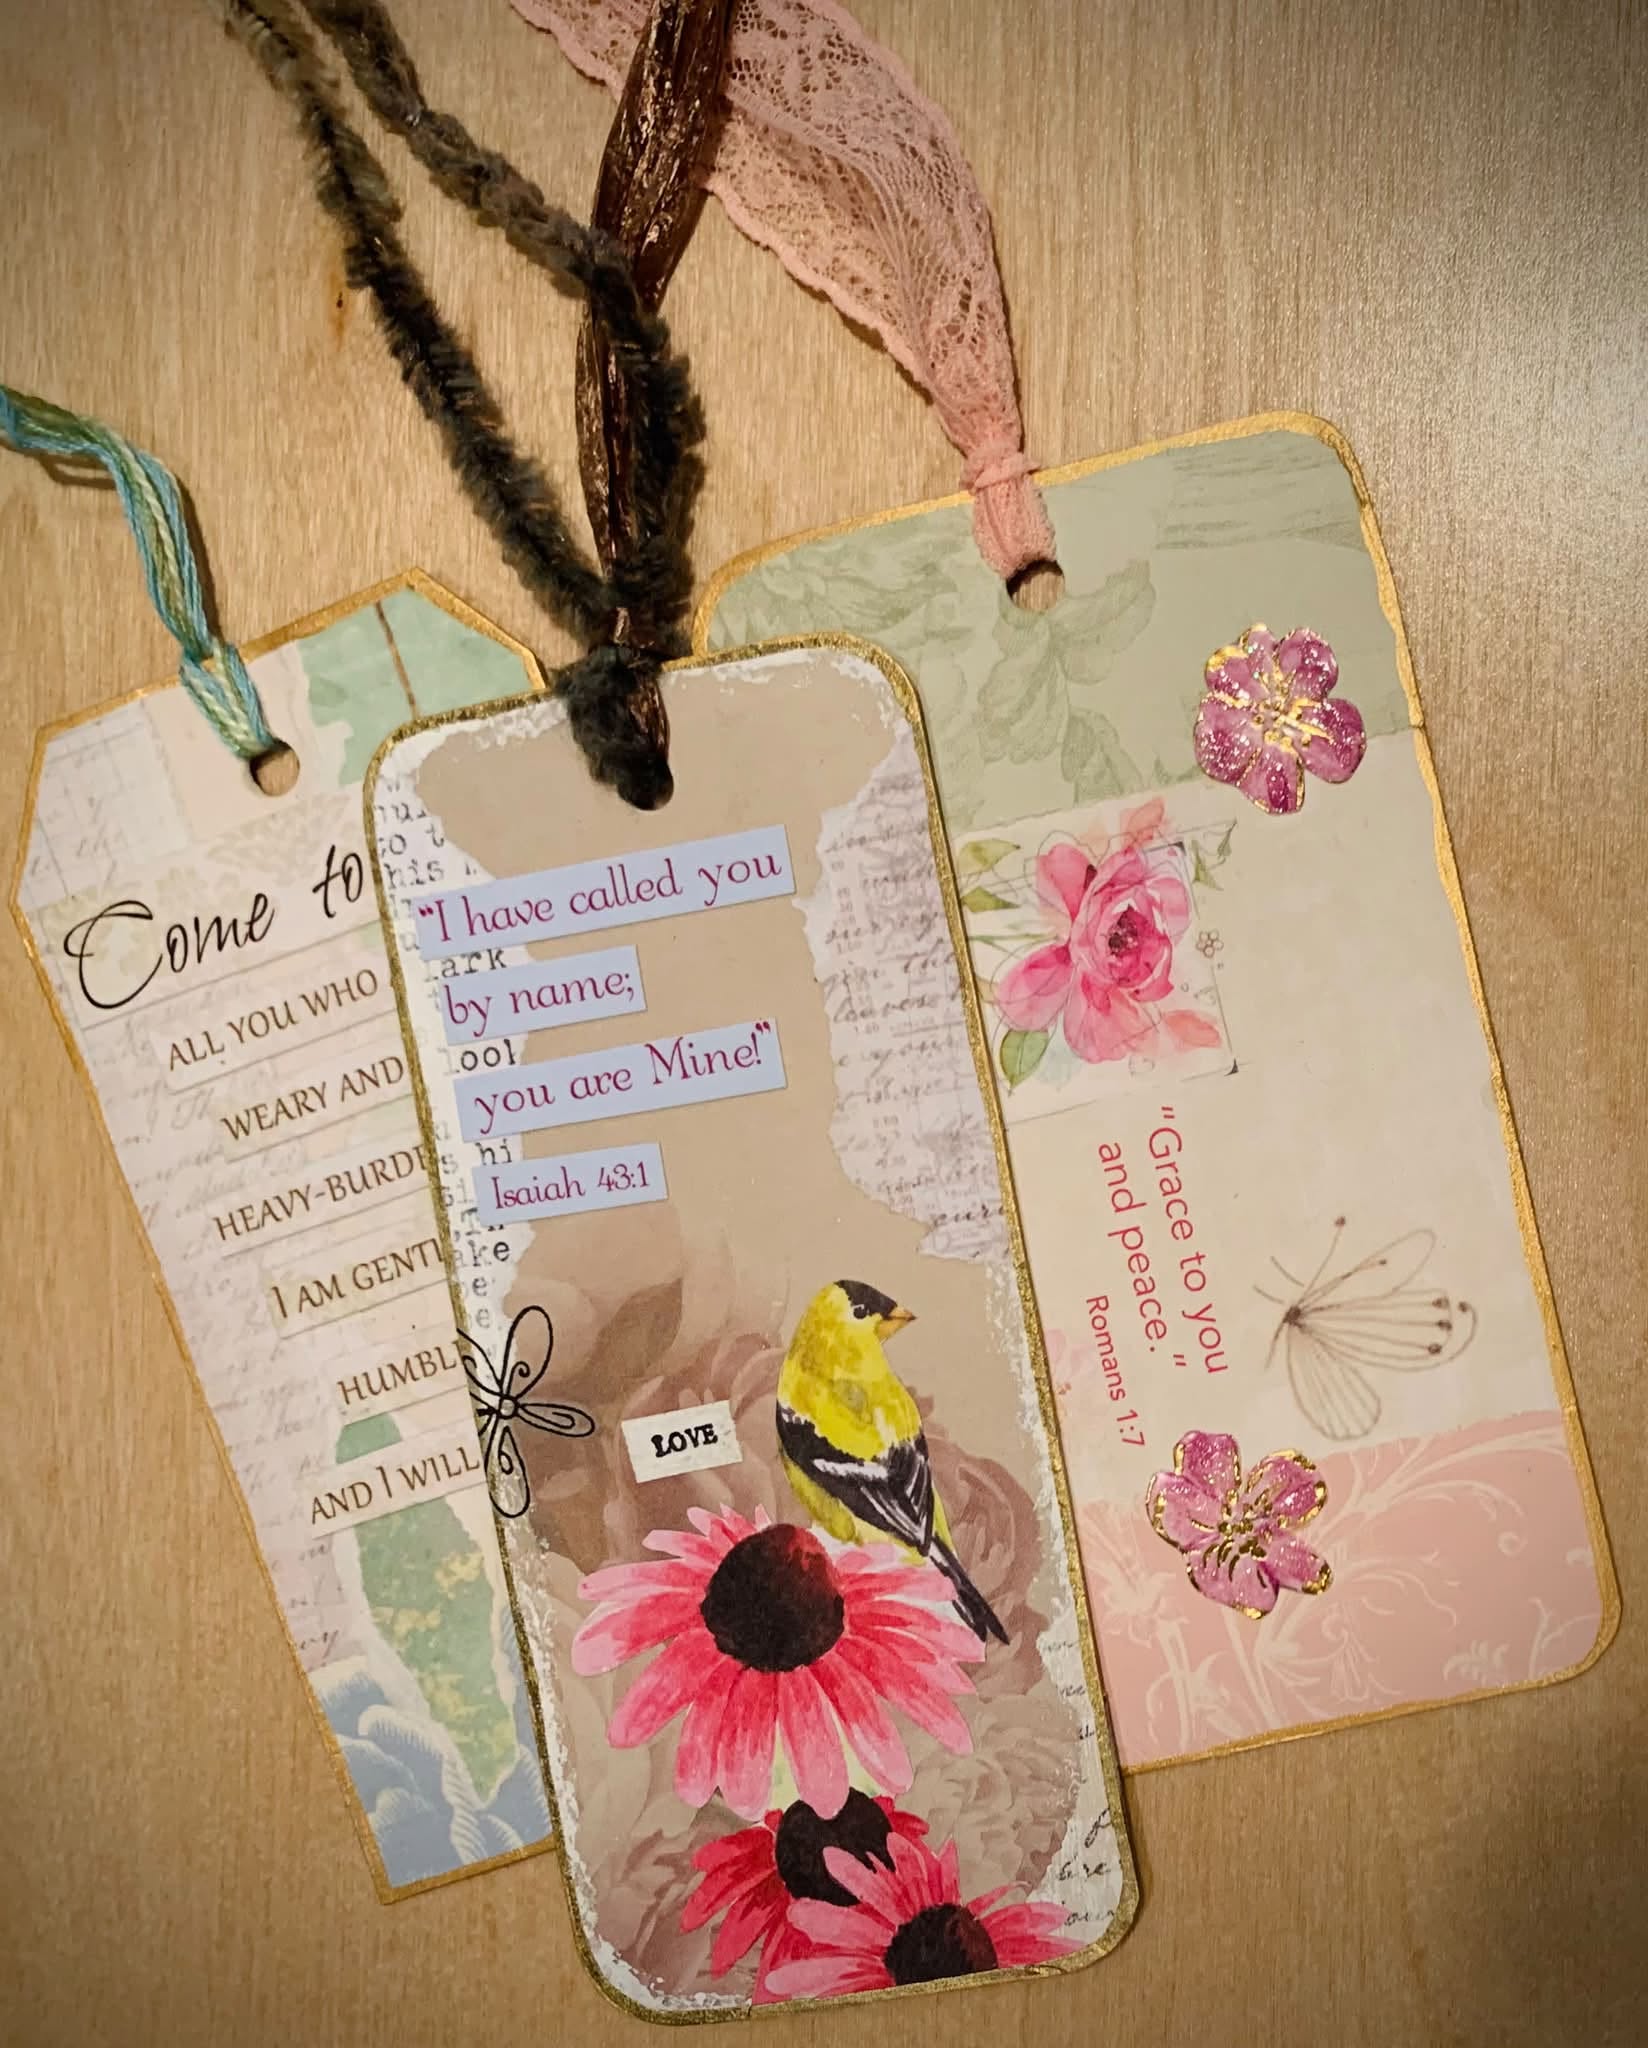
I love beautiful images on greeting cards, and it’s very satisfying finding ways to get more use out of the card images when the special occasion is over. My Dad also gets a lot of unused greeting cards in the mail for marketing purposes. We don’t like to waste things if we can help it so I make a lot of paper craft projects that make use of upcycled greeting cards.
One of the easiest things to make out of a nice greeting card is a bookmark. In this tutorial I’ll show you how to make beautiful bookmarks while learning a number of paper crafting skills you can use in all kinds of future paper craft projects.
Tools and Materials
Paper cutter
Scissors
Pencil or pen
Corner rounder (optional)
Scrap cardstock
Scrap chipboard
Craft knife
Self-healing cutting mat
Bookmark template diagrams: Page 1 Page 2
Glue sticks
Squeegee or bone folder for burnishing glued paper
Assortment of greeting cards to recycle
Decorative papers and found images for collaging
Scrap paper for your surface while gluing and painting
Hole punch
White gesso or paint
Metallic paint
Painting supplies: small brushes, palette knife, water container, mixing surface, rags, etc.
Thread or ribbon for the top
Optional embellishments: rub-ons, rubber stamps, stickers
To start out I’ll show you two ways to make rounded corners for your bookmarks.
Make a window template – Method 1
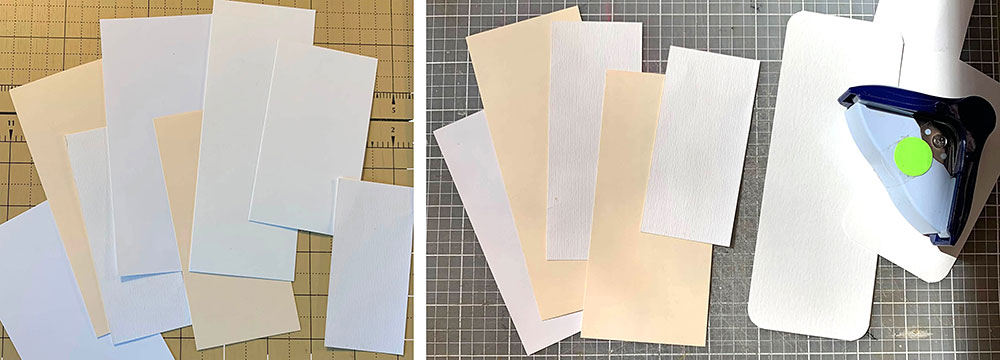
If you have a corner rounder, try this. Use your paper cutter to cut scrap cardstock into rectangles of different sizes and shapes.
Round the corners with a corner rounder decorative paper punch.
Trace around the rounded rectangles onto scrap chipboard.
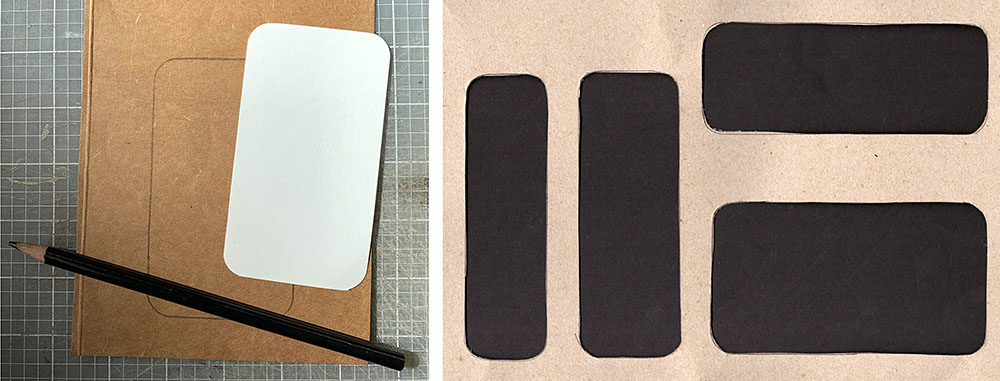
Place the template onto a self-healing cutting mat and cut out the bookmark shapes to make windows.
Make a window template – Method 2
If you don’t have a corner rounder punch, try this. Download and print out the bookmark template diagrams I made (Page 1 Page 2). Cut out and paste the bookmark shapes onto scrap chipboard, then cut out with a craft knife.
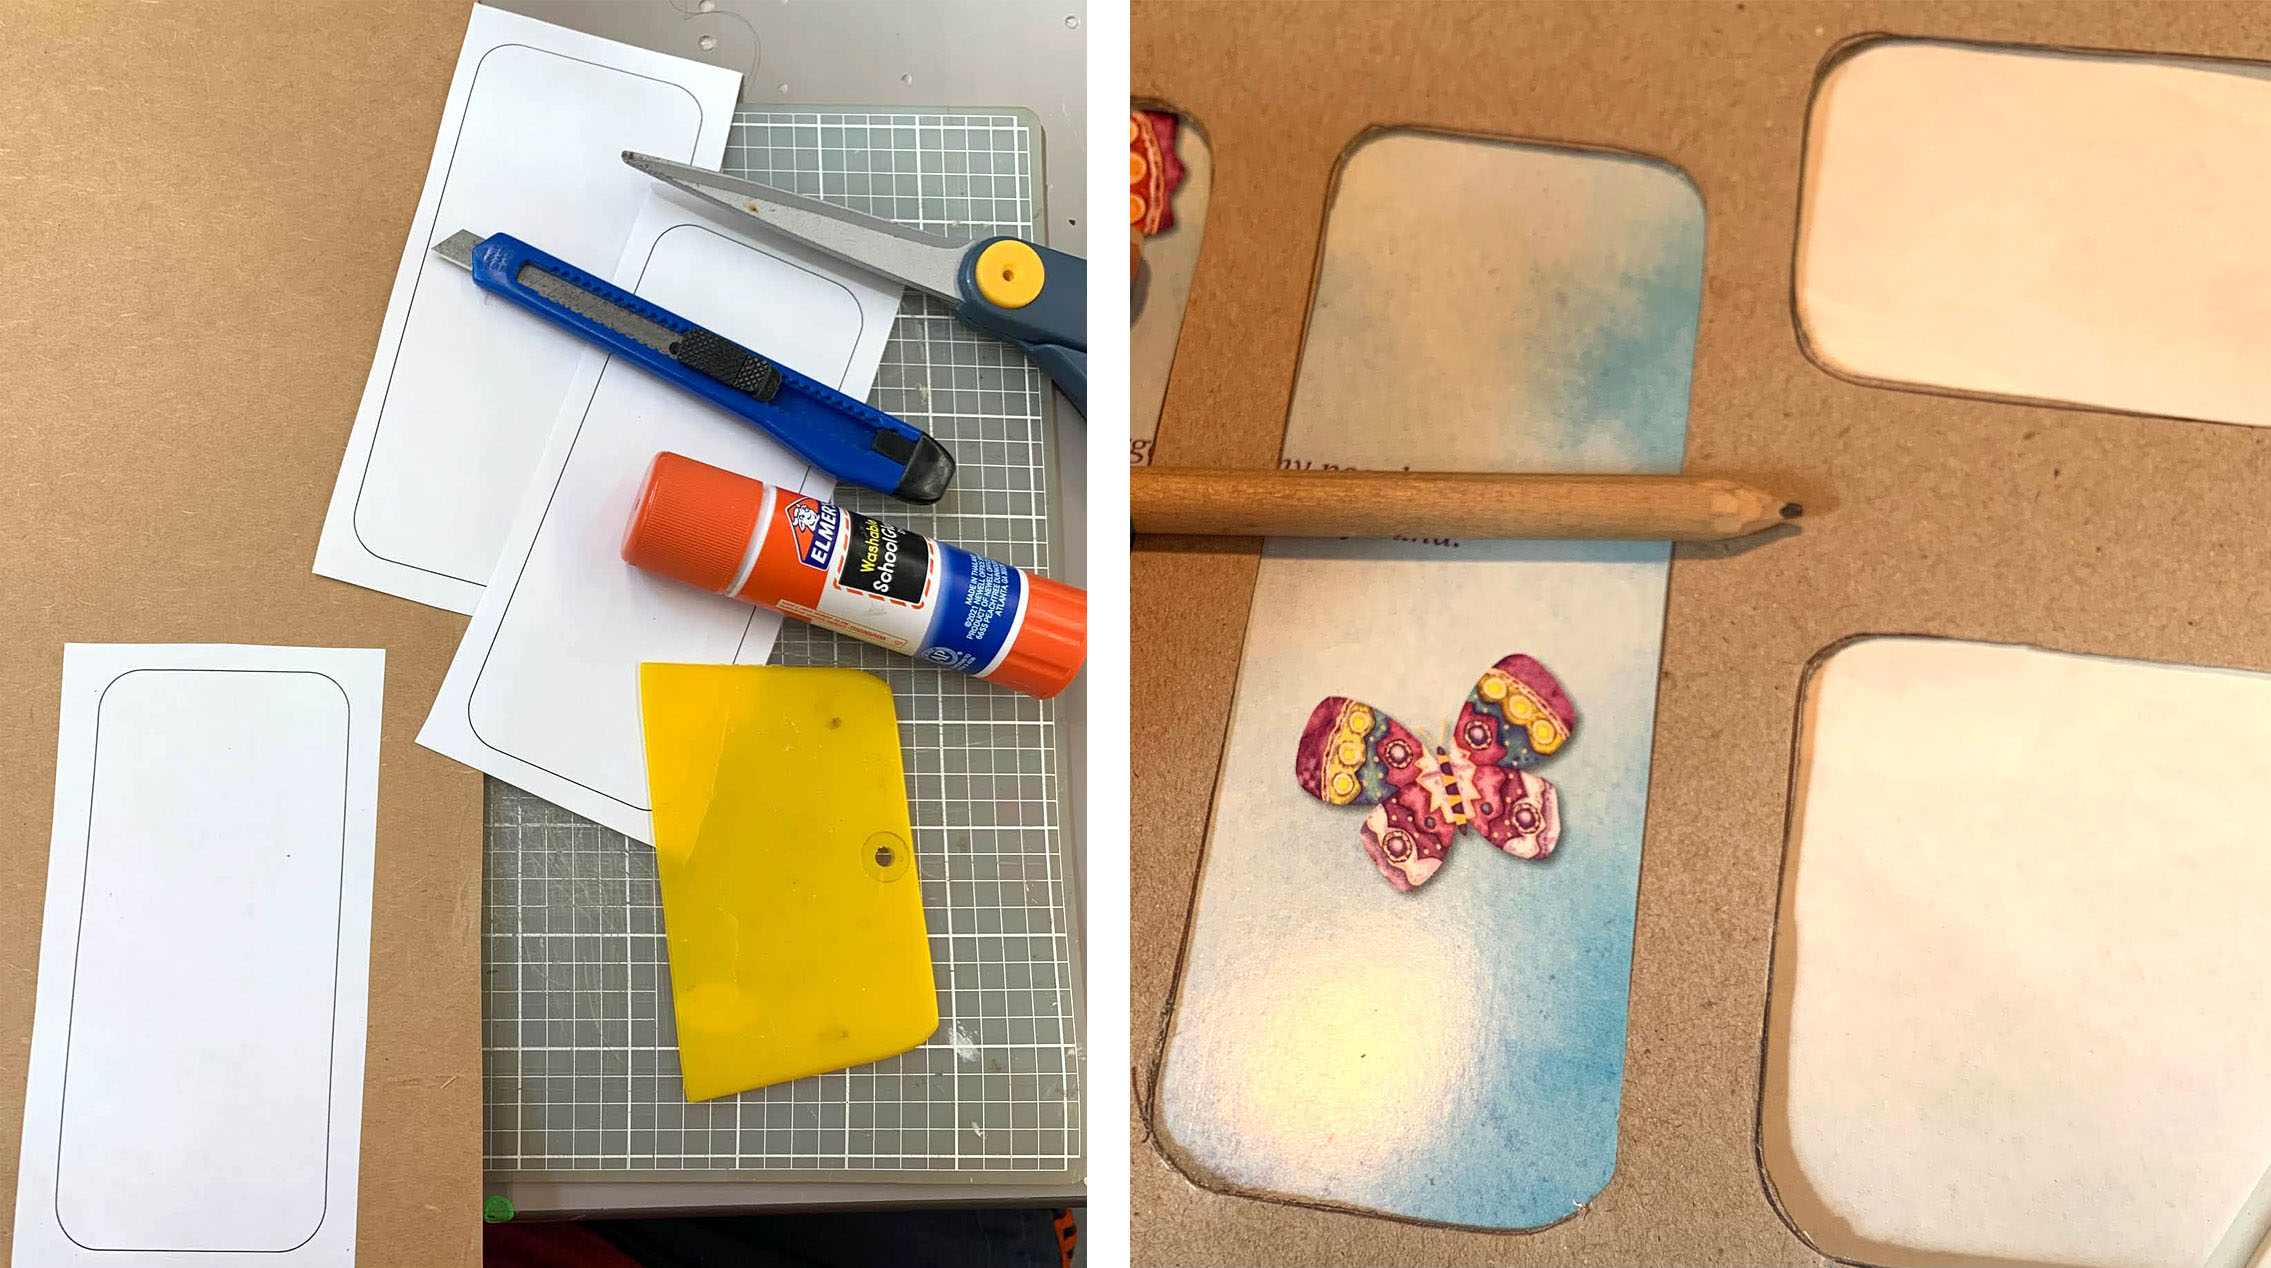
Next, trace the bookmark outlines onto the greeting cards where you see an image or design that you like, then cut the bookmarks out.
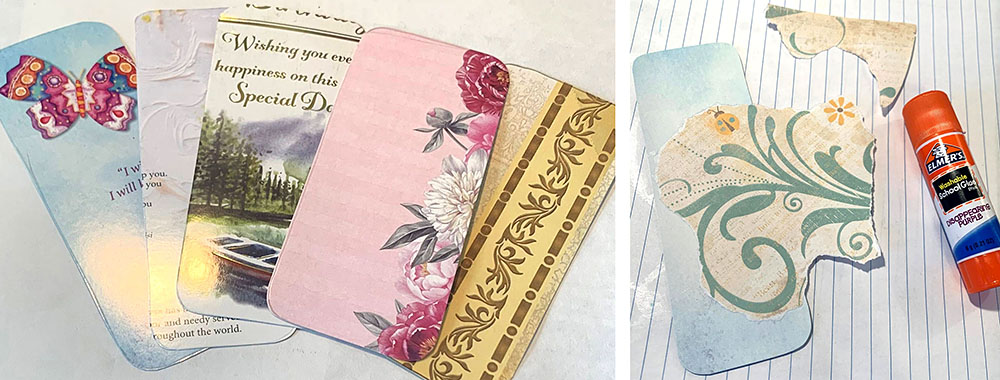
Add collaged paper pieces
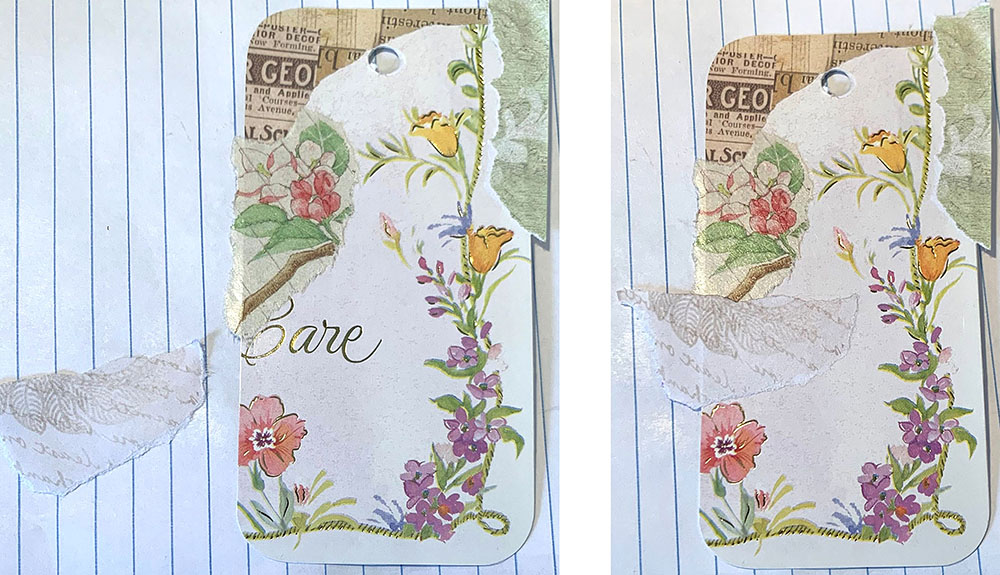
Cover the parts you don’t want showing, like text from when it was a greeting card, with torn or cut papers. If you’re not sure where to start, tearing out paper for backgrounds and cutting out images for the foreground helps me get started if I don’t have any other ideas.
Add embellishments
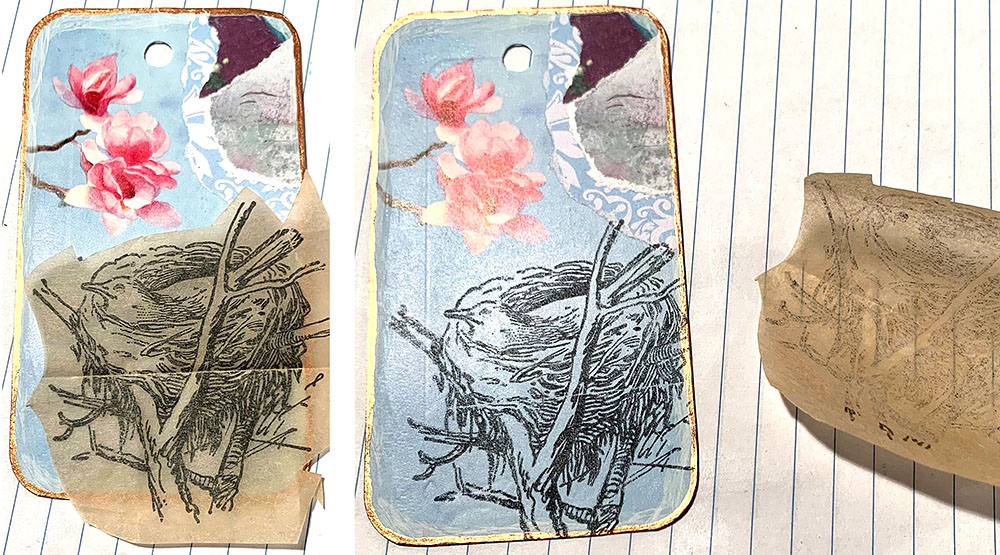
If you have any further embellishments you want to add, place them now. For example this image shows a rub-on being applied over the collaged paper.
Some other embellishment suggestions:
Stickers
Rubber stamps
Sentiments and words either stamped onto paper or cut from other cards
Postage stamps
Small images stamped in black ink and either cut or torn out
Punched paper shapes
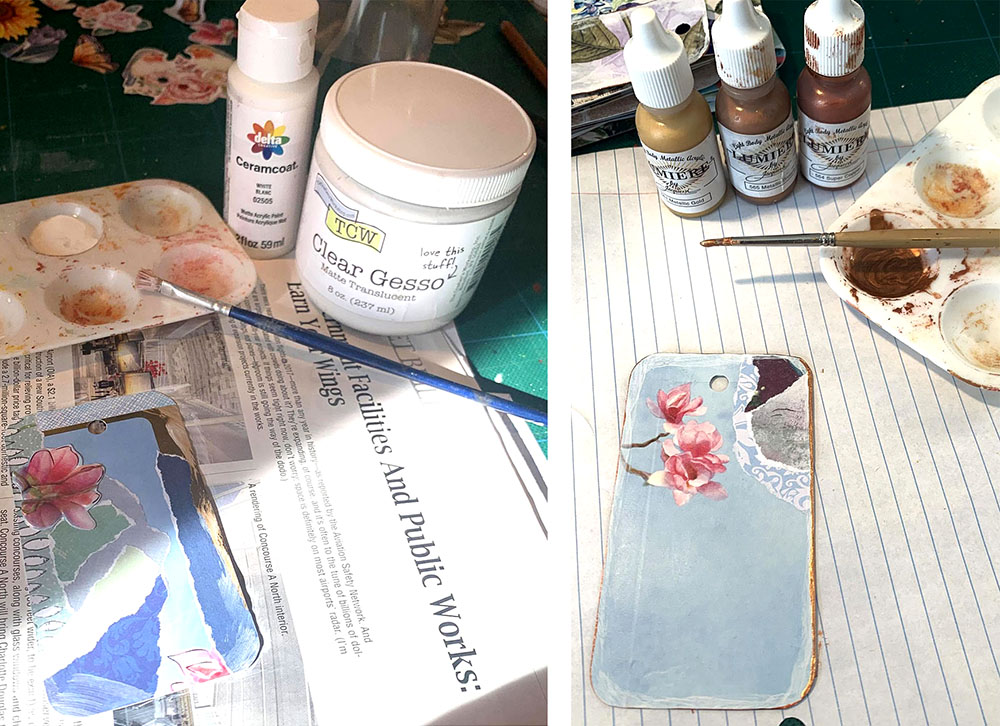
Paint the edges
To give the bookmarks a finishing touch, paint the edges with your favorite metallic paint.
On some of my bookmarks I brushed a slightly wider edge first with white paint mixed with clear gesso. I wanted a bit more transparency than I was getting from white gesso straight out of the jar. You can experiment with what you have to get an effect that you like.
Add ribbon or thread to the top