Monthly Archives: September 2026

Make Bookmarks From Old Greeting Cards

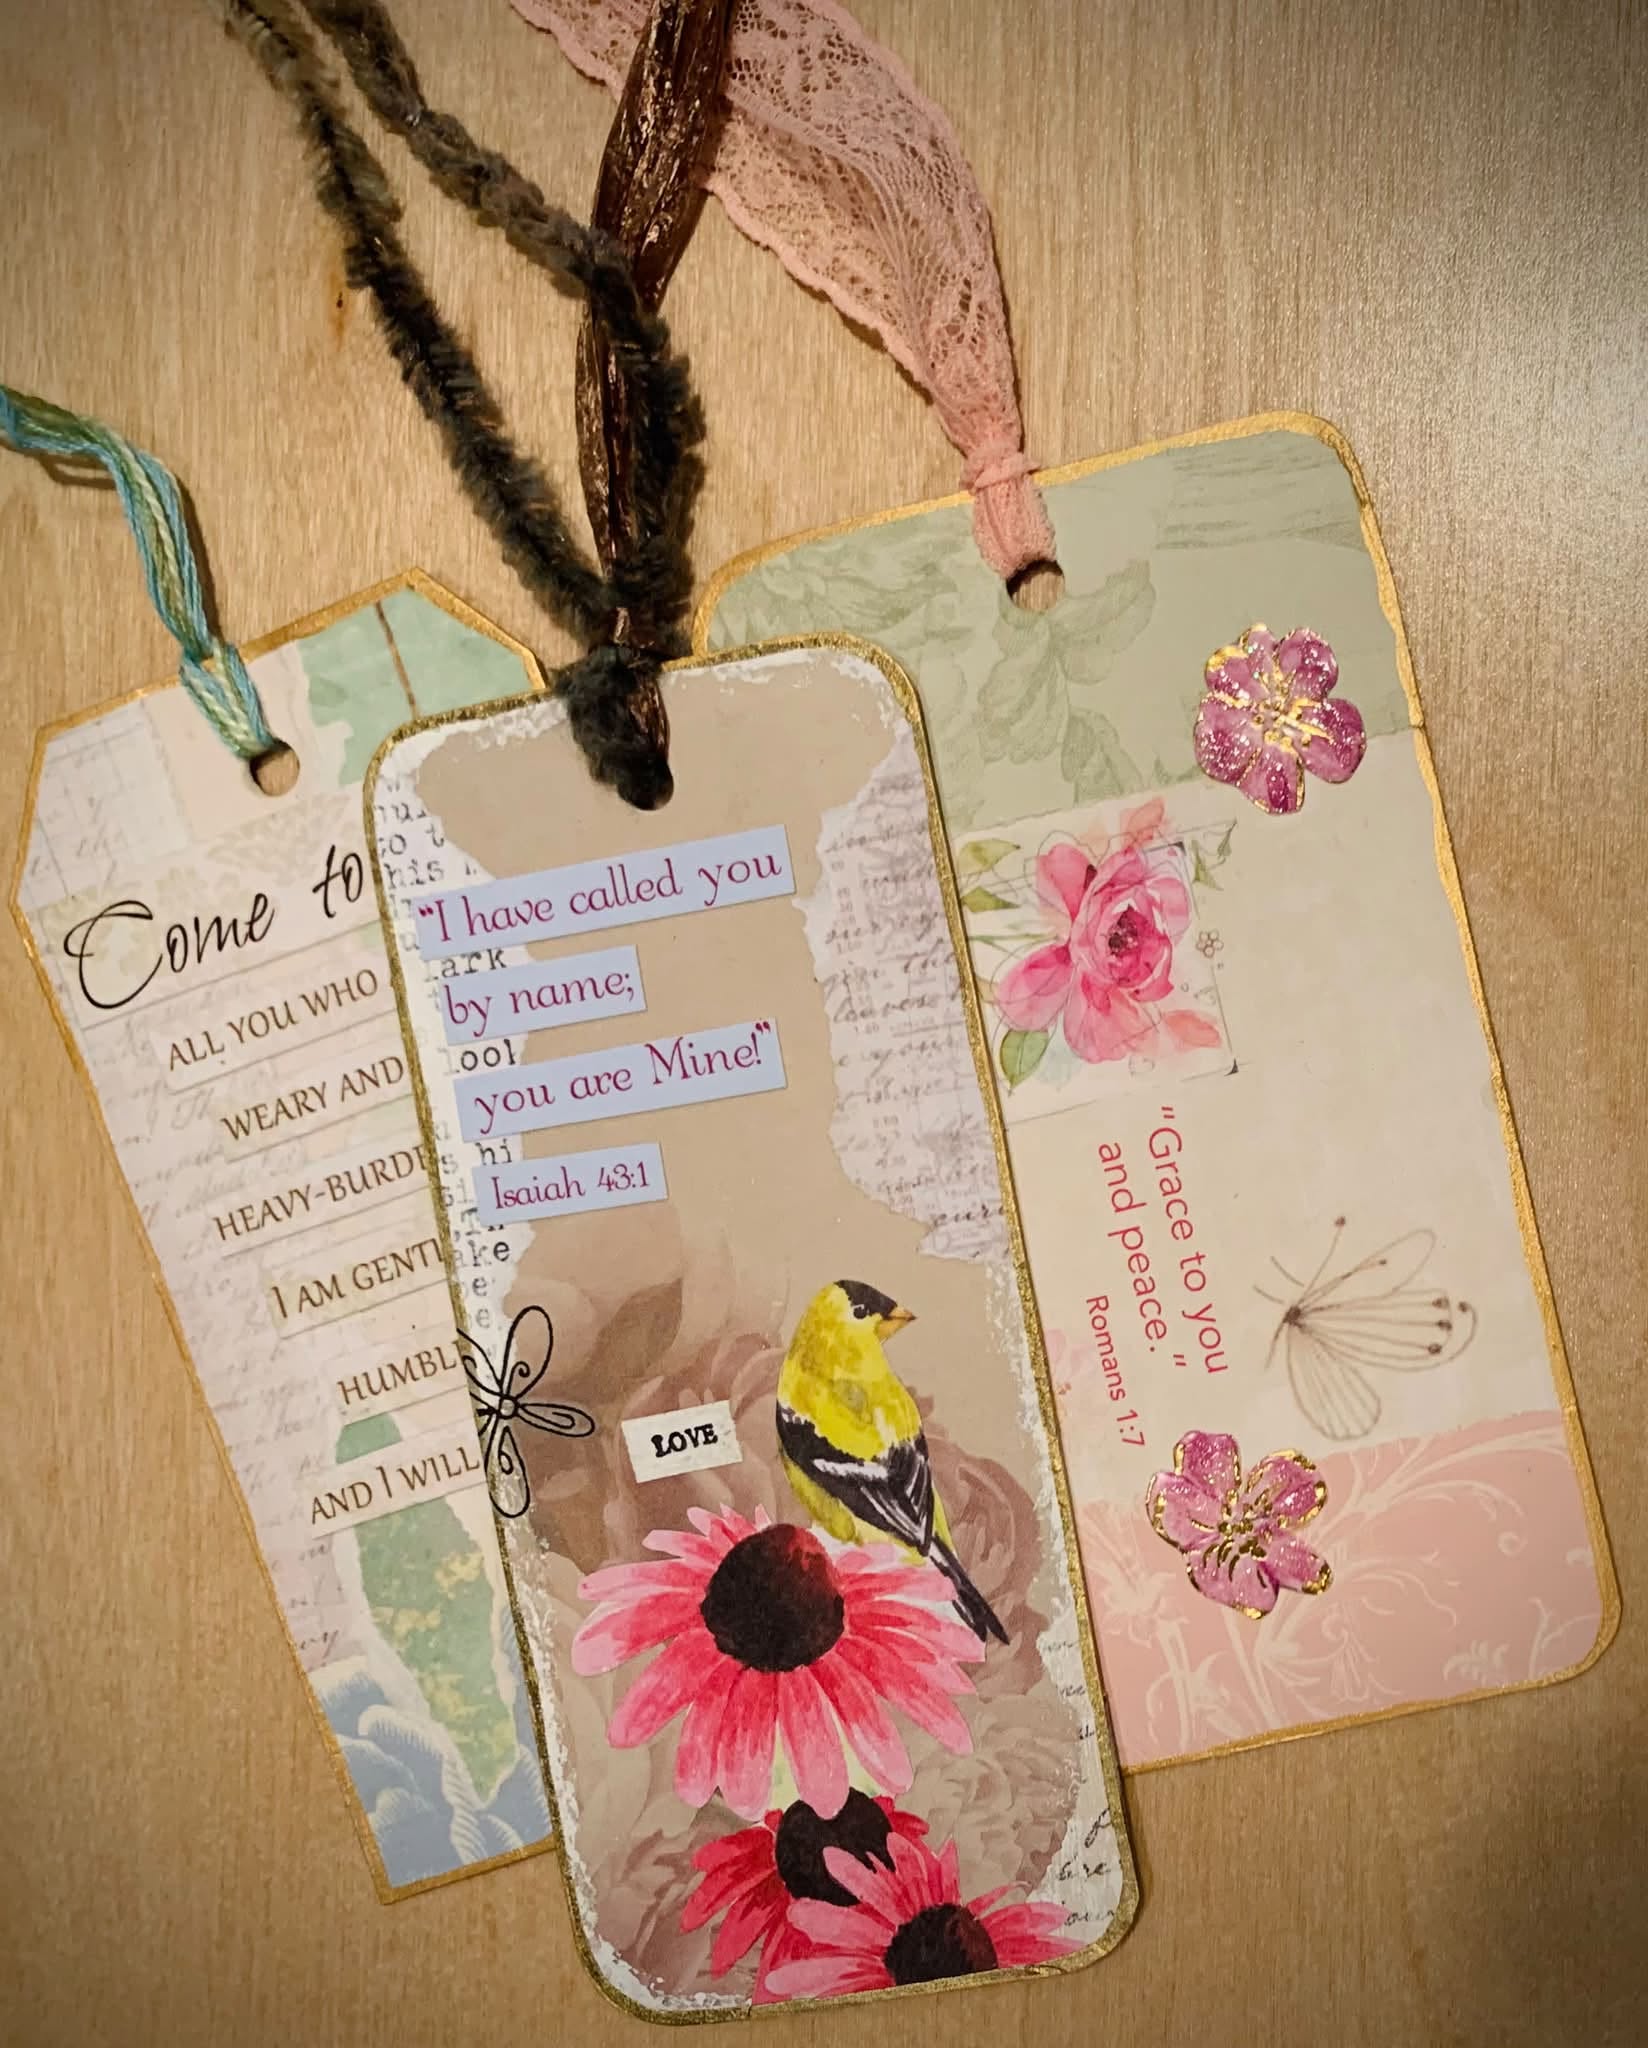
Bookmarks made from recycled greeting cards

I love beautiful images on greeting cards, and it’s very satisfying finding ways to get more use out of the card images when the special occasion is over. My Dad also gets a lot of unused greeting cards in the mail for marketing purposes. We don’t like to waste things if we can help it so I make a lot of paper craft projects that make use of upcycled greeting cards.

One of the easiest things to make out of a nice greeting card is a bookmark. In this tutorial I’ll show you how to make beautiful bookmarks while learning a number of paper crafting skills you can use in all kinds of future paper craft projects.

Tools and Materials

Paper cutter
Scissors
Pencil or pen
Corner rounder (optional)
Scrap cardstock
Scrap chipboard
Craft knife
Self-healing cutting mat
Bookmark template diagrams: Page 1 Page 2
Glue sticks
Squeegee or bone folder for burnishing glued paper
Assortment of greeting cards to recycle
Decorative papers and found images for collaging
Scrap paper for your surface while gluing and painting
Hole punch
White gesso or paint
Metallic paint
Painting supplies: small brushes, palette knife, water container, mixing surface, rags, etc.
Thread or ribbon for the top
Optional embellishments: rub-ons, rubber stamps, stickers

To start out I’ll show you two ways to make rounded corners for your bookmarks.

Make a window template – Method 1

If you have a corner rounder, try this. Use your paper cutter to cut scrap cardstock into rectangles of different sizes and shapes.

Round the corners with a corner rounder decorative paper punch.
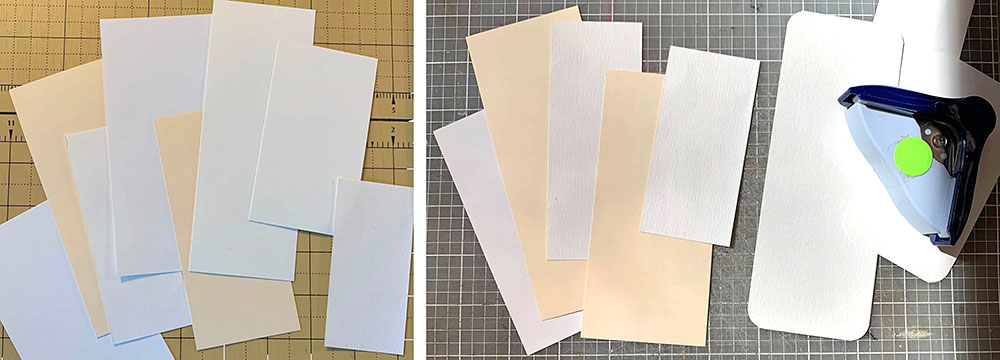
Cut out rectangles then round the corners with a corner rounder punch

Trace around the rounded rectangles onto scrap chipboard.
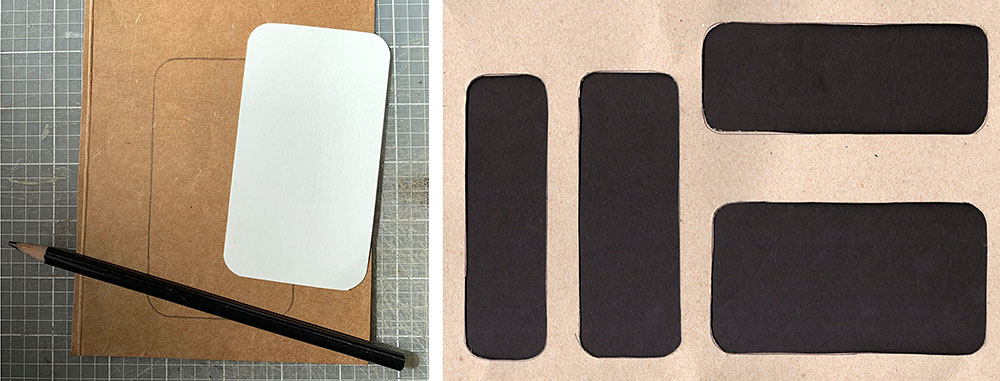
Place the template onto a self-healing cutting mat and cut out the bookmark shapes to make windows.

Make a window template – Method 2

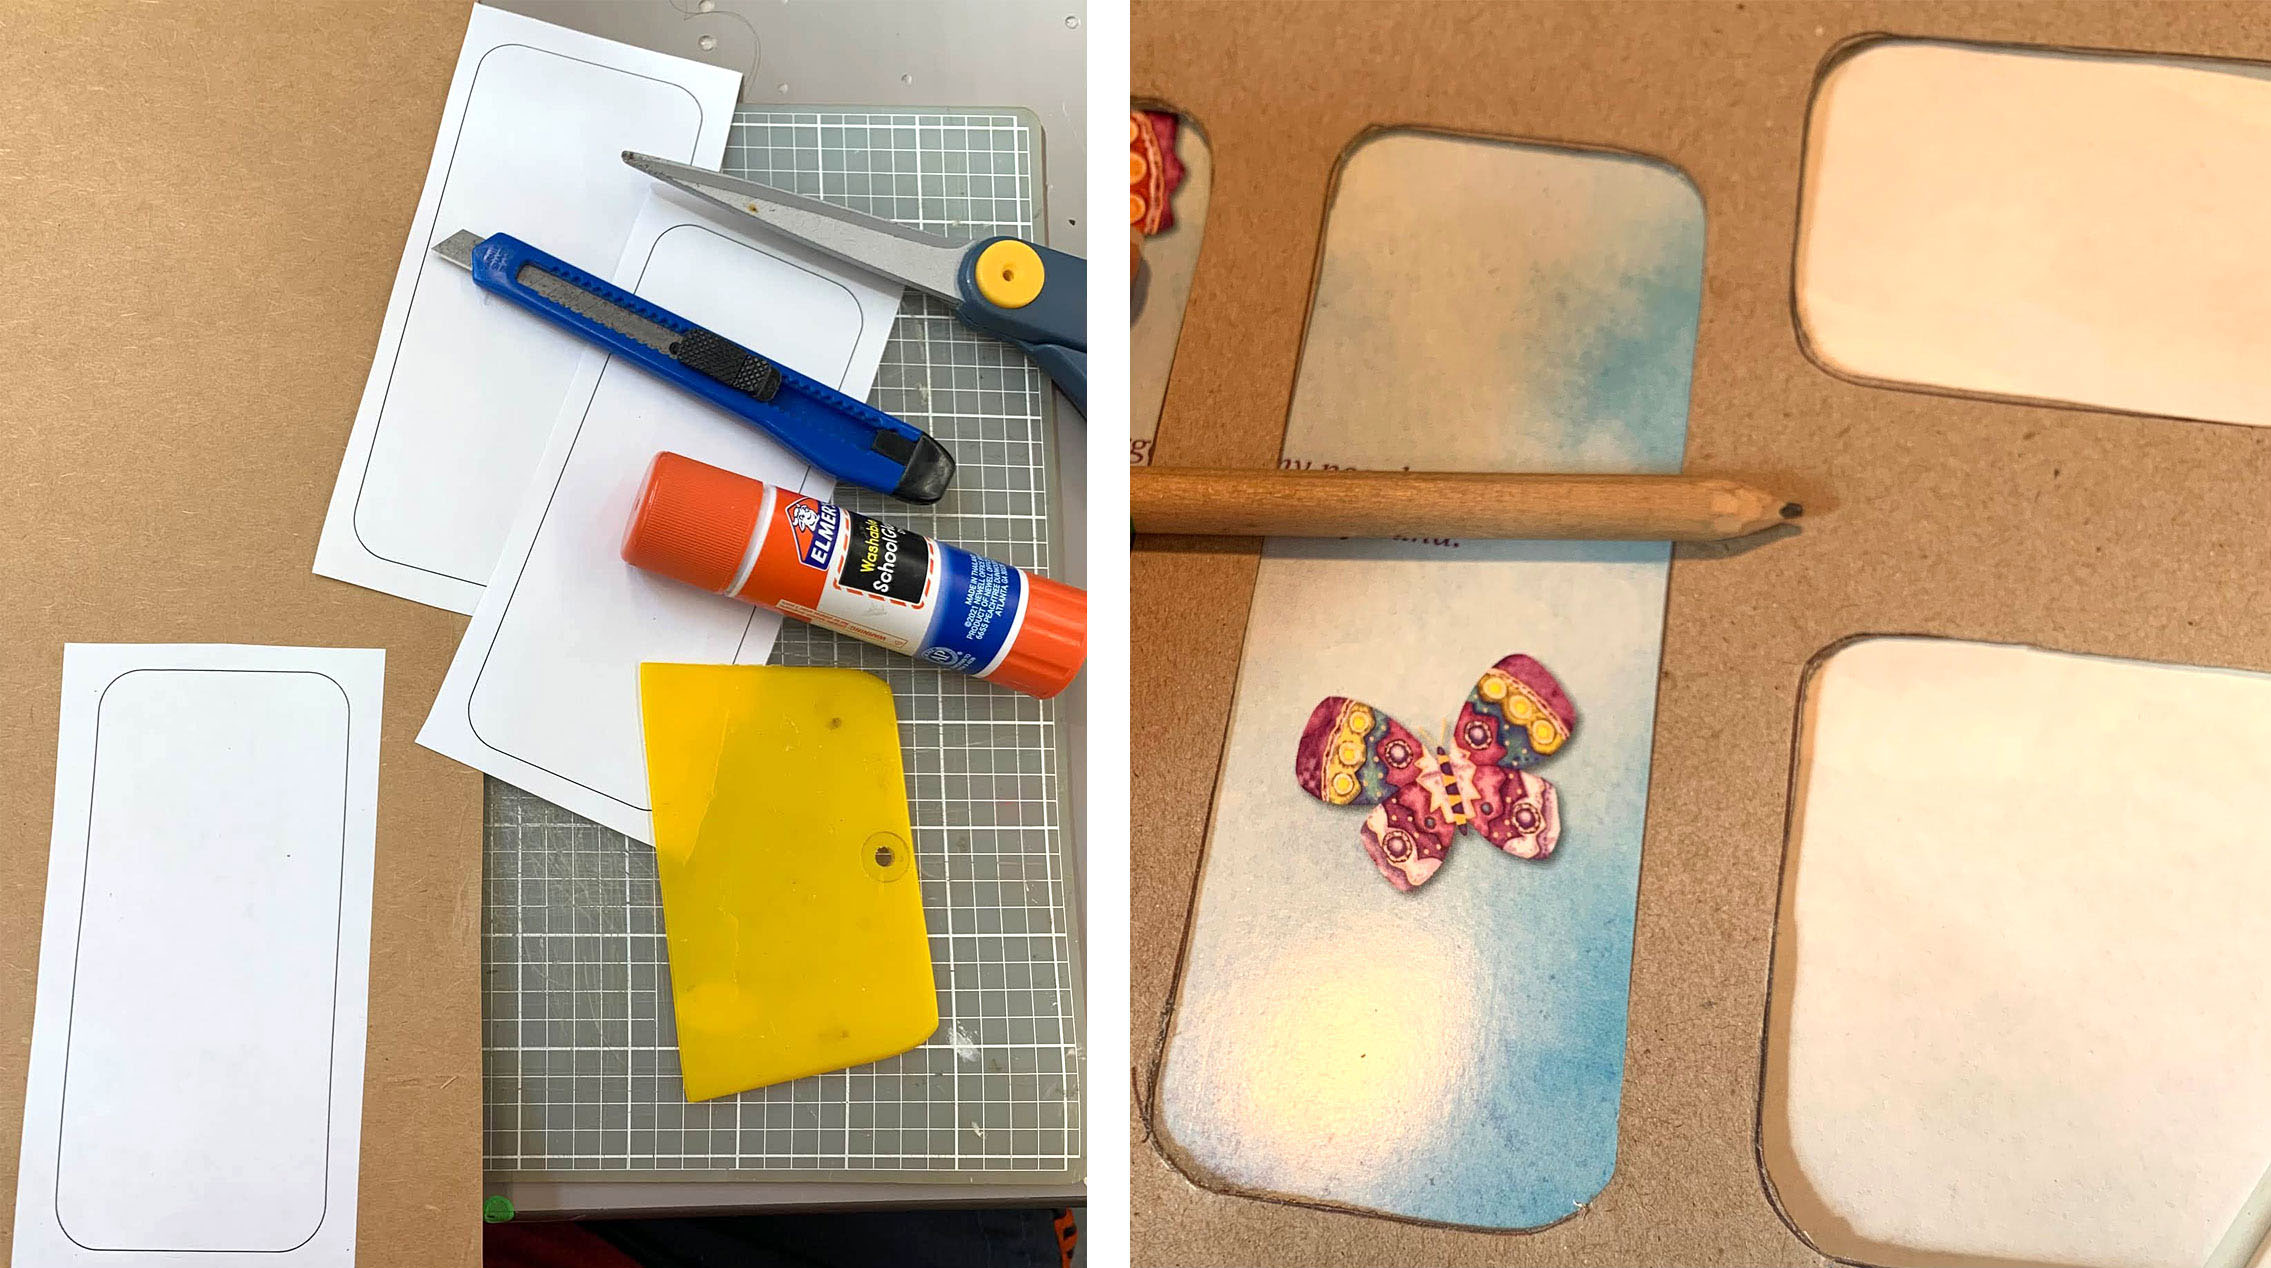
If you don’t have a corner rounder punch, try this. Download and print out the bookmark template diagrams I made (Page 1 Page 2). Cut out and paste the bookmark shapes onto scrap chipboard, then cut out with a craft knife.
Next, trace the bookmark outlines onto the greeting cards where you see an image or design that you like, then cut the bookmarks out.
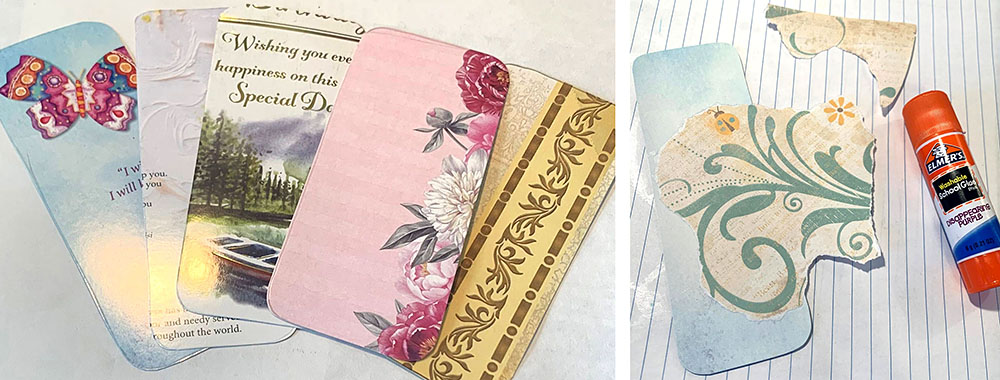
On the left, bookmarks ready to start partially covering with collaged paper pieces.

Add collaged paper pieces

Cover the parts you don’t want showing, like text from when it was a greeting card, with torn or cut papers. If you’re not sure where to start, tearing out paper for backgrounds and cutting out images for the foreground helps me get started if I don’t have any other ideas.
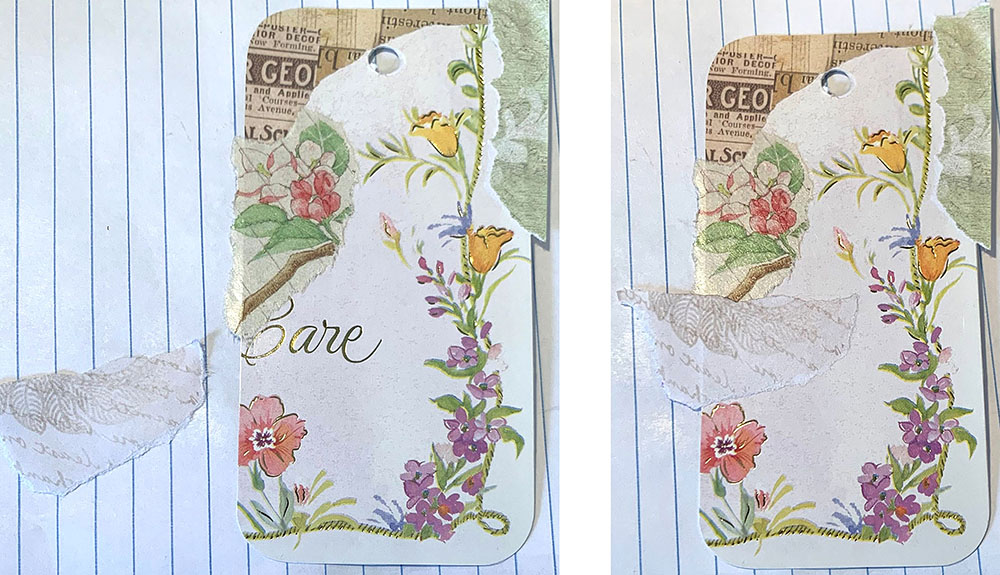
Tearing paper scraps to size to cover up writing from the greeting card.

Add embellishments

If you have any further embellishments you want to add, place them now. For example this image shows a rub-on being applied over the collaged paper.
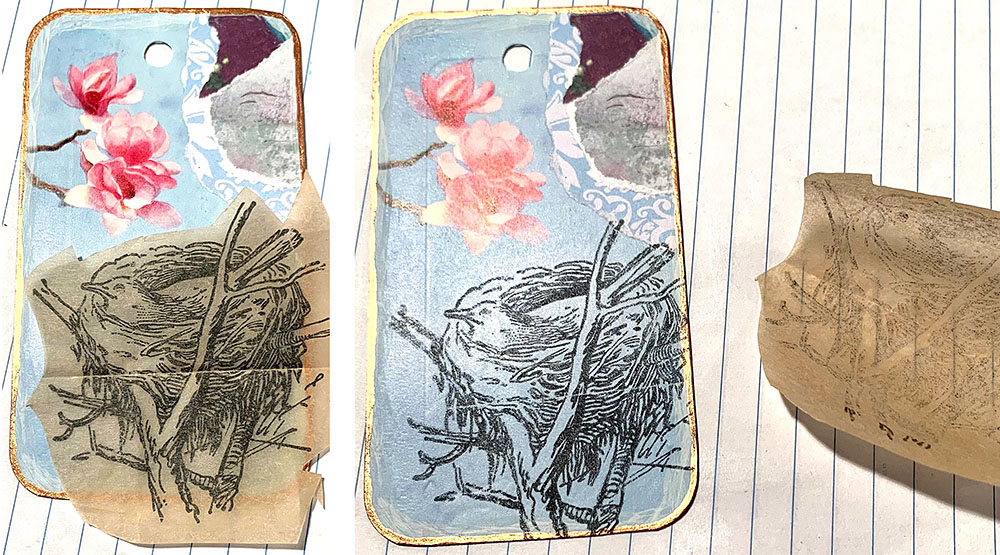
Applying a rub-on image to a collaged bookmark

Some other embellishment suggestions:
Stickers
Rubber stamps
Sentiments and words either stamped onto paper or cut from other cards
Postage stamps
Small images stamped in black ink and either cut or torn out
Punched paper shapes
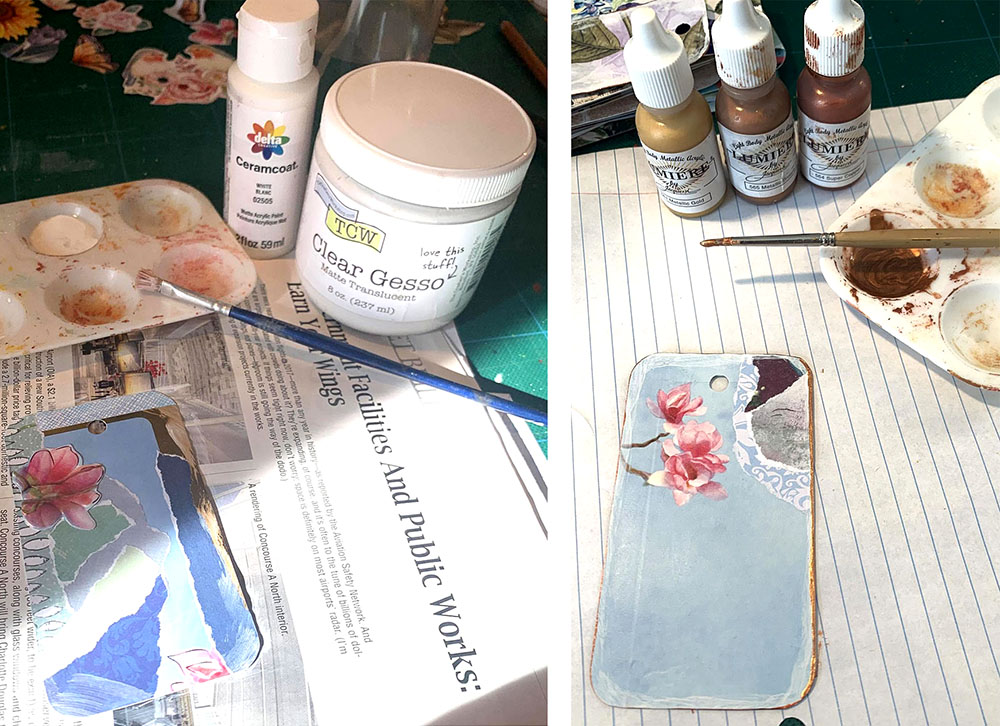
Painting the edges with gesso and paint

Paint the edges

To give the bookmarks a finishing touch, paint the edges with your favorite metallic paint.

On some of my bookmarks I brushed a slightly wider edge first with white paint mixed with clear gesso. I wanted a bit more transparency than I was getting from white gesso straight out of the jar. You can experiment with what you have to get an effect that you like.

Add ribbon or thread to the top
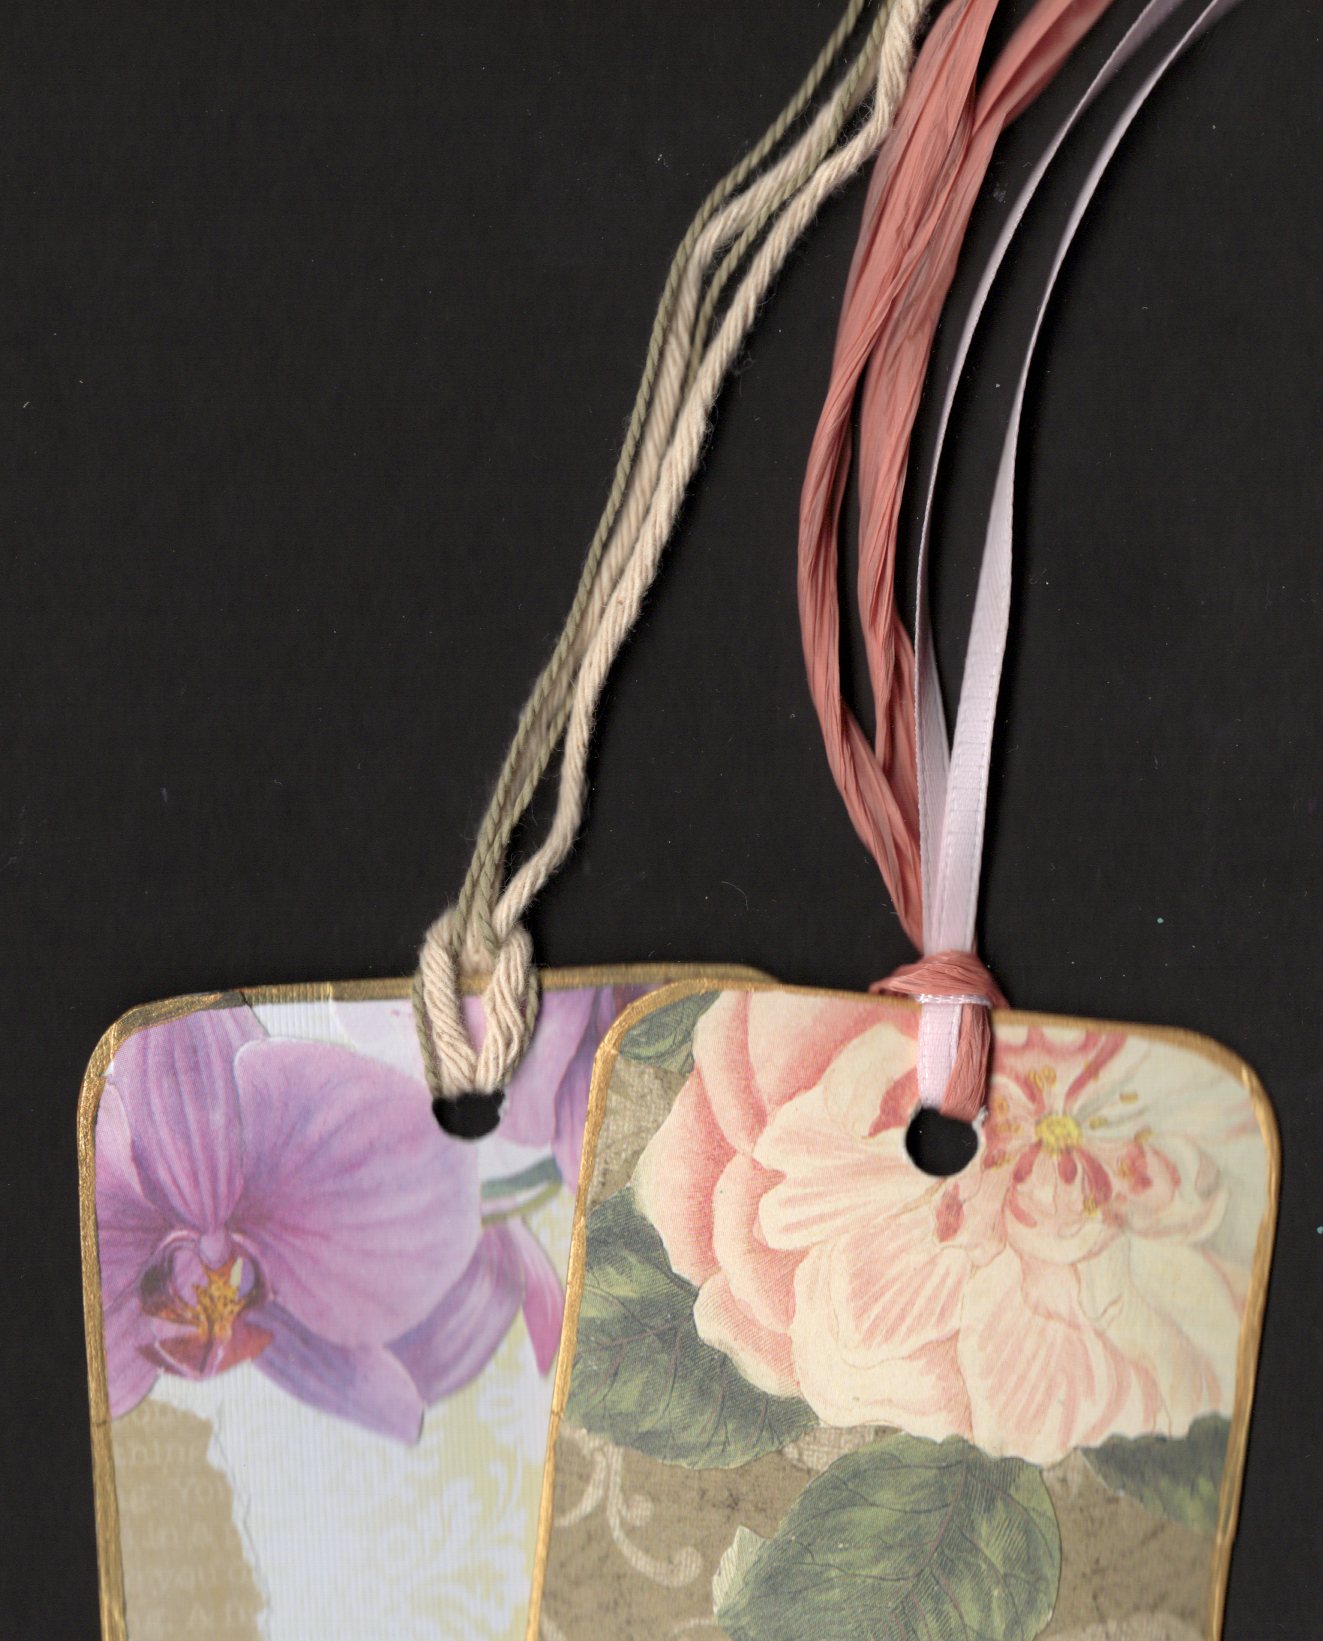
Thread ribbon, twine or thread through the top hole

Plant Profile – Purple Coneflower

Welcome to a new series of plant profiles that will appear on my blog on an ongoing basis. These plant profiles are part of a project I’m working on for Thomas Dunn Learning Center, where I am volunteering work on the garden and grounds. I’m making informational tags for a number of plants on the grounds that already exist or that I’m introducing. Each tag will include a QR code that people can scan with their phones to get more information about the plants.

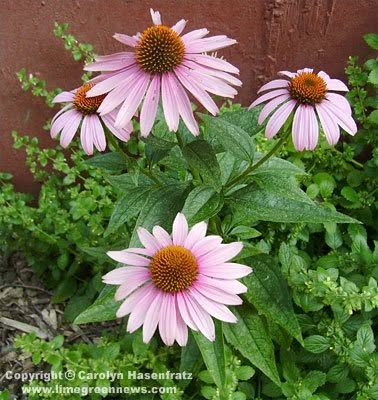
Purple Coneflower
Purple Coneflower, Echinacea purpurea

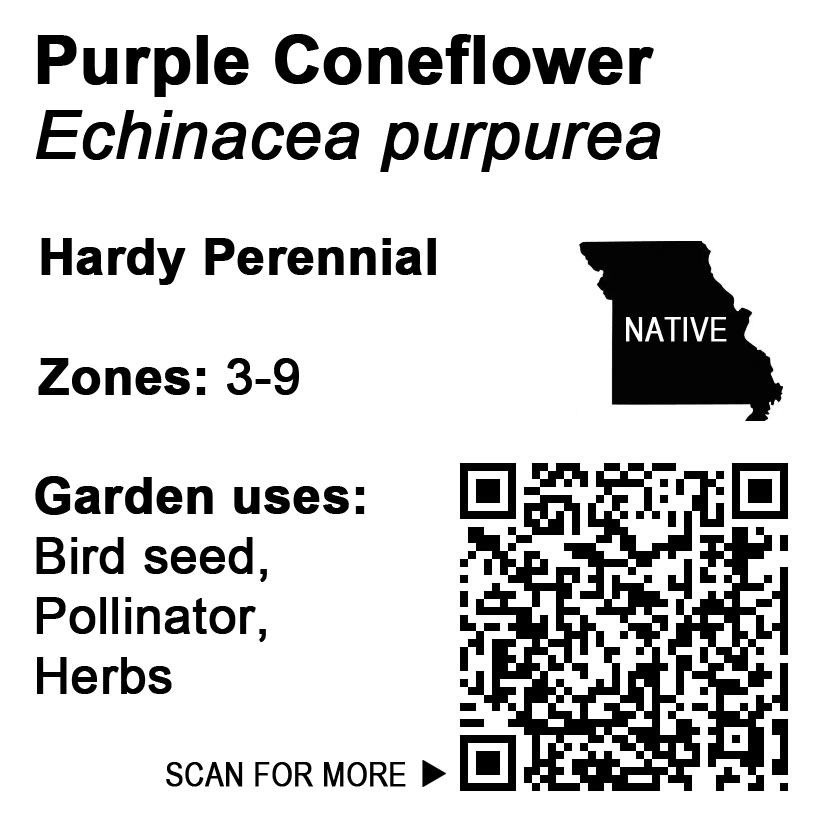
Purple Coneflower
Echinacea purpurea

Missouri native

Hardy perennial

Hardiness Zones: 3-9

Propagation: By seed, self sows, can also start indoors or out in spring. If starting from seed, make sure to cold stratify (Marcin 48).

Light: Full sun to part shade

Water requirements: Moist well-drained soil. Tolerates some drought once established.

Soil requirements: Average to poor – does not need fertilizer, except for possibly compost and rock phosphate in the spring (Kowalchik et al 177).

Care notes: May need staking. Divide every 3 or 4 years. You might get more flowers if you deadhead it, but some sources say deadheading is not required for rebloom (Genera Binder). In our case we want birds to be able to eat the seeds so we are leaving the seed heads in place.

Echinacea purpurea is an incredibly useful plant for wildlife and historically for human beings as well. The flowers make a nice sturdy platform for pollinating insects to get nectar and pollen. Small birds feed on the seeds. In Missouri it’s particularly common to see American Goldfinches (Carduelis tristis) enjoying the seeds.

Native Americans traditionally have used Purple Coneflower as medicine for a number of conditions, including sore throat, toothache, stomach ailments, and infections. It’s been eaten as a vegetable, used as a skin anesthetic and inhaled in smoke form for respiratory illnesses, headaches and depression (Kavasch and Barr 240-241). American settlers adopted its use for colds and flu (Oster 68). In the 1920s it was the most popular plant based drug in the US and was packaged and sold by drug companies, until more effective anti-infective medications were brought to the market (Kowalchik et al 176).

It’s still popular in the United States as well as in Europe (Kavasch and Barr 240).

Disclaimer: I want to explain the historic uses of herbs in order to generate interest in learning about plants and their properties, and the impact of plants on human culture. That doesn’t mean I endorse the use of herbs for medical conditions or am qualified to teach how to do it safely. This plant profile is not medical advice.

The name Echinacea is said to come from the Greek word “echinos” meaning “hedgehog”, a spiny animal (Genera Binder). Another source says the name derives from “Sea Urchin” (Art, A Garden of… 120). If you’ve ever worked around these plants you know how it feels to be poked by the dried flower centers and you know why it’s named after something spiny!

Garden uses: Bird seed, Pollinator, Herbs

Here is the image that will be used on the plant tags.