Tag Archives: recycled materials

Make Bookmarks From Old Greeting Cards

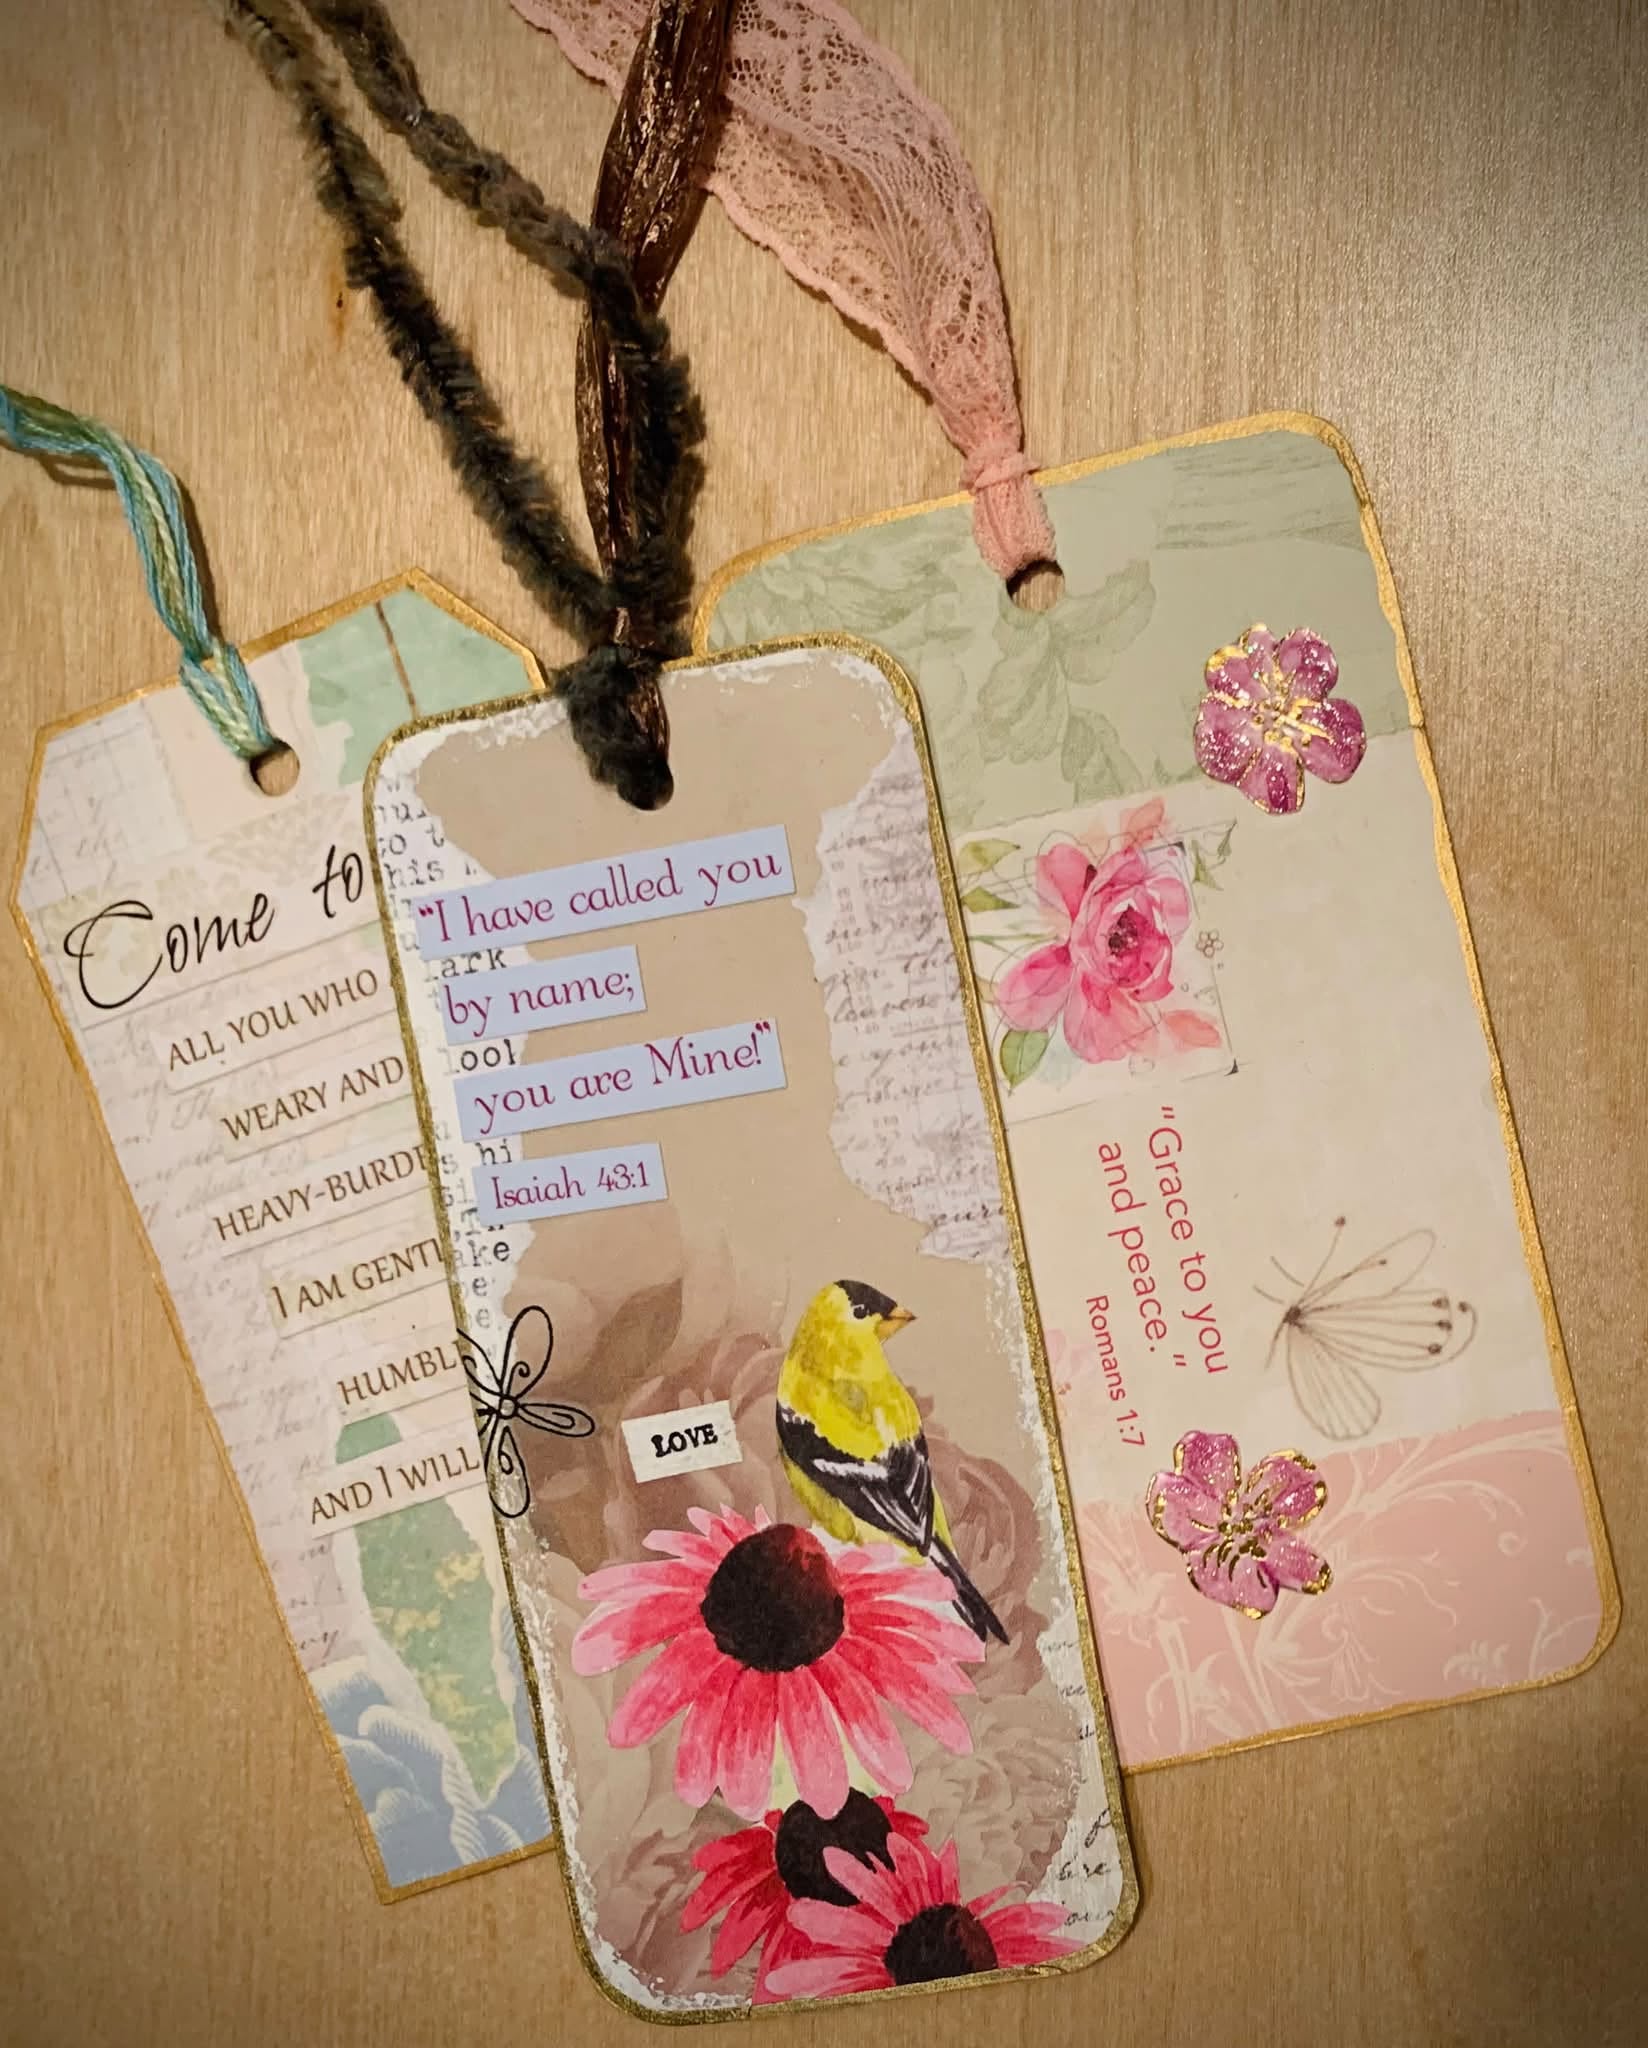
Bookmarks made from recycled greeting cards

I love beautiful images on greeting cards, and it’s very satisfying finding ways to get more use out of the card images when the special occasion is over. My Dad also gets a lot of unused greeting cards in the mail for marketing purposes. We don’t like to waste things if we can help it so I make a lot of paper craft projects that make use of upcycled greeting cards.

One of the easiest things to make out of a nice greeting card is a bookmark. In this tutorial I’ll show you how to make beautiful bookmarks while learning a number of paper crafting skills you can use in all kinds of future paper craft projects.

Tools and Materials

Paper cutter
Scissors
Pencil or pen
Corner rounder (optional)
Scrap cardstock
Scrap chipboard
Craft knife
Self-healing cutting mat
Bookmark template diagrams: Page 1 Page 2
Glue sticks
Squeegee or bone folder for burnishing glued paper
Assortment of greeting cards to recycle
Decorative papers and found images for collaging
Scrap paper for your surface while gluing and painting
Hole punch
White gesso or paint
Metallic paint
Painting supplies: small brushes, palette knife, water container, mixing surface, rags, etc.
Thread or ribbon for the top
Optional embellishments: rub-ons, rubber stamps, stickers

To start out I’ll show you two ways to make rounded corners for your bookmarks.

Make a window template – Method 1

If you have a corner rounder, try this. Use your paper cutter to cut scrap cardstock into rectangles of different sizes and shapes.

Round the corners with a corner rounder decorative paper punch.
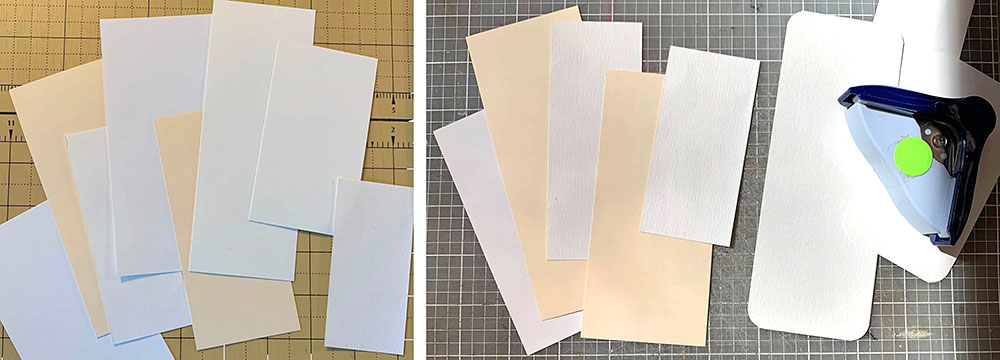
Cut out rectangles then round the corners with a corner rounder punch

Trace around the rounded rectangles onto scrap chipboard.
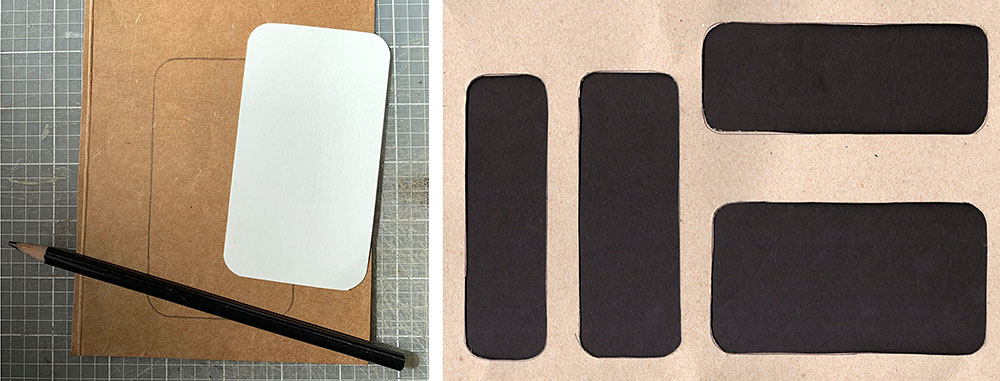
Place the template onto a self-healing cutting mat and cut out the bookmark shapes to make windows.

Make a window template – Method 2

If you don’t have a corner rounder punch, try this. Download and print out the bookmark template diagrams I made (Page 1 Page 2). Cut out and paste the bookmark shapes onto scrap chipboard, then cut out with a craft knife.
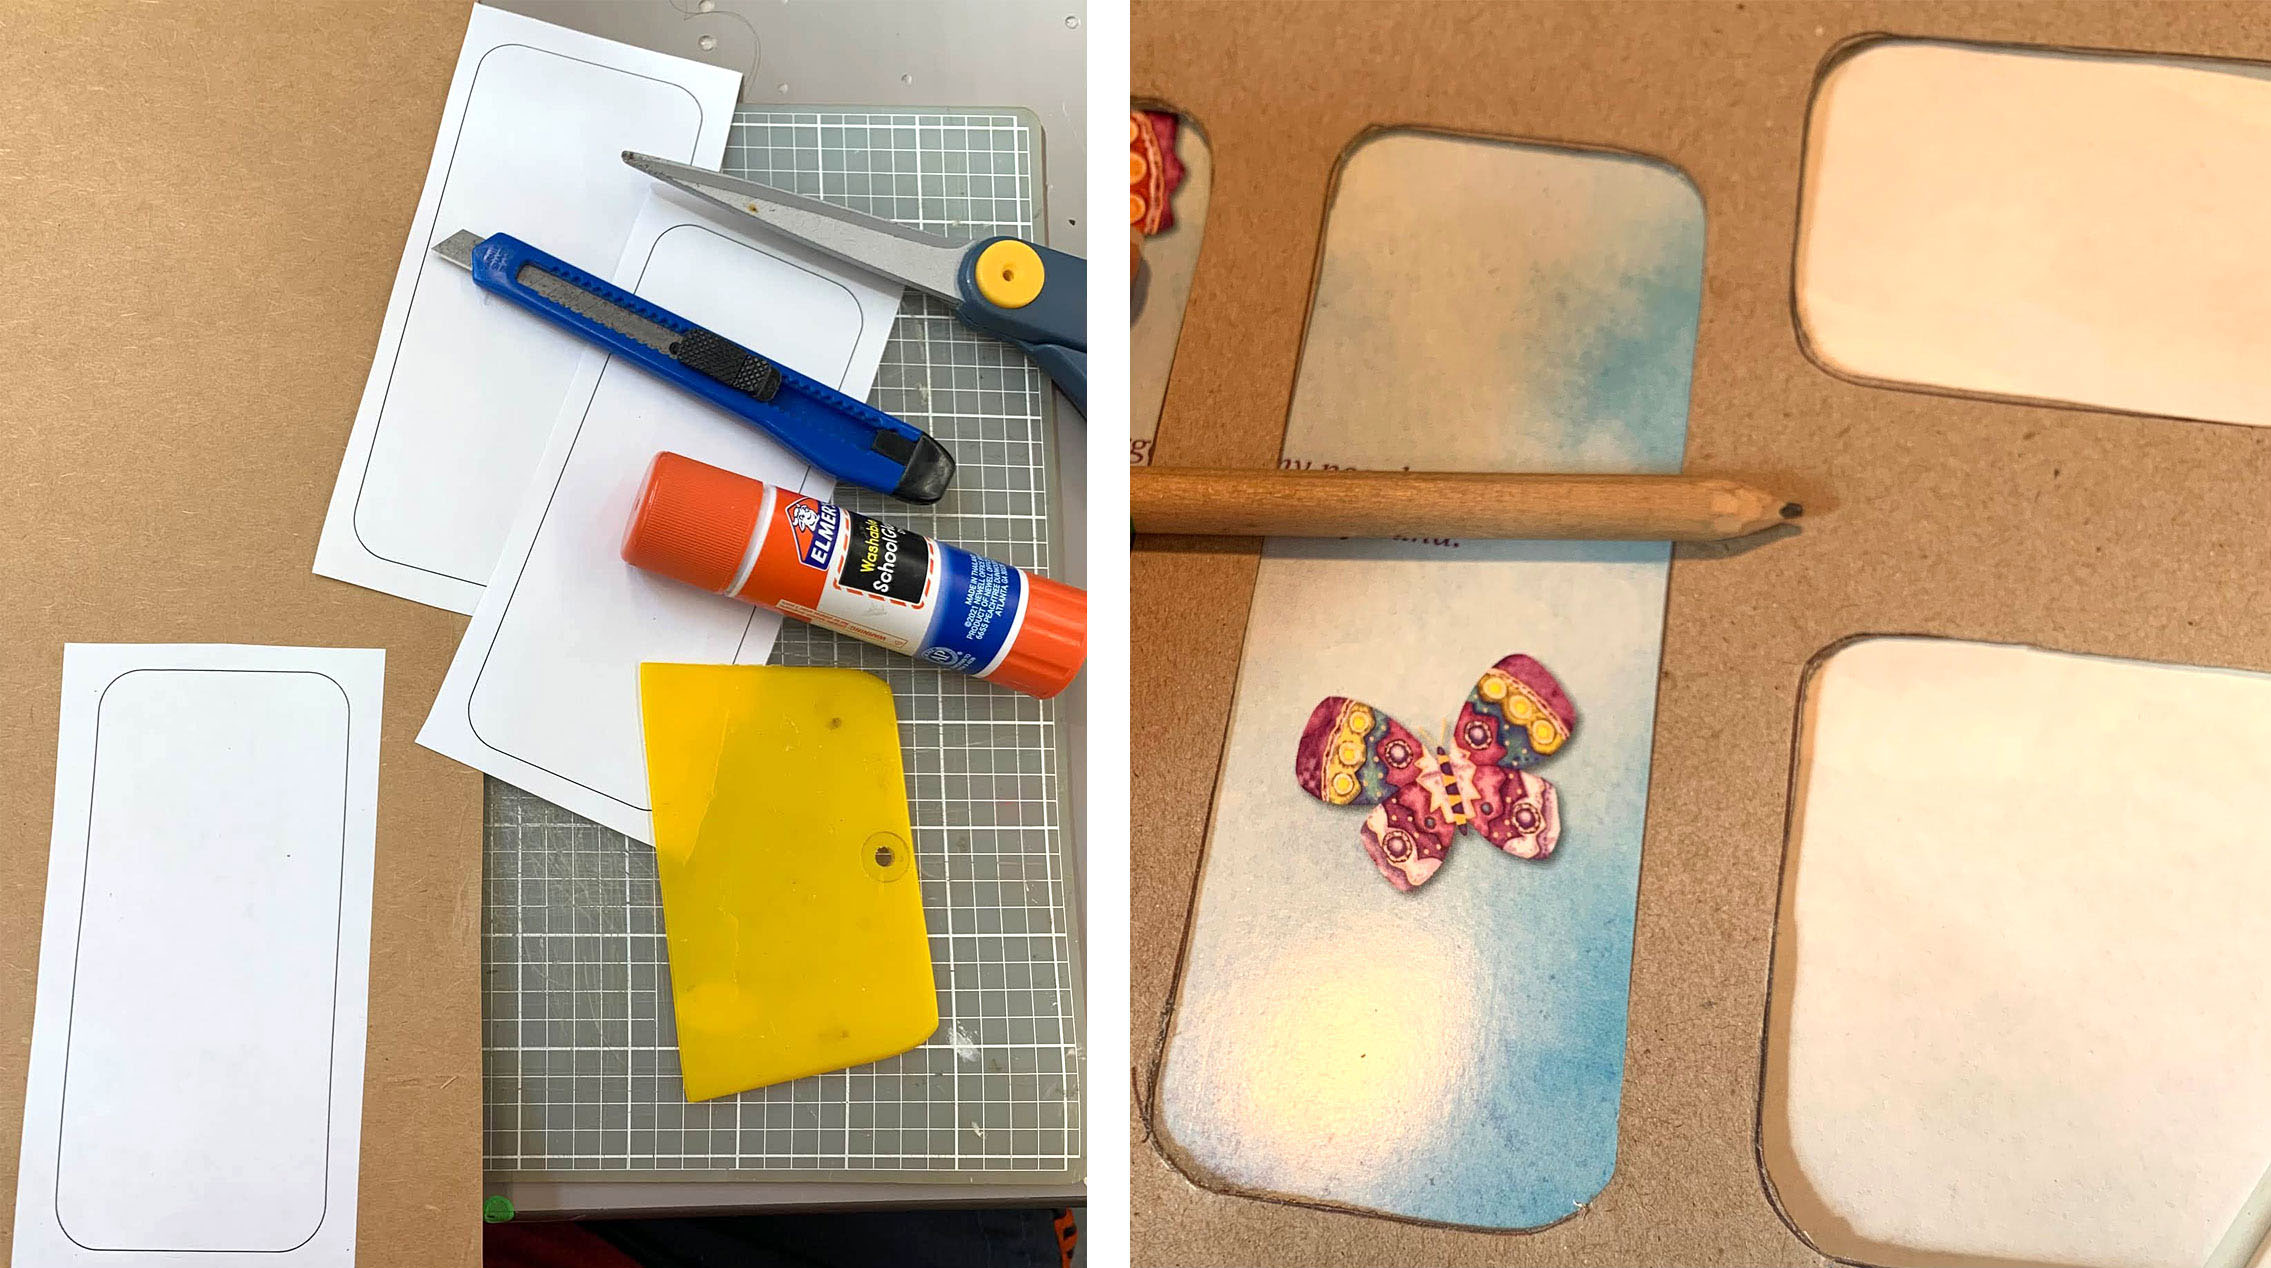
Next, trace the bookmark outlines onto the greeting cards where you see an image or design that you like, then cut the bookmarks out.
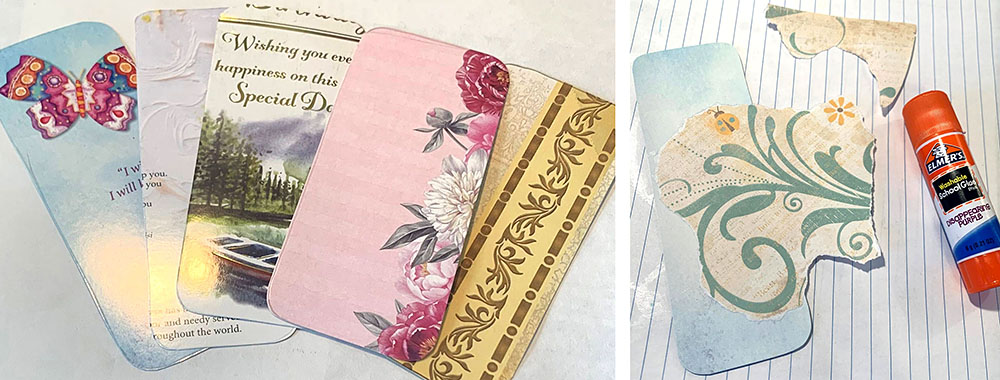
On the left, bookmarks ready to start partially covering with collaged paper pieces.

Add collaged paper pieces

Cover the parts you don’t want showing, like text from when it was a greeting card, with torn or cut papers. If you’re not sure where to start, tearing out paper for backgrounds and cutting out images for the foreground helps me get started if I don’t have any other ideas.
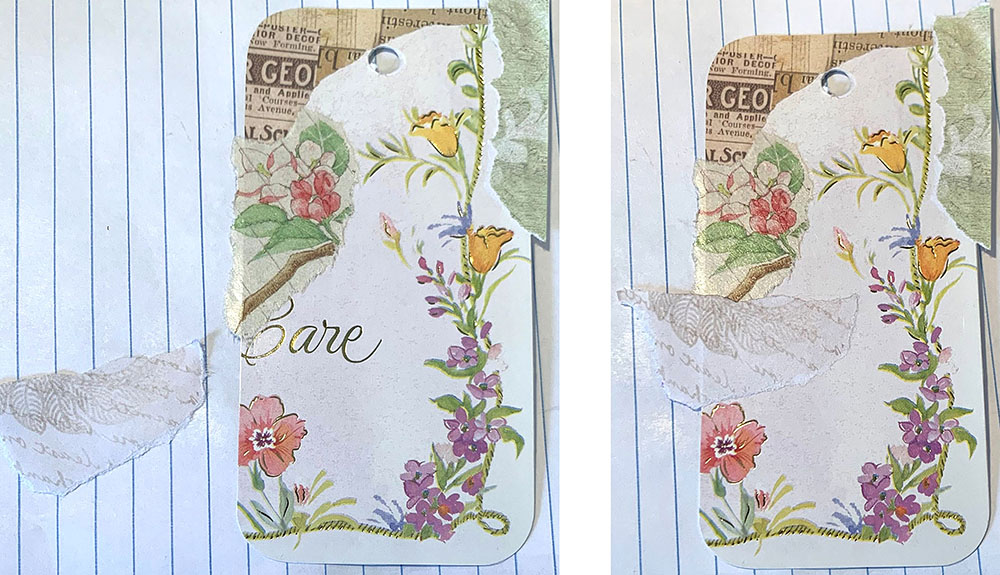
Tearing paper scraps to size to cover up writing from the greeting card.

Add embellishments

If you have any further embellishments you want to add, place them now. For example this image shows a rub-on being applied over the collaged paper.
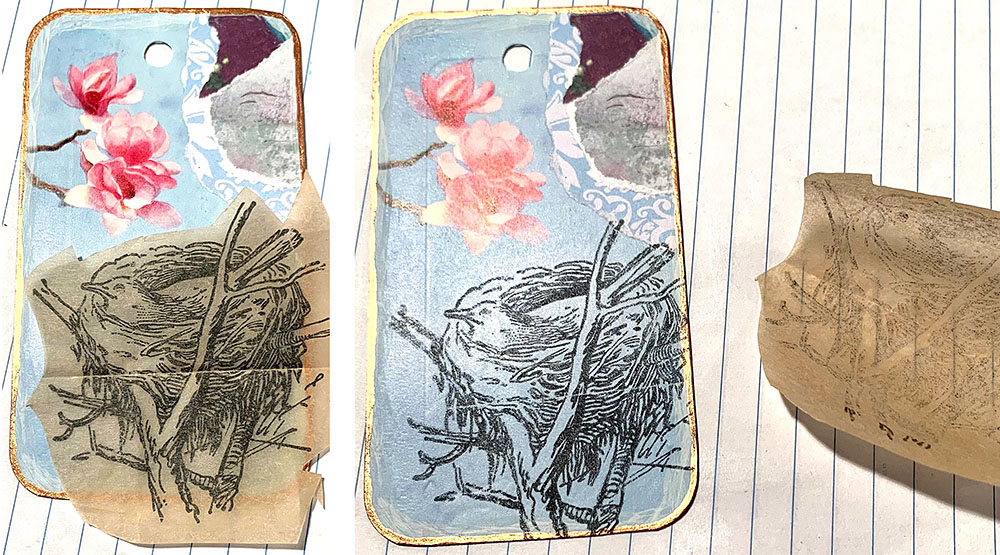
Applying a rub-on image to a collaged bookmark

Some other embellishment suggestions:
Stickers
Rubber stamps
Sentiments and words either stamped onto paper or cut from other cards
Postage stamps
Small images stamped in black ink and either cut or torn out
Punched paper shapes
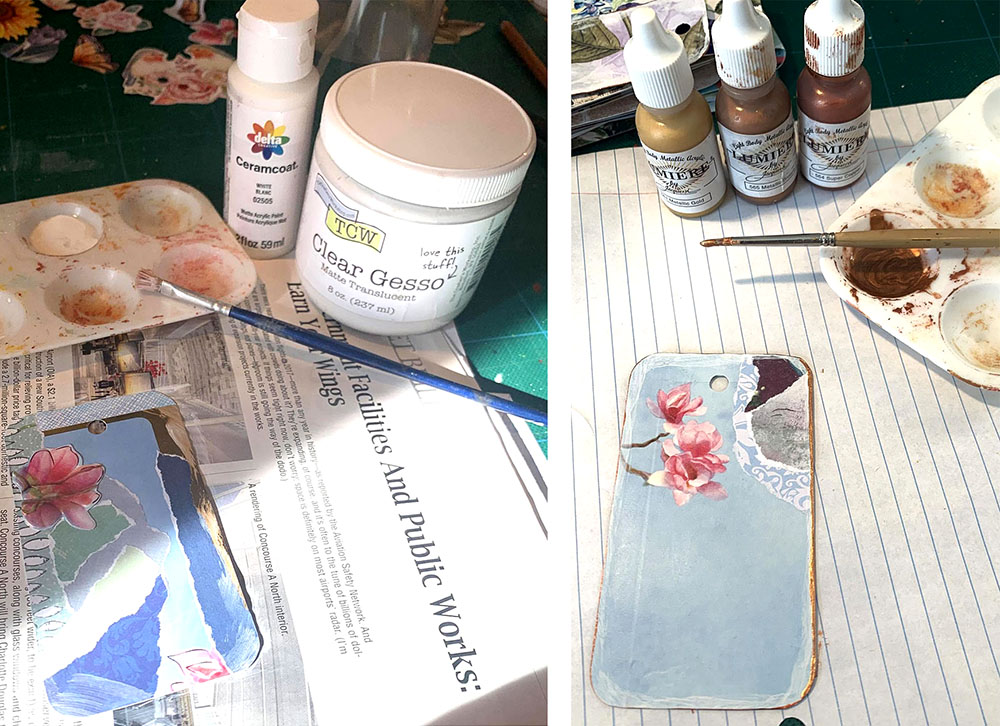
Painting the edges with gesso and paint

Paint the edges

To give the bookmarks a finishing touch, paint the edges with your favorite metallic paint.

On some of my bookmarks I brushed a slightly wider edge first with white paint mixed with clear gesso. I wanted a bit more transparency than I was getting from white gesso straight out of the jar. You can experiment with what you have to get an effect that you like.

Add ribbon or thread to the top
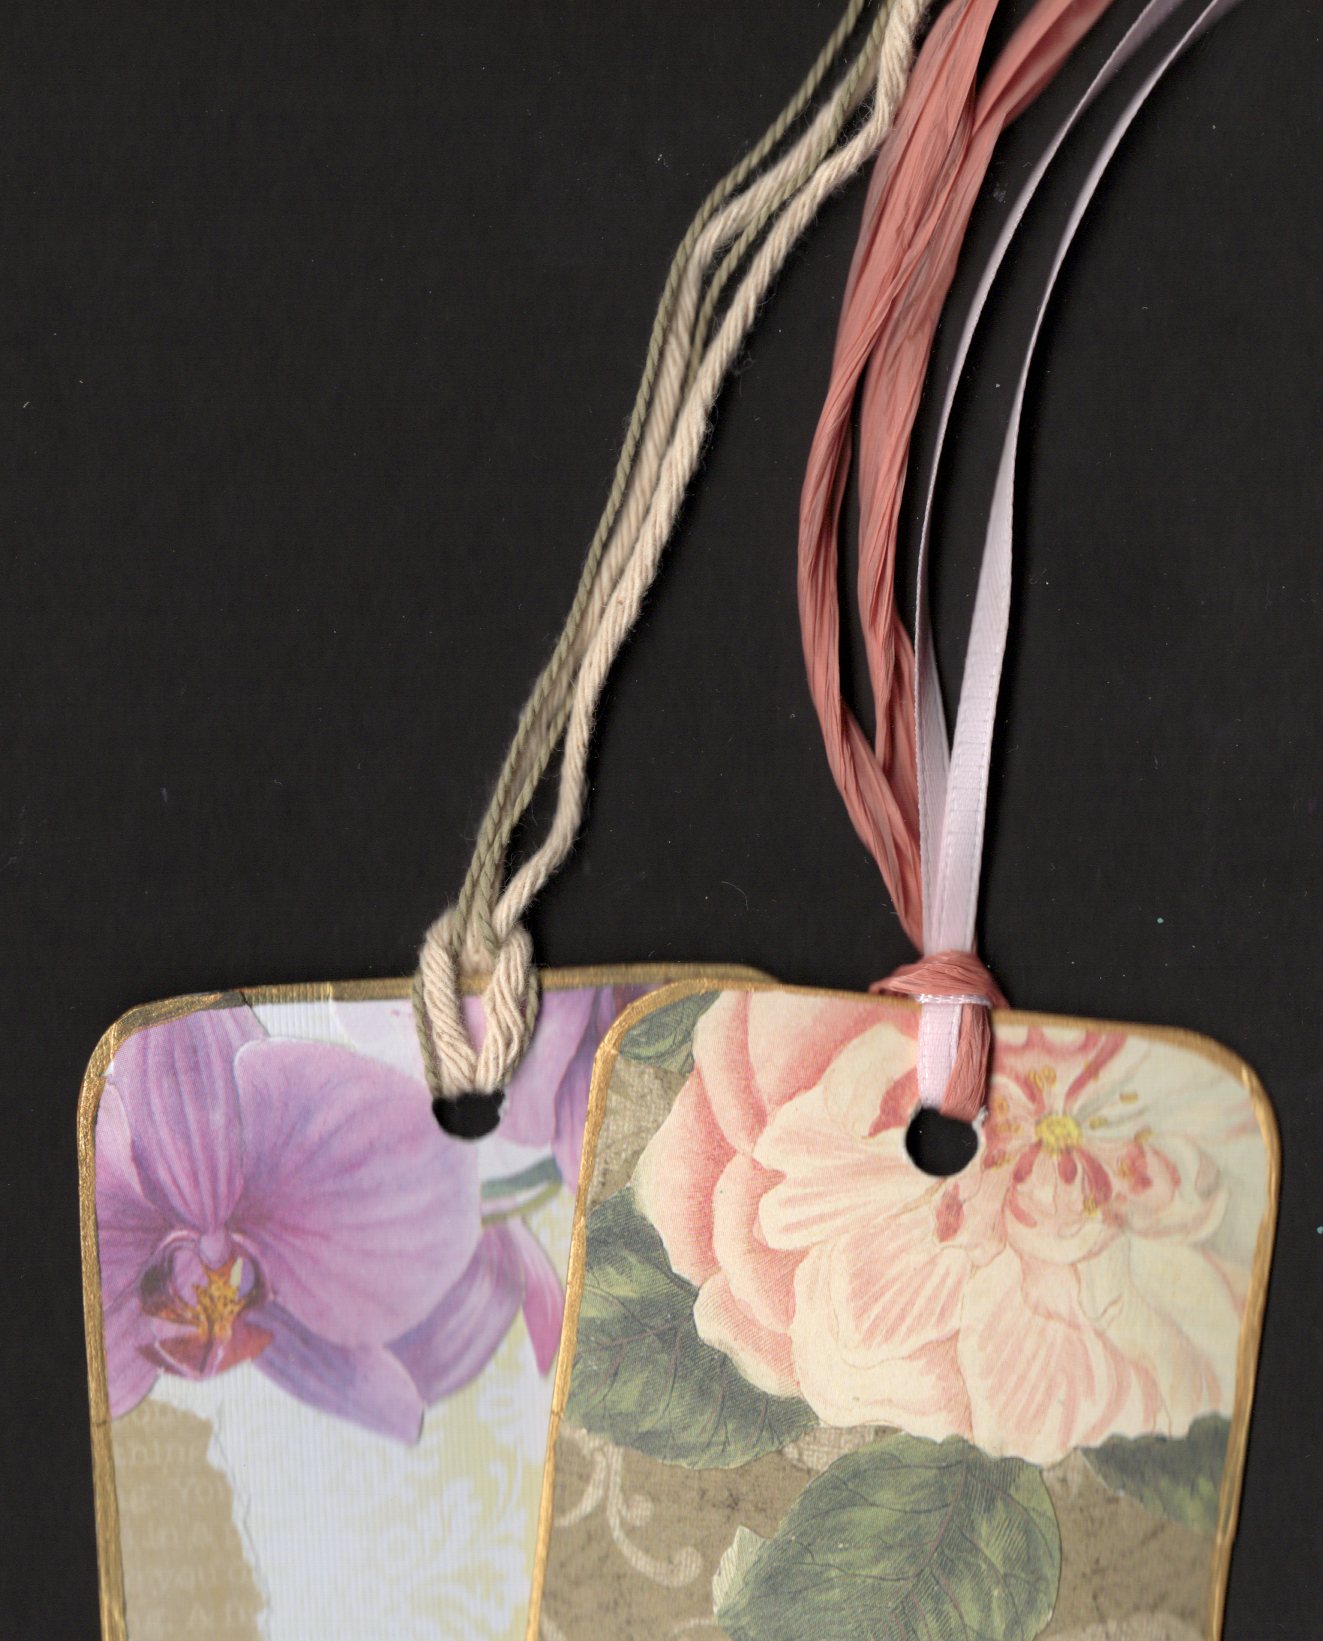
Thread ribbon, twine or thread through the top hole

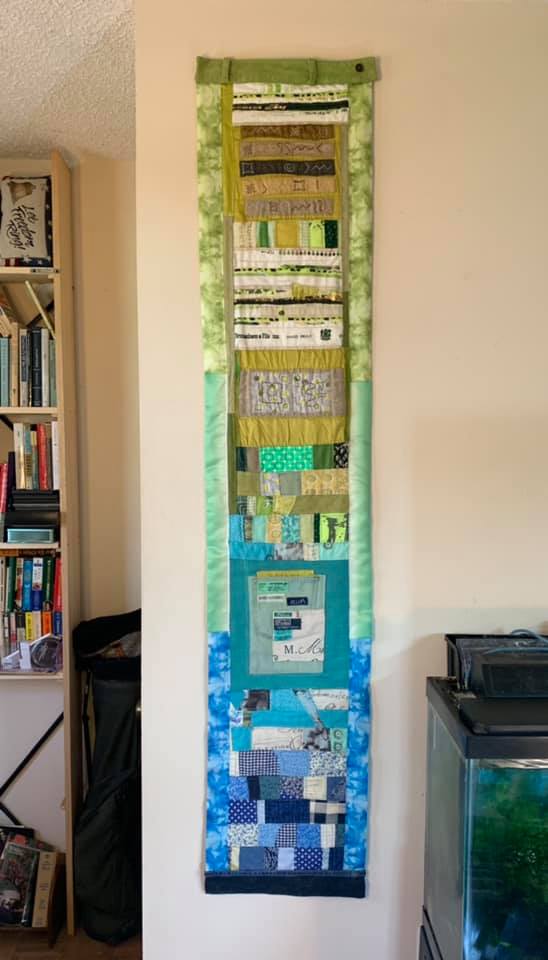
I finally finished “Experimental Art Quilt #1!”

A little over two years ago, I was sick for quite awhile with an awful sinus problem. I didn’t have much energy, so to prevent too much boredom I looked for some simple tasks to do. First I sorted all my small fabric scraps by color and organized them into containers. While doing that, I thought it would be fun to challenge myself to see how small a fabric scrap could get before I couldn’t make something out of it. I wanted to upgrade my hand-sewing skills and learn the rudiments of piecing for quilt making.

I started sewing fabric pieces into strips to combine into a scrap quilt later, after seeing some beautiful examples on Pinterest. As I accumulated strips, I combined them with other leftover fabrics such as a jean pocket, a waistband from some corduroy pants, a seam from blue jeans, old clothing tags, ribbon, binding strips, selvage pieces and some rather primitive embroidered panels I made a long time ago for use on a tote bag which has since been retired.

Over the last couple of years, every once in awhile I’d add a little bit more on. Then I finished it with blanket seam binding from JoAnn Fabrics and Crafts where I taught classes in hand sewing, general crafts and jewelry making before the pandemic.

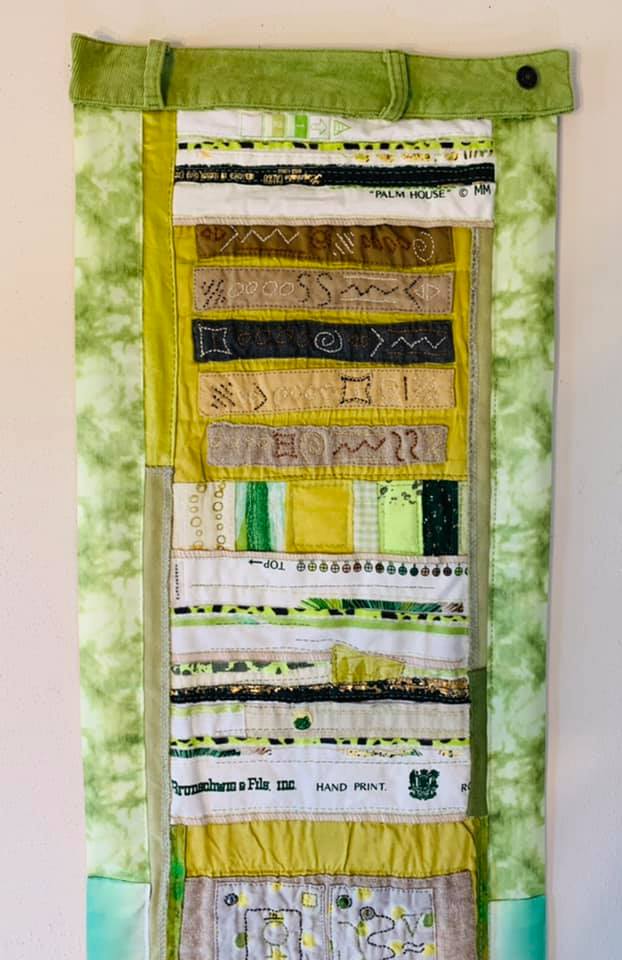
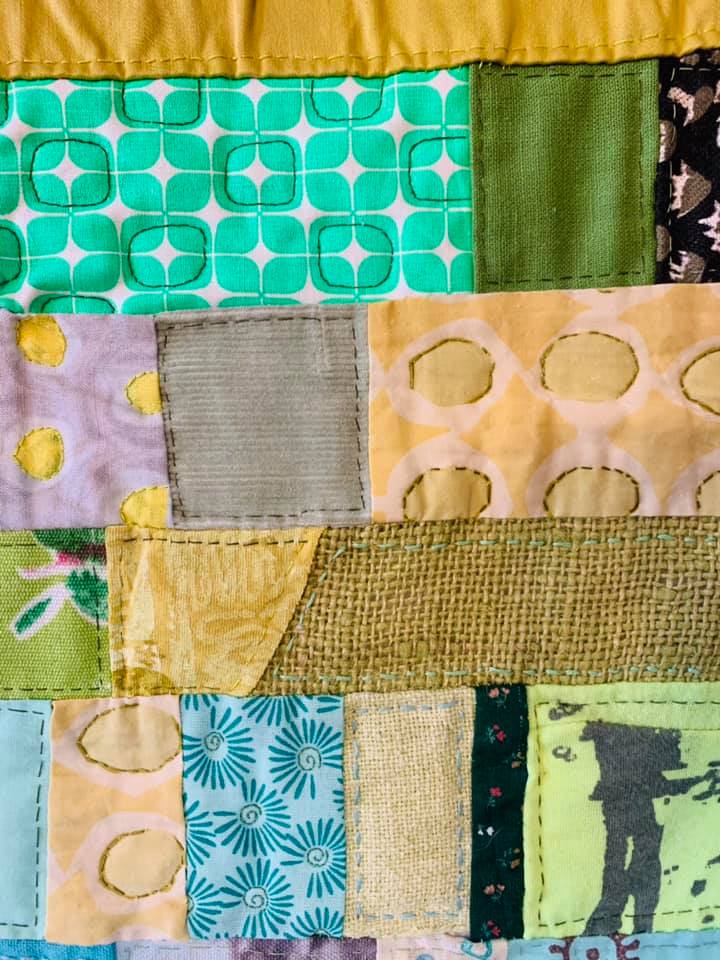
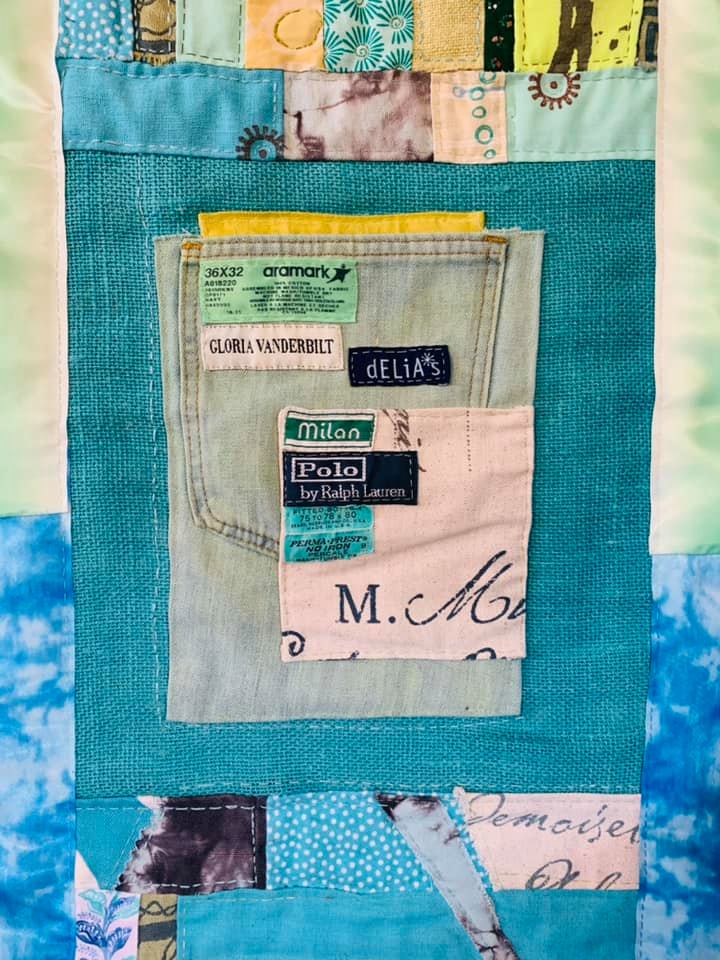
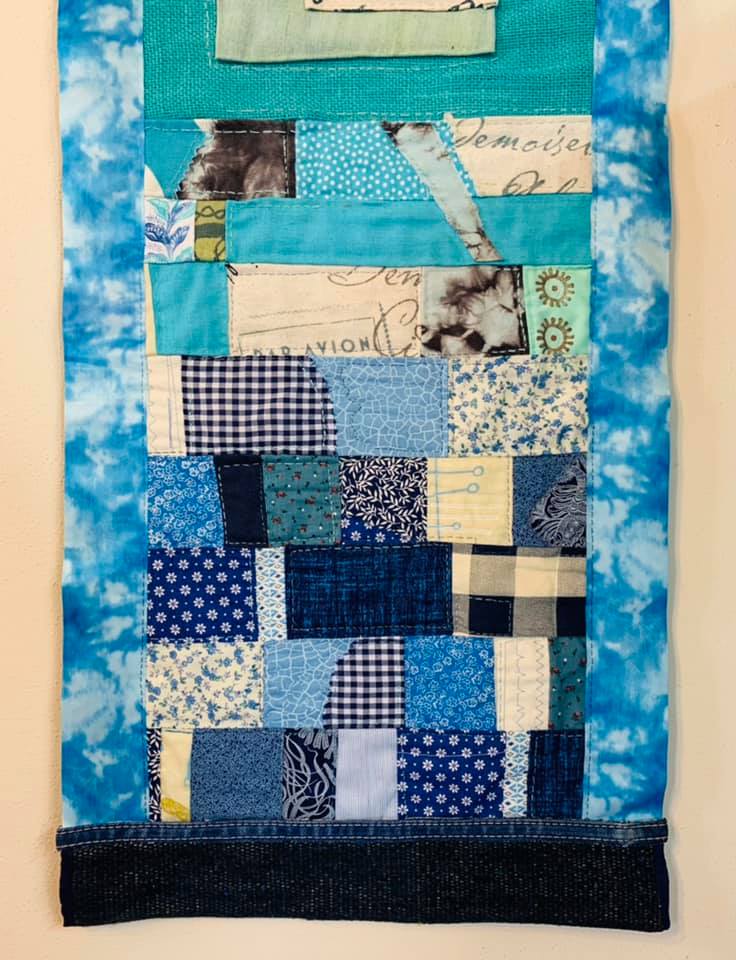
Following are some close-ups of sections of the quilt.

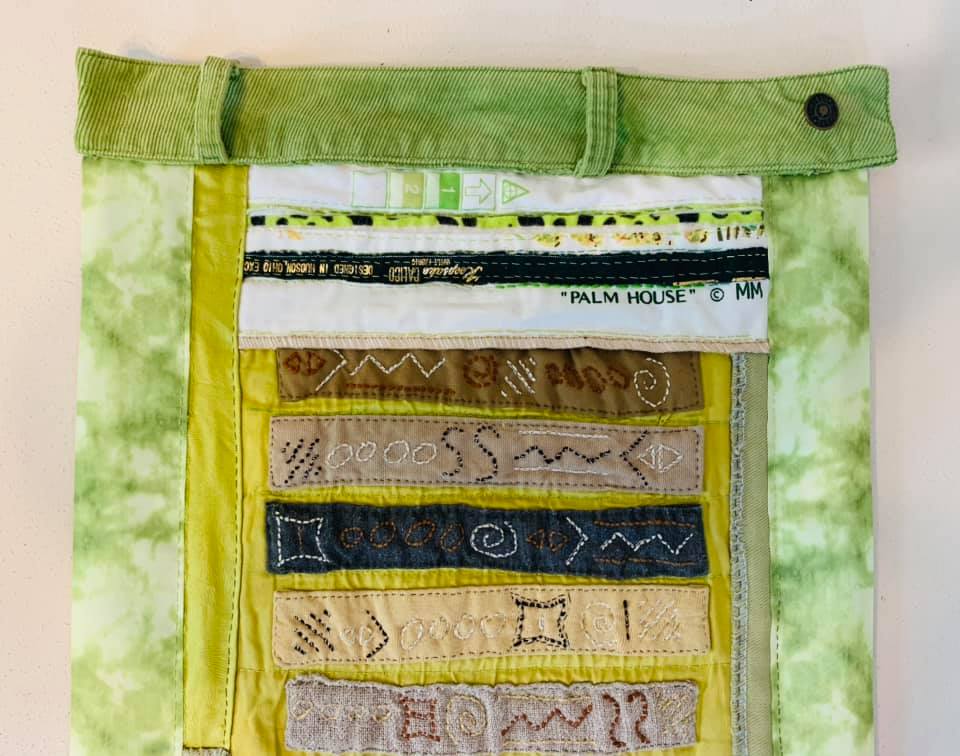
At the top is part of a waistband from some Lime Green corduroy pants.
Here is the top seen a little closer.
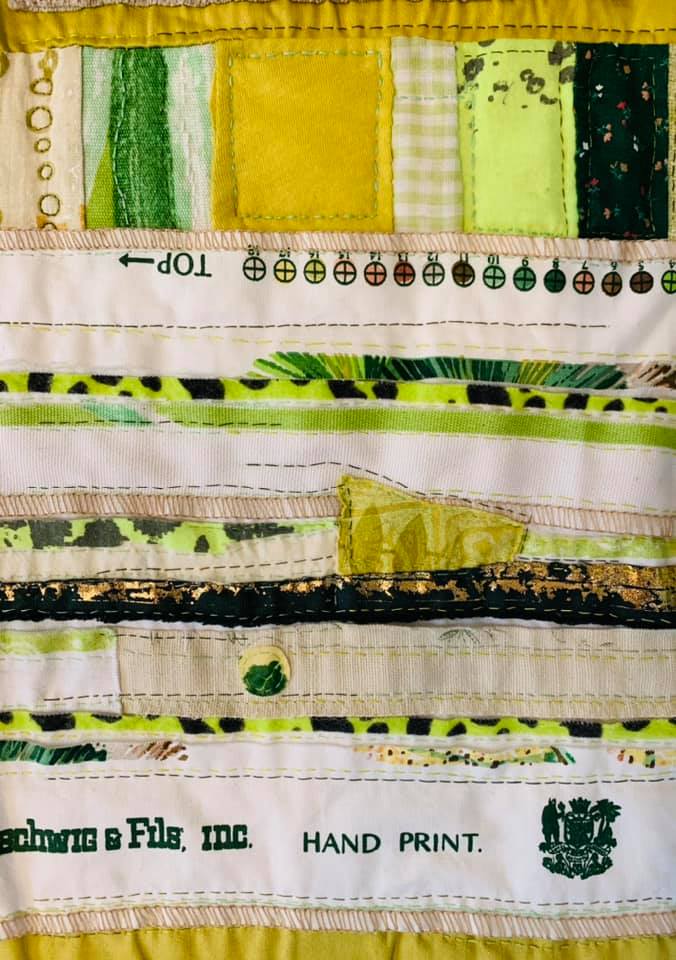
Here is a close-up of some stitching. I had some fun adding on some pieces with raw edges and treating some of my stitches like I was drawing on abstract collages in one of my art journals.
On some sections I used the pattern on the fabric as inspiration for how to do the quilting stitching. There are fabrics in this section from one of my old sheets and even a couple of pieces that I printed on with rubber stamps of my own design.
Here is the pocket. The jeans they came from were not mine – I’ve had them in my fabric stash for so long I’m not sure where they came from. The light colored denim pieces tie-dyed with black are from a pair of jeans I dyed and wore in college.
Here is the bottom end. There are fabrics in this section from sewn items my late Mom made in the early 1980s, some more fabric I printed and fabric from the ties and table runners from my wedding! My quilting friend Kate also gave me a lot of beautiful scraps I used in this section.

“Experimental Art Quilt #1” is for sale on Etsy. Here is a link to the listing:

Experimental Art Quilt #1 – Green, Aqua, Blue

Tutorial – Make a Shadow Box From An Old Drawer

Make a Shadow Box From An Old Drawer

It’s a lot of fun to salvage an old drawer and turn it into an attractive and functional shadow box. Last week I taught a class at Schnarr’s Hardware in Webster Groves to show people some creative possibilities for old drawers and give them some ideas for displaying memorabilia. The day after the class we published a tutorial and some video of the class so you can try the project at home.

Read more on the Schnarr’s blog

Come see me at the Fall Art Walk in Old Webster – October 6-15, 2017

Old Webster Fall Art Walk

Stamping and Printing with Found Objects

I hope you can visit Schnarr’s Hardware in Webster Groves Missouri between October 6 and 15th to see my display for the Old Webster Art Walk!

The theme of my show will be things made from recycled materials. If you’re into upcycling and repurposing, you’ll get a lot of ideas! On Saturday October 7 and 14th, I’ll also be doing a demo in the store from 12-4 pm. On the 7th, see how to make art prints with recycled and found materials. On the 14th, I’ll show you how to make fun fall greeting cards.

Come join us for a self-guided tour of many different area businesses in Webster Groves, all with a different artist and art display. For more information: https://oldwebsterartwalk.com/