Here is a quick little “housekeeping” notice. I have a business Facebook page called Carolyn’s Stamp Store that I started back in 2011 to help market my rubber art stamp line. After expanding into other art supplies in addition to the other rubber stamps, I renamed my Etsy shop CarolynHDesign.
The Carolyn’s Stamp Store Facebook page has been getting a lot more traffic lately so I updated some of the info on it this morning so people who visit it don’t get TOO lost and confused. I have a lot of tidying up to do on it as well as on most of my online accounts and web sites.
The month of July 2023 will be my 25th anniversary of launching my first web site, Lime Green Evolution World of Art, later renamed to www.limegreennews.com! Things really change a lot in 25 years don’t they! The Lime Green News site needs a lot of repair and updating but still has a lot of content on it, some of it useful if you ignore the aging infrastructure. I have a very different philosophy of web sites now than when I started. As I repair I will start replacing the infrastructure bit by bit while keeping some things “old fashioned” on purpose.
Back in 2020, my husband Tom and I made a series of videos to help share art with people, which we called Virtual Art Parties. We did 8 or 9 videos before getting overwhelmed with exhaustion and personal crises (mostly affecting me). I had nothing in the tank for awhile to attempt to help other people, I needed everything I had to survive then help myself so I could help others. I attempted to restart the Virtual Art Party series this past spring. Here is the resulting video with special guest my Dad, Don Hasenfratz. This was going to be a lot longer but it got cut off early, maybe by a wifi glitch or something. I didn’t realize until it was over that only the introduction was recorded. After watching it, I am sharing it here because I still like what was conveyed. Check it out if you’re interested.
I have experimented with other video platforms in the meantime, but for now Facebook Live is still the easiest that I know so I’ll likely keep using it for awhile as I gradually restart the video series.
Some of my finished scribble art. This is the second of two scribbles. Are these finished “art”? Maybe they are, but even if they are not I might use the resulting textures as collage elements or image transfers in other projects in the future. They should look pretty good as is with a nice mat and frame.
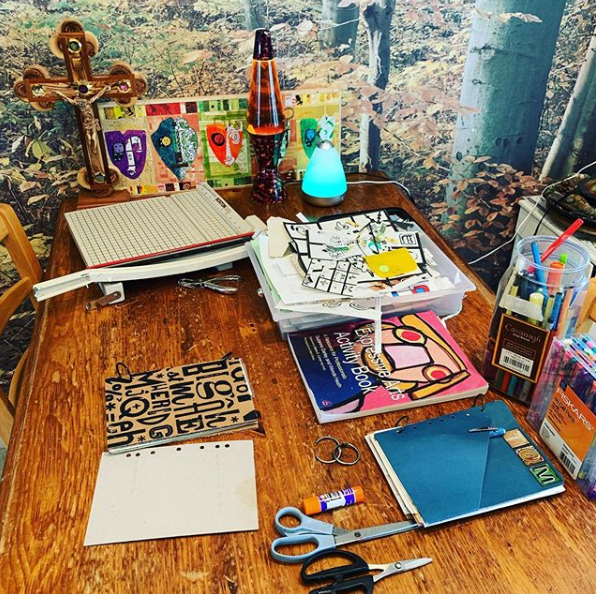
The work on this page was inspired by the project “Collaborative scribble drawing” in the Expressive Arts Activity Book that I use a lot for study and inspiration (Darley and Heath 60).
Scribble art is a great icebreaker. No artistic talent or skill is needed so it’s easy to get started. If done as art therapy it can also create a rapport between the facilitator and the client by making it into a collaborative activity (Darley and Heath 60). For example, in a two person exercise each person can make a scribble on a blank piece of paper, then the participants trade papers and finish off each others drawings. The initial scribble can even be made with eyes closed to take all the pressure off of having to show artistic skill. Abstract results can also be a way to encourage conversation about something the scribble might remind the participants about (Darley and Heath 60). Following are several examples of scribble art that I made with my husband Tom and my Dad Don.
If you want to try something like these samples, here is a list for tools and materials.
Tools and Materials
Bristol board or drawing paper
Pencil
Eraser
Stencils
Black markers in various widths
Colored pencils
Found papers for collage – I used the insides of business envelopes
Tracing paper
Tape
Glue stick
Scribble art by me and Tom. I did moths on the left with Tom’s scribble and he used my scribble to add in various textures from stencils on the right.
Tom and I each made a scribble with our eyes closed with black marker on Bristol board. Next we traded papers and used commercial stencils by The Crafter’s Workshop to further develop the designs. Then we finished off our designs by coloring in parts of the image with colored pencils and markers.
Tom’s scribble was a challenge to work with because it was very dense. It did remind me of something – I turned it into moths trapped and tangled to represent trying to overcome some kind of frustration or challenge. This kind of work is not only good for the brain but just from a visual point of view it’s a good way to discover effects you might want to use in other art later on.
Scribble art by my Dad. Texture practice on the left, filling in the scribble on the right.
These examples were made by my Dad. First I gave him an introduction to Zentangle and doodle art which I wrote about in a previous blog post. He practiced making some repeating textures. Then we each made scribbles on two sheets of drawing paper. We kept our favorite of the two sheets then traded the other. Then we filled the sheets in with textures from our samplers. For extra fun we glued cutouts from the insides of business envelopes into some of the areas in the scribbles. I thought they looked cool with the hand-drawn textures. The tape and tracing paper from the materials list were used along with the pencil to get my collaged paper pieces to fit in their spots on the scribble drawing.
This is my first scribble art sheet in progress. I think it’s against the “rules” of Zentangle to pre-draw pencil lines as a guide before rendering the designs in marker. But I did it anyway!My finished scribble art after erasing the pencil lines. Bristol board and robust good quality drawing paper will stand up to a lot of erasing if you need it.I made a scribble version of Faux Postage using a printable template I shared awhile back. Dad had started this sheet awhile ago by making marks with stencils and markers in the upper left. He’d left the sheet unfinished for a year or two so I asked him if I could finish it. I was inspired by blue and black patterned envelope insides to make a monochromatic design on the sheet. When I finished marker drawing, coloring and collaging, I glued on some little pieces of paper printed with rubber stamps to evoke postage stamps. I’m going to get printouts made of this sheet and send it out to other artists when I next do some Mail Art.
I’m grateful to Dad and and Tom for doing art with me from time to time. I sure do feel a lot less lonely when I get to do a project with somebody. It helps us all with our general well-being and is also a great way to spend time together. When you’re working on art that is mostly mindless, once you get started, it’s easy to talk about various things. It’s also a good activity to do alone when you’re stressed and need to get in a better state of mind. The finished product really isn’t the point if you’re doing it for therapeutic reasons, but I also get skills and inspiration for future art work while I practice.
Works Cited andRecommended Reading
Darley, Suzanne and Wende Heath. “The Expressive Arts Activity Book: A Resource for Professionals”. Jessica Kingsley Publishers, 2008.