Mini book envelope template Paper cutter Stapler Scissors Glue stick Card stock Scrap chipboard Marker Pen Pencil Assorted text weight paper Craft knife Cutting mat Metal ruler Needle and thread Buttons Twine Needle tool or awl for poking holes for sewing (optional) Circular hole punch (optional)
Instructions
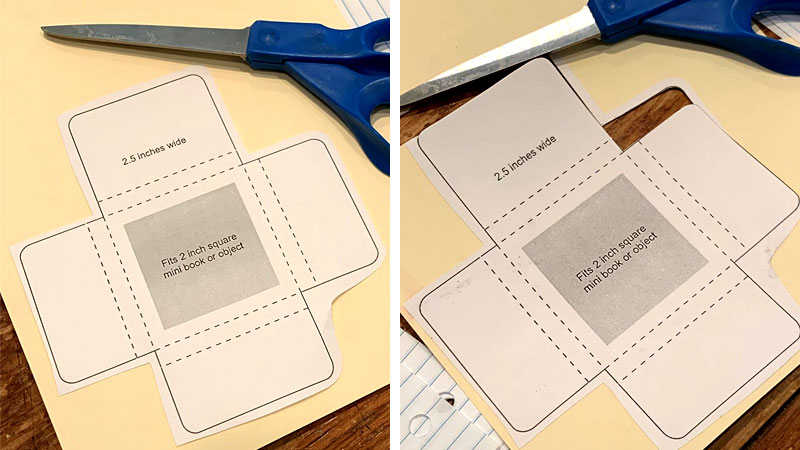
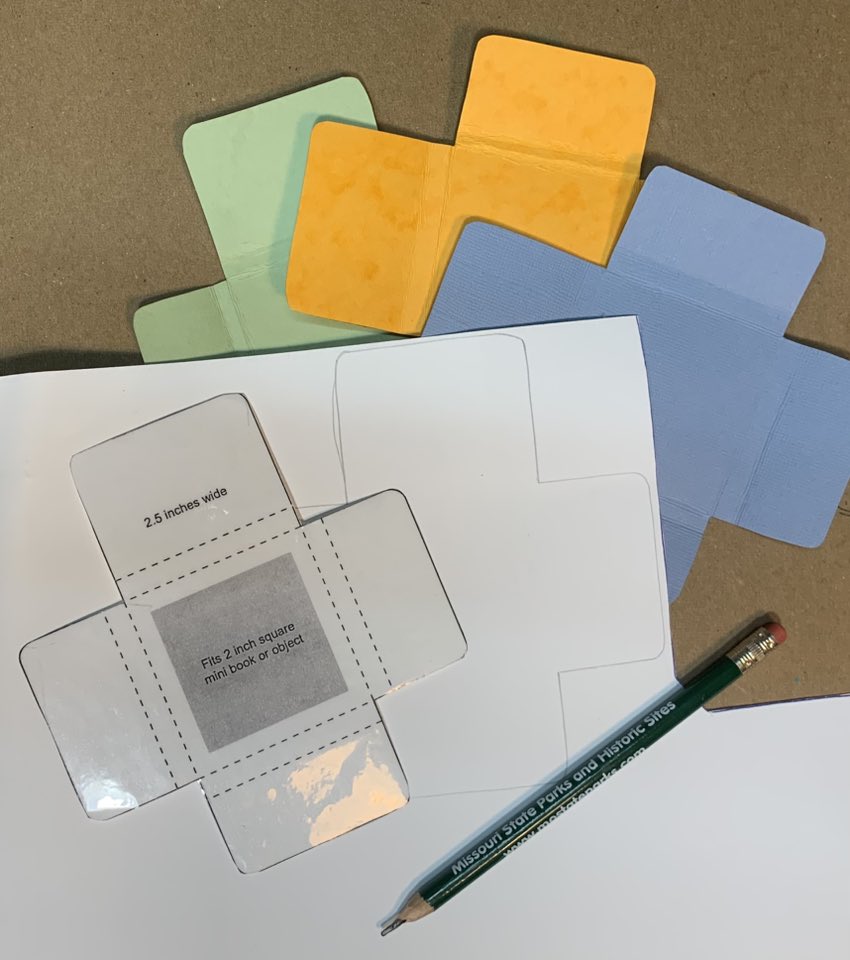
Download and print out the mini book envelope template. Roughly cut it out and glue it to card stock with a glue stick. Cut it out along the edges. Now it’s durable for repeated use.
Glue the printed out template onto scrap cardstock for durability, then trim.
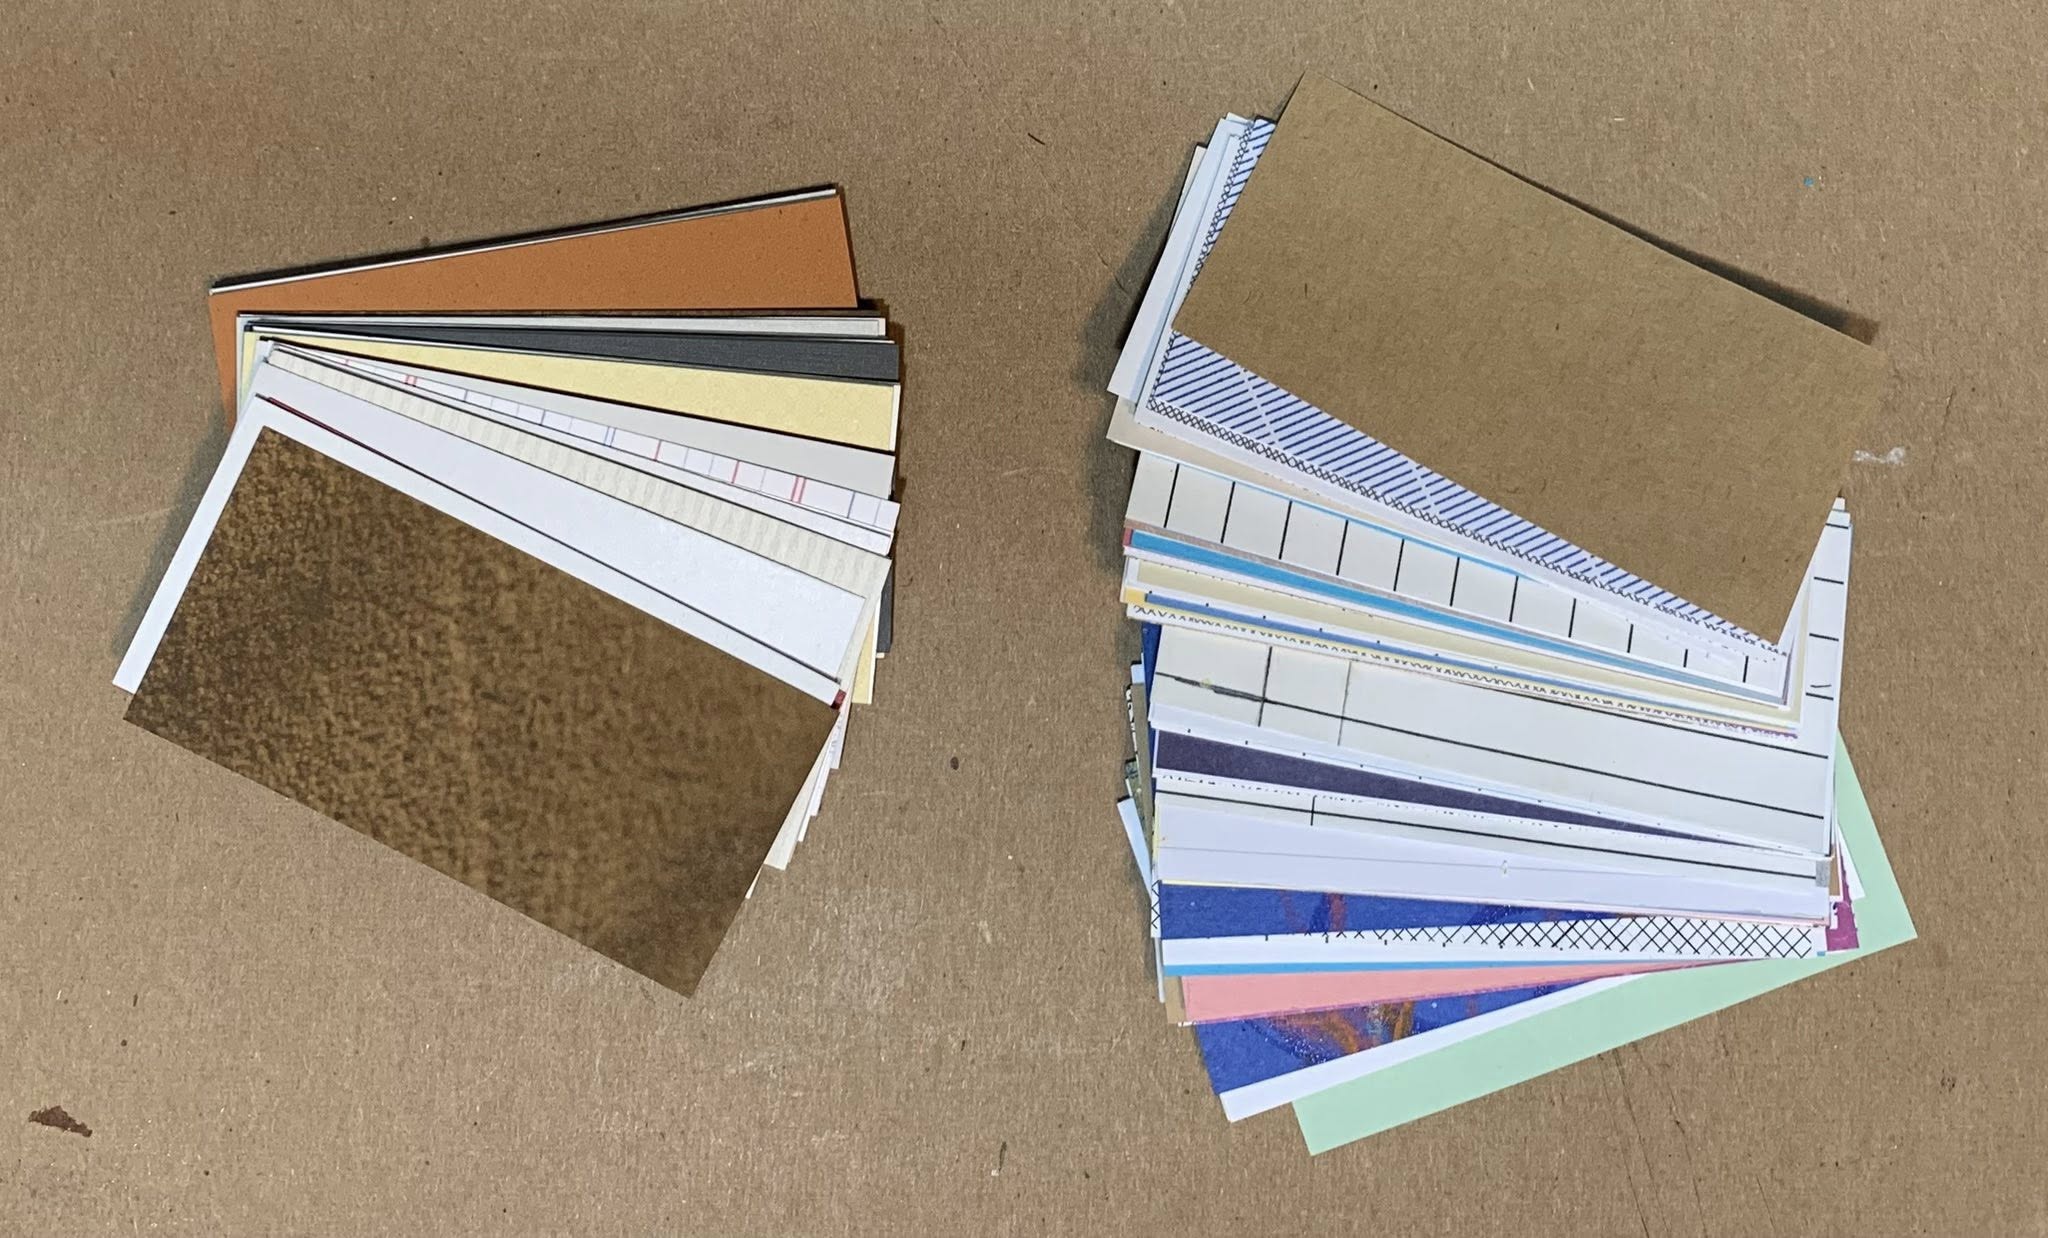
Get an assortment of text weight paper, like typing or copy paper, and cut it into 4 inch by 2 inch pieces.
Fold three or four of these 4 x 2 inch pieces in half.
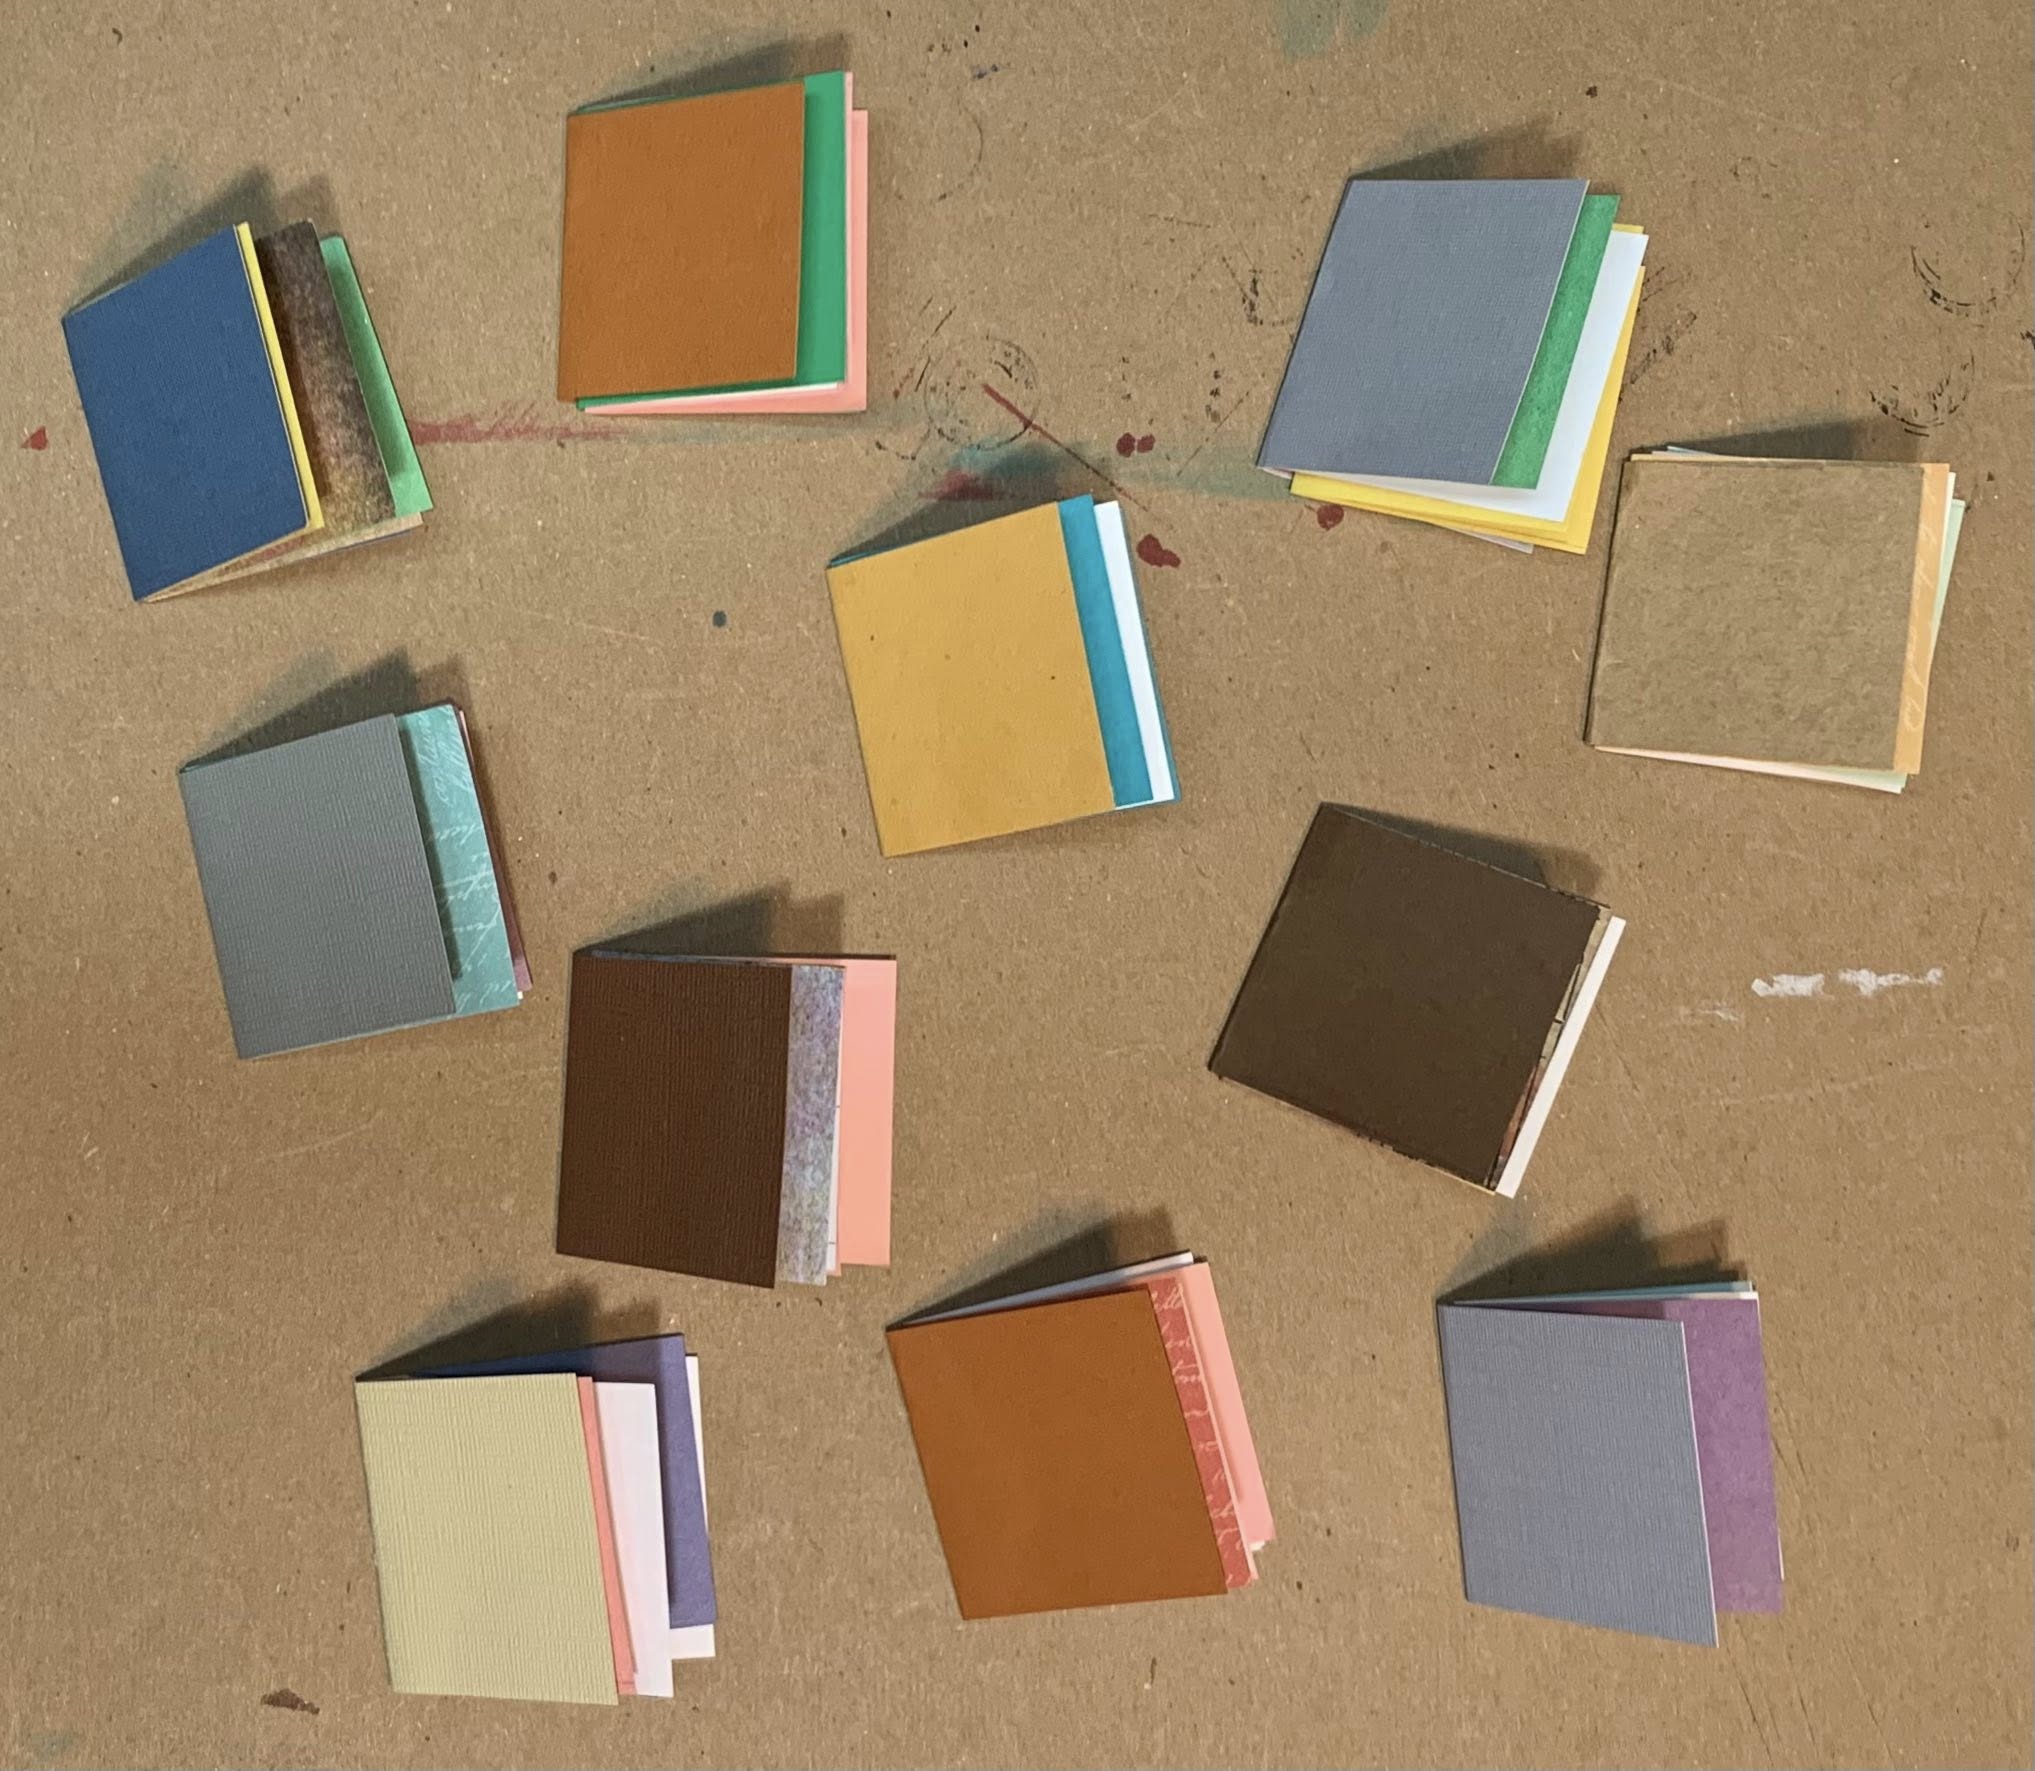
Cut some assorted card stock also into 4 x 2 inch pieces. Fold one in half for a cover for each book you want to make, over the folded text weight pieces.
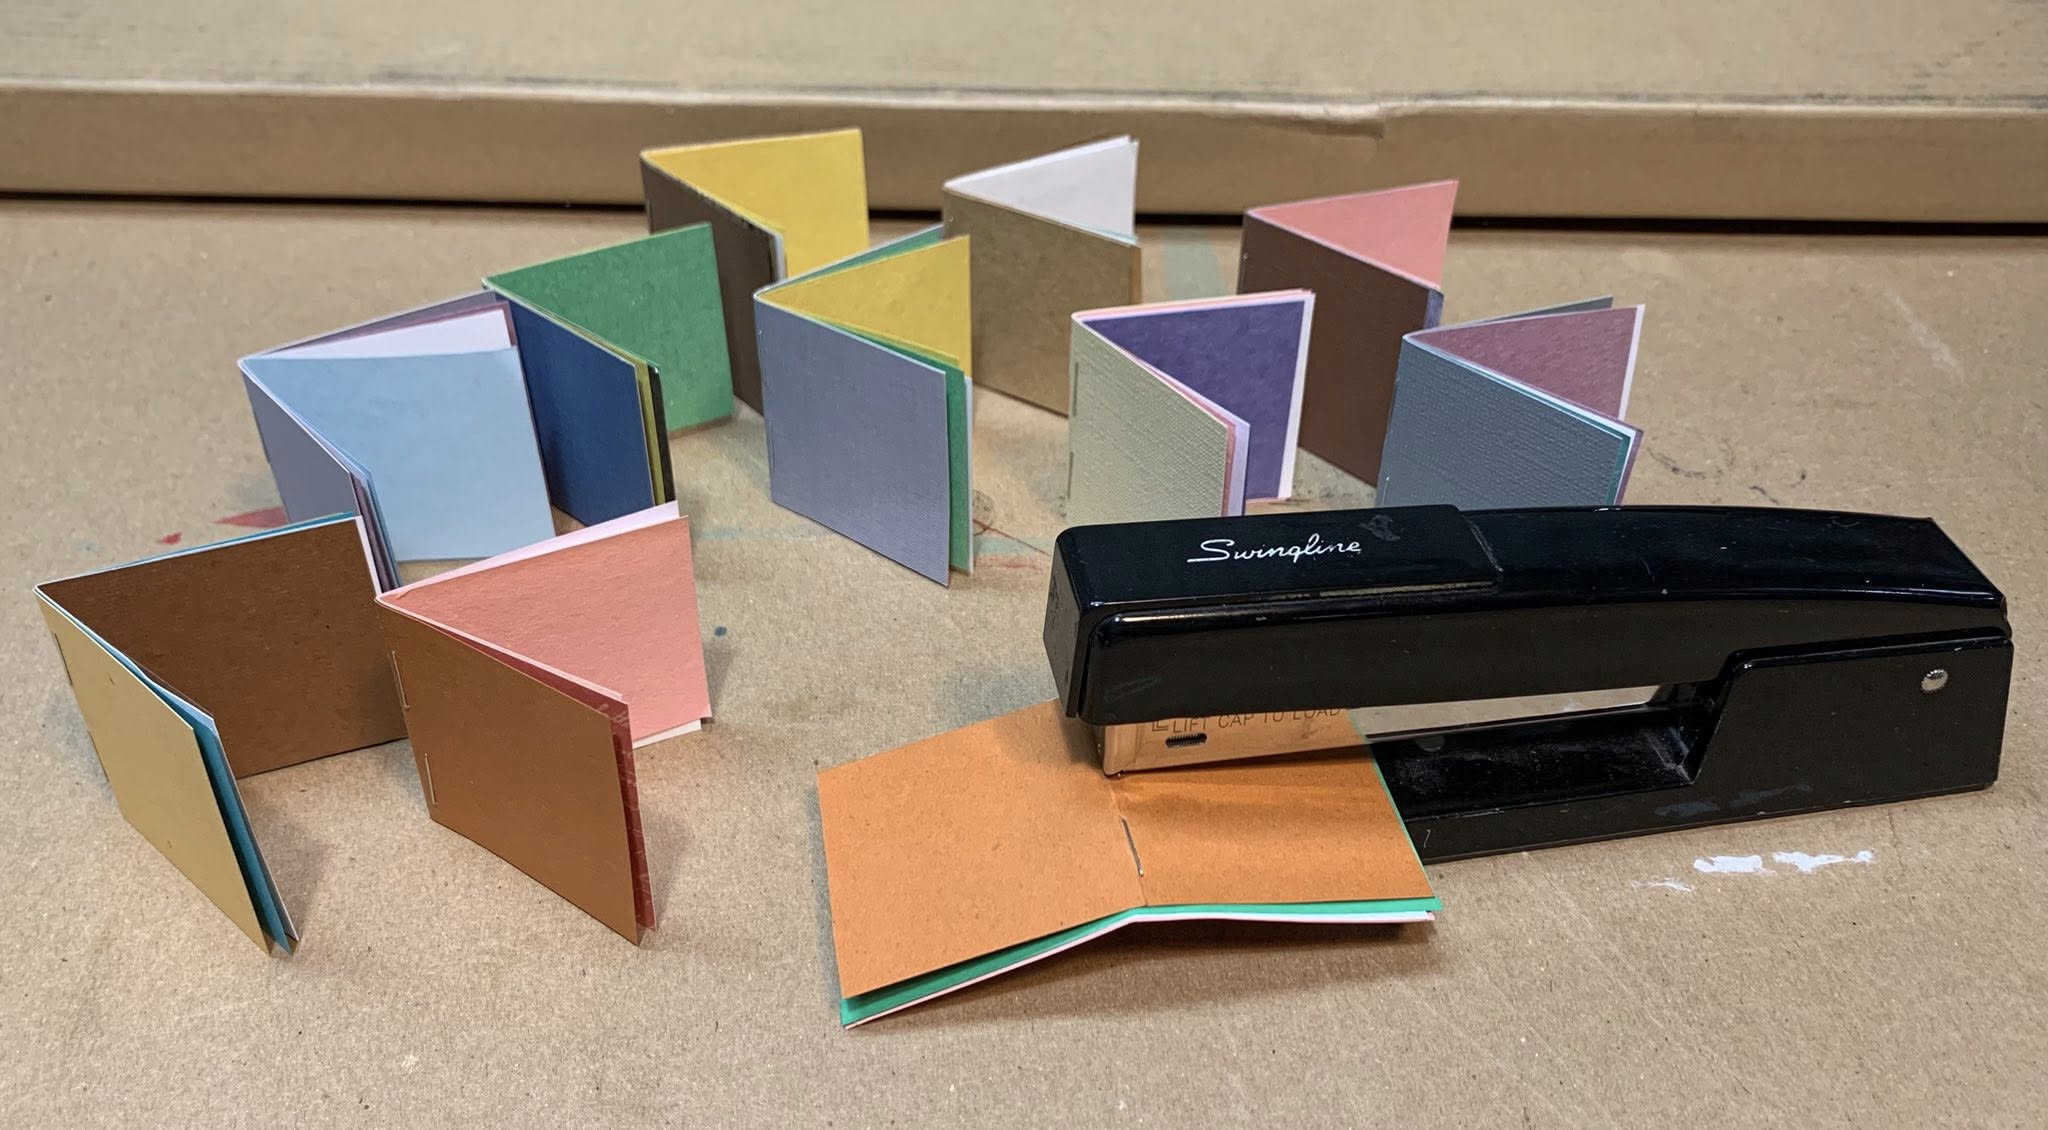
Staple each book at the spine.
If needed to make the pages and cover even, trim the fore edge of each book with a utility knife and ruler, or a paper cutter.
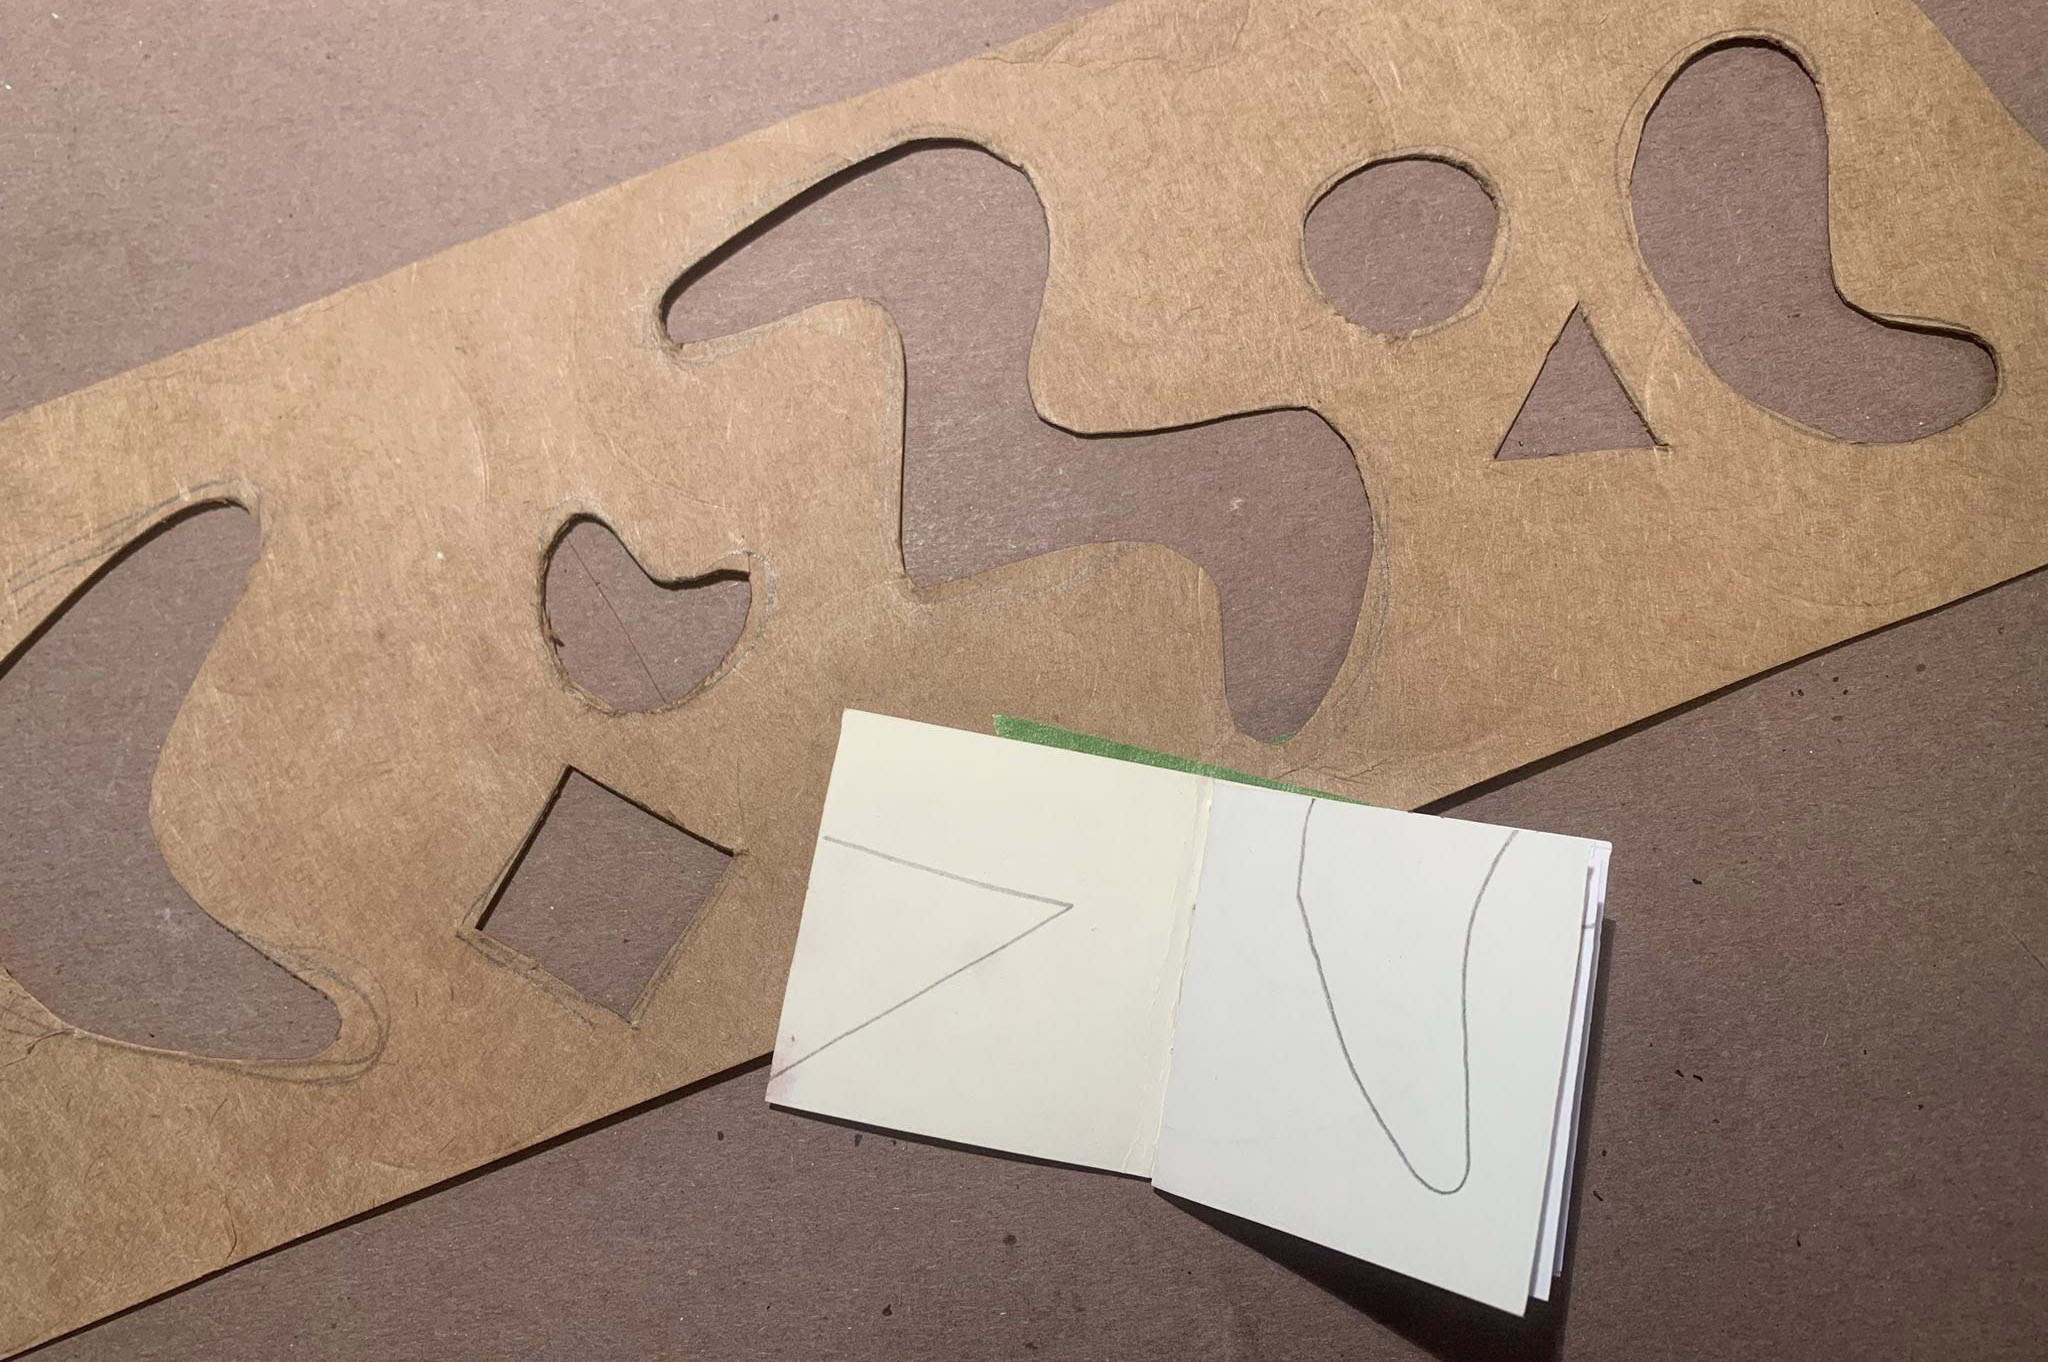
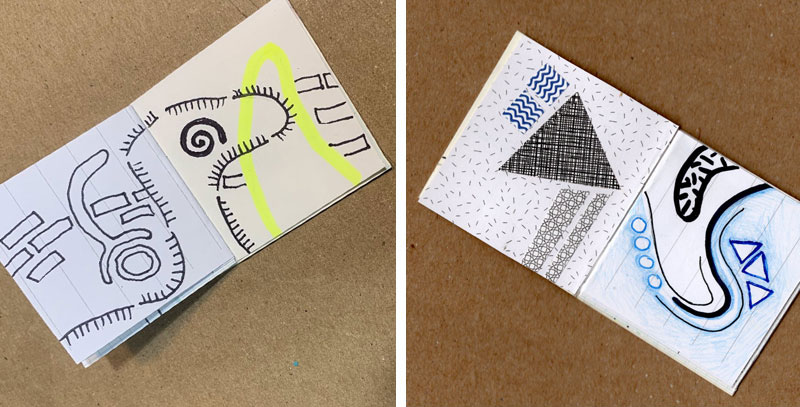
Now you can doodle, color and collage on the tiny book pages whenever you have a little time. You can freehand draw or use a stencil to help you get started.
I made a stencil out of some scrap chipboard of some of my favorite doodle shapes to trace and help jump start some doodle pages.Doodling and collaging using my stencil shapes as a starting point.
To make an envelope for your book, trace the mini book envelope template onto the reverse side of some card stock.
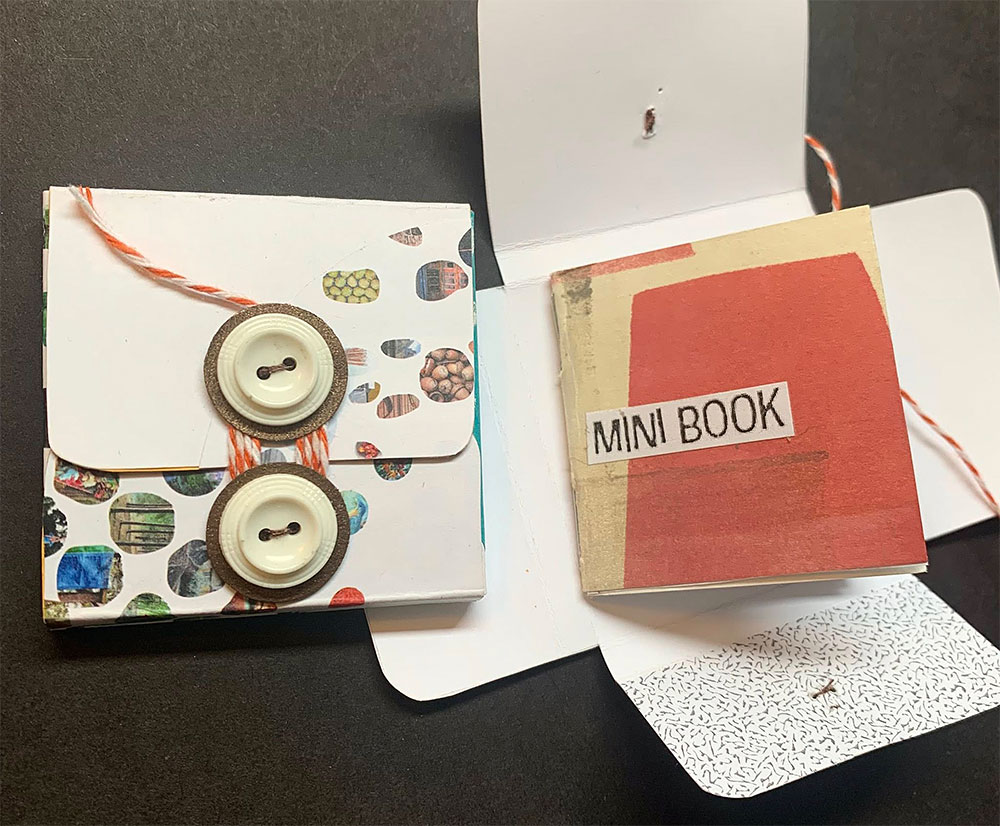
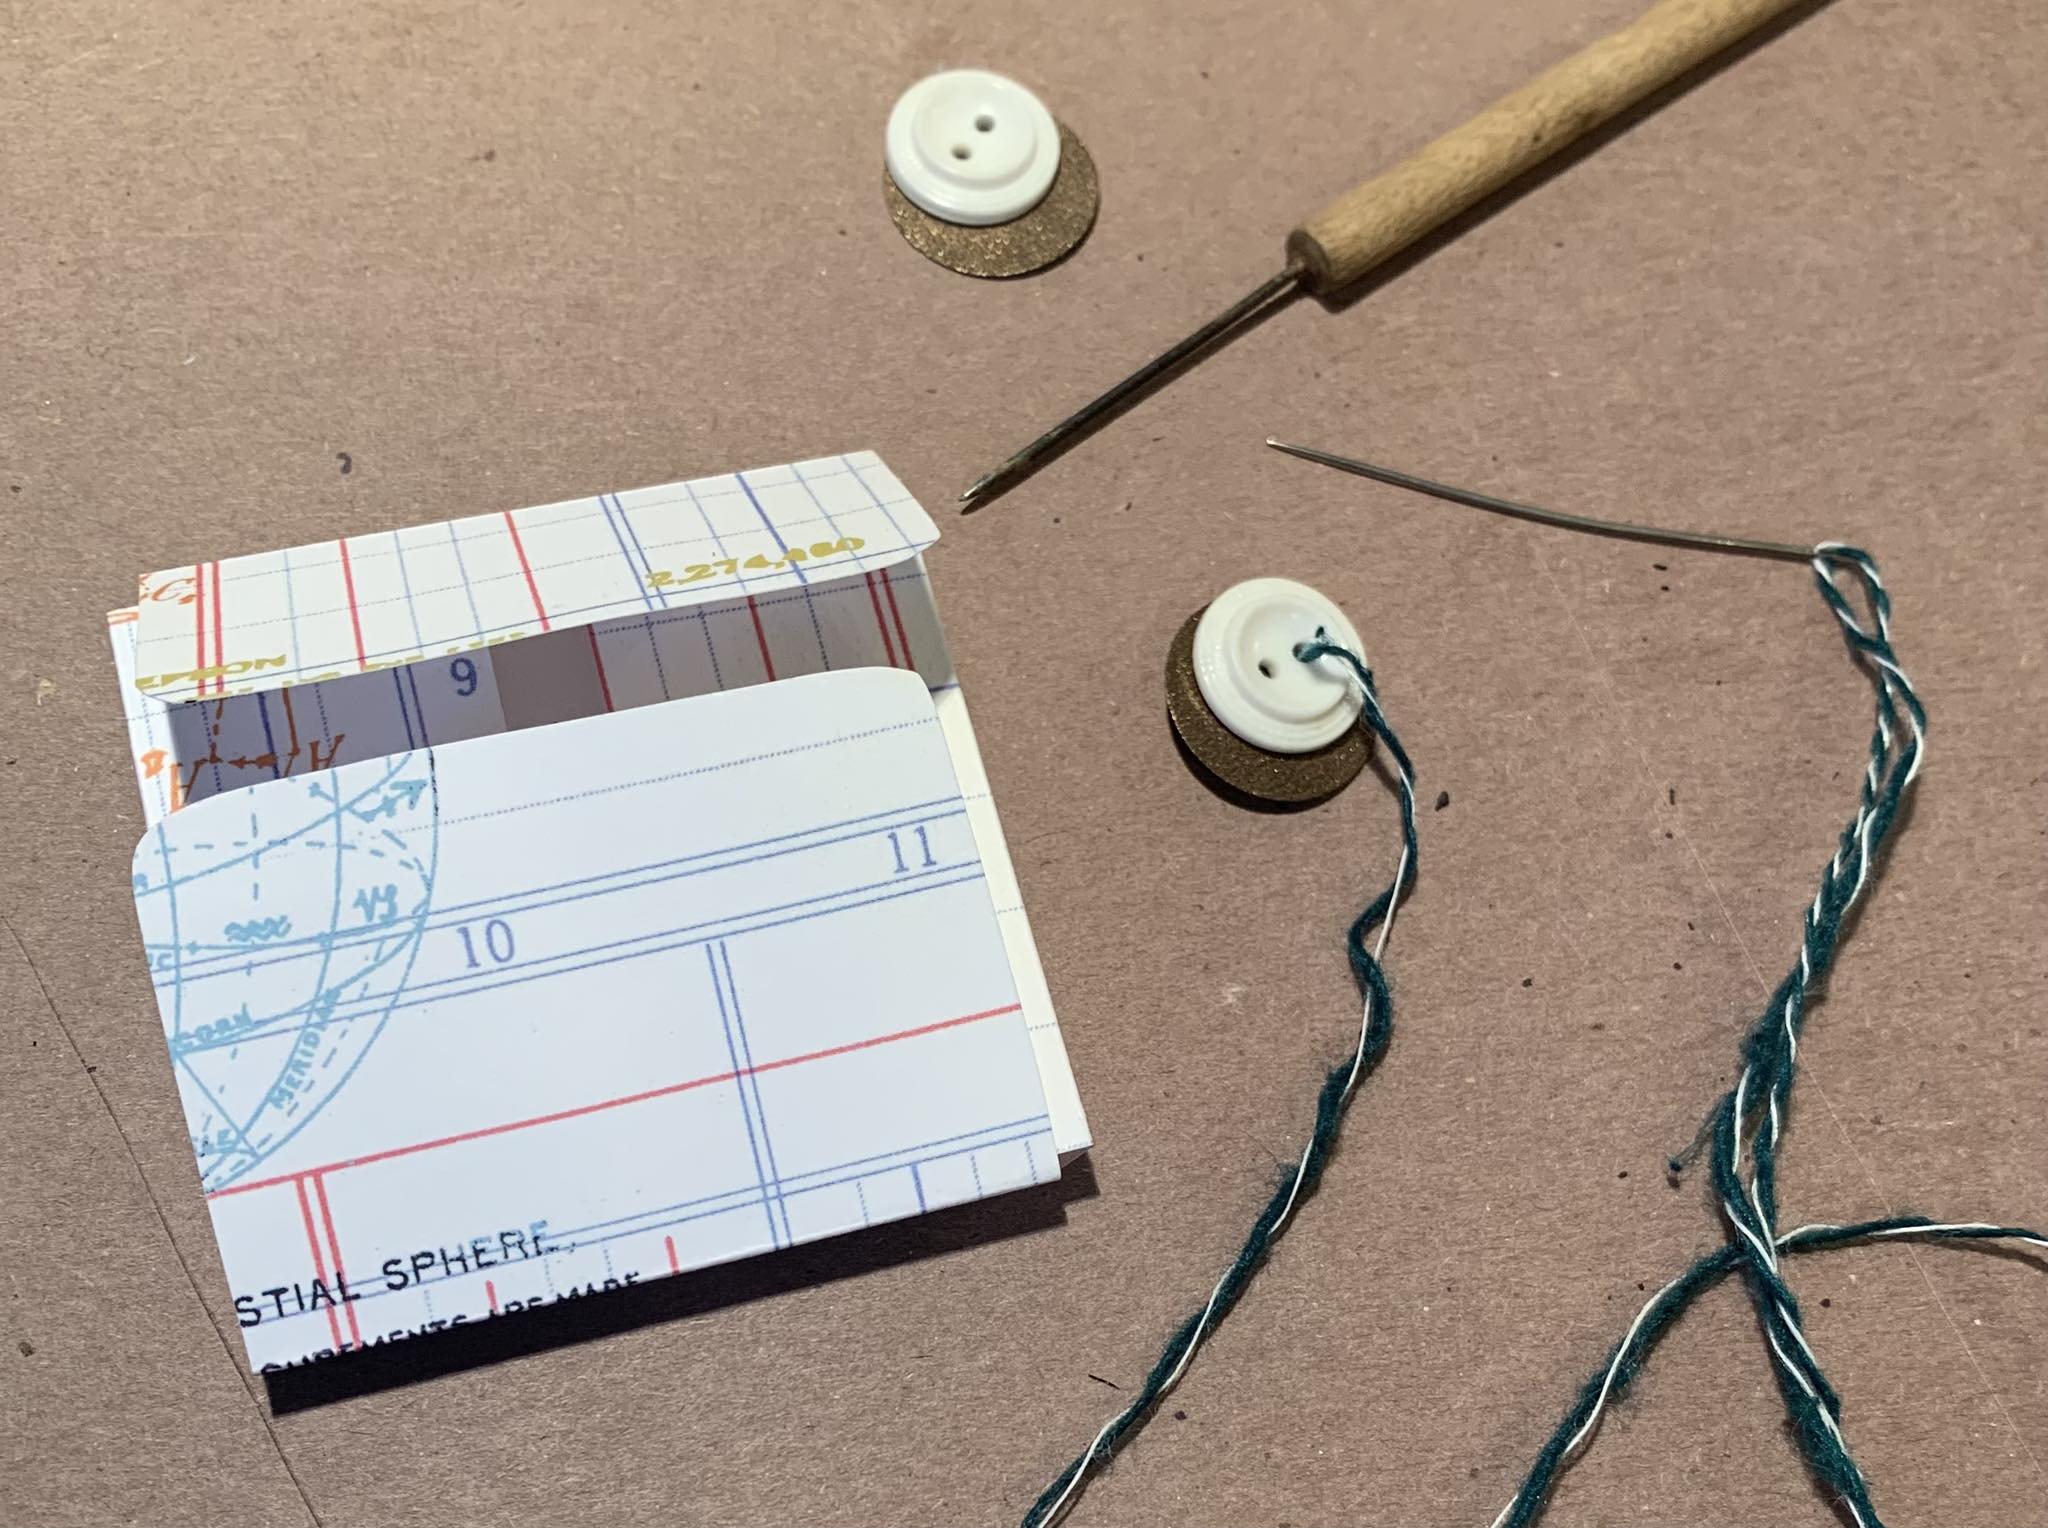
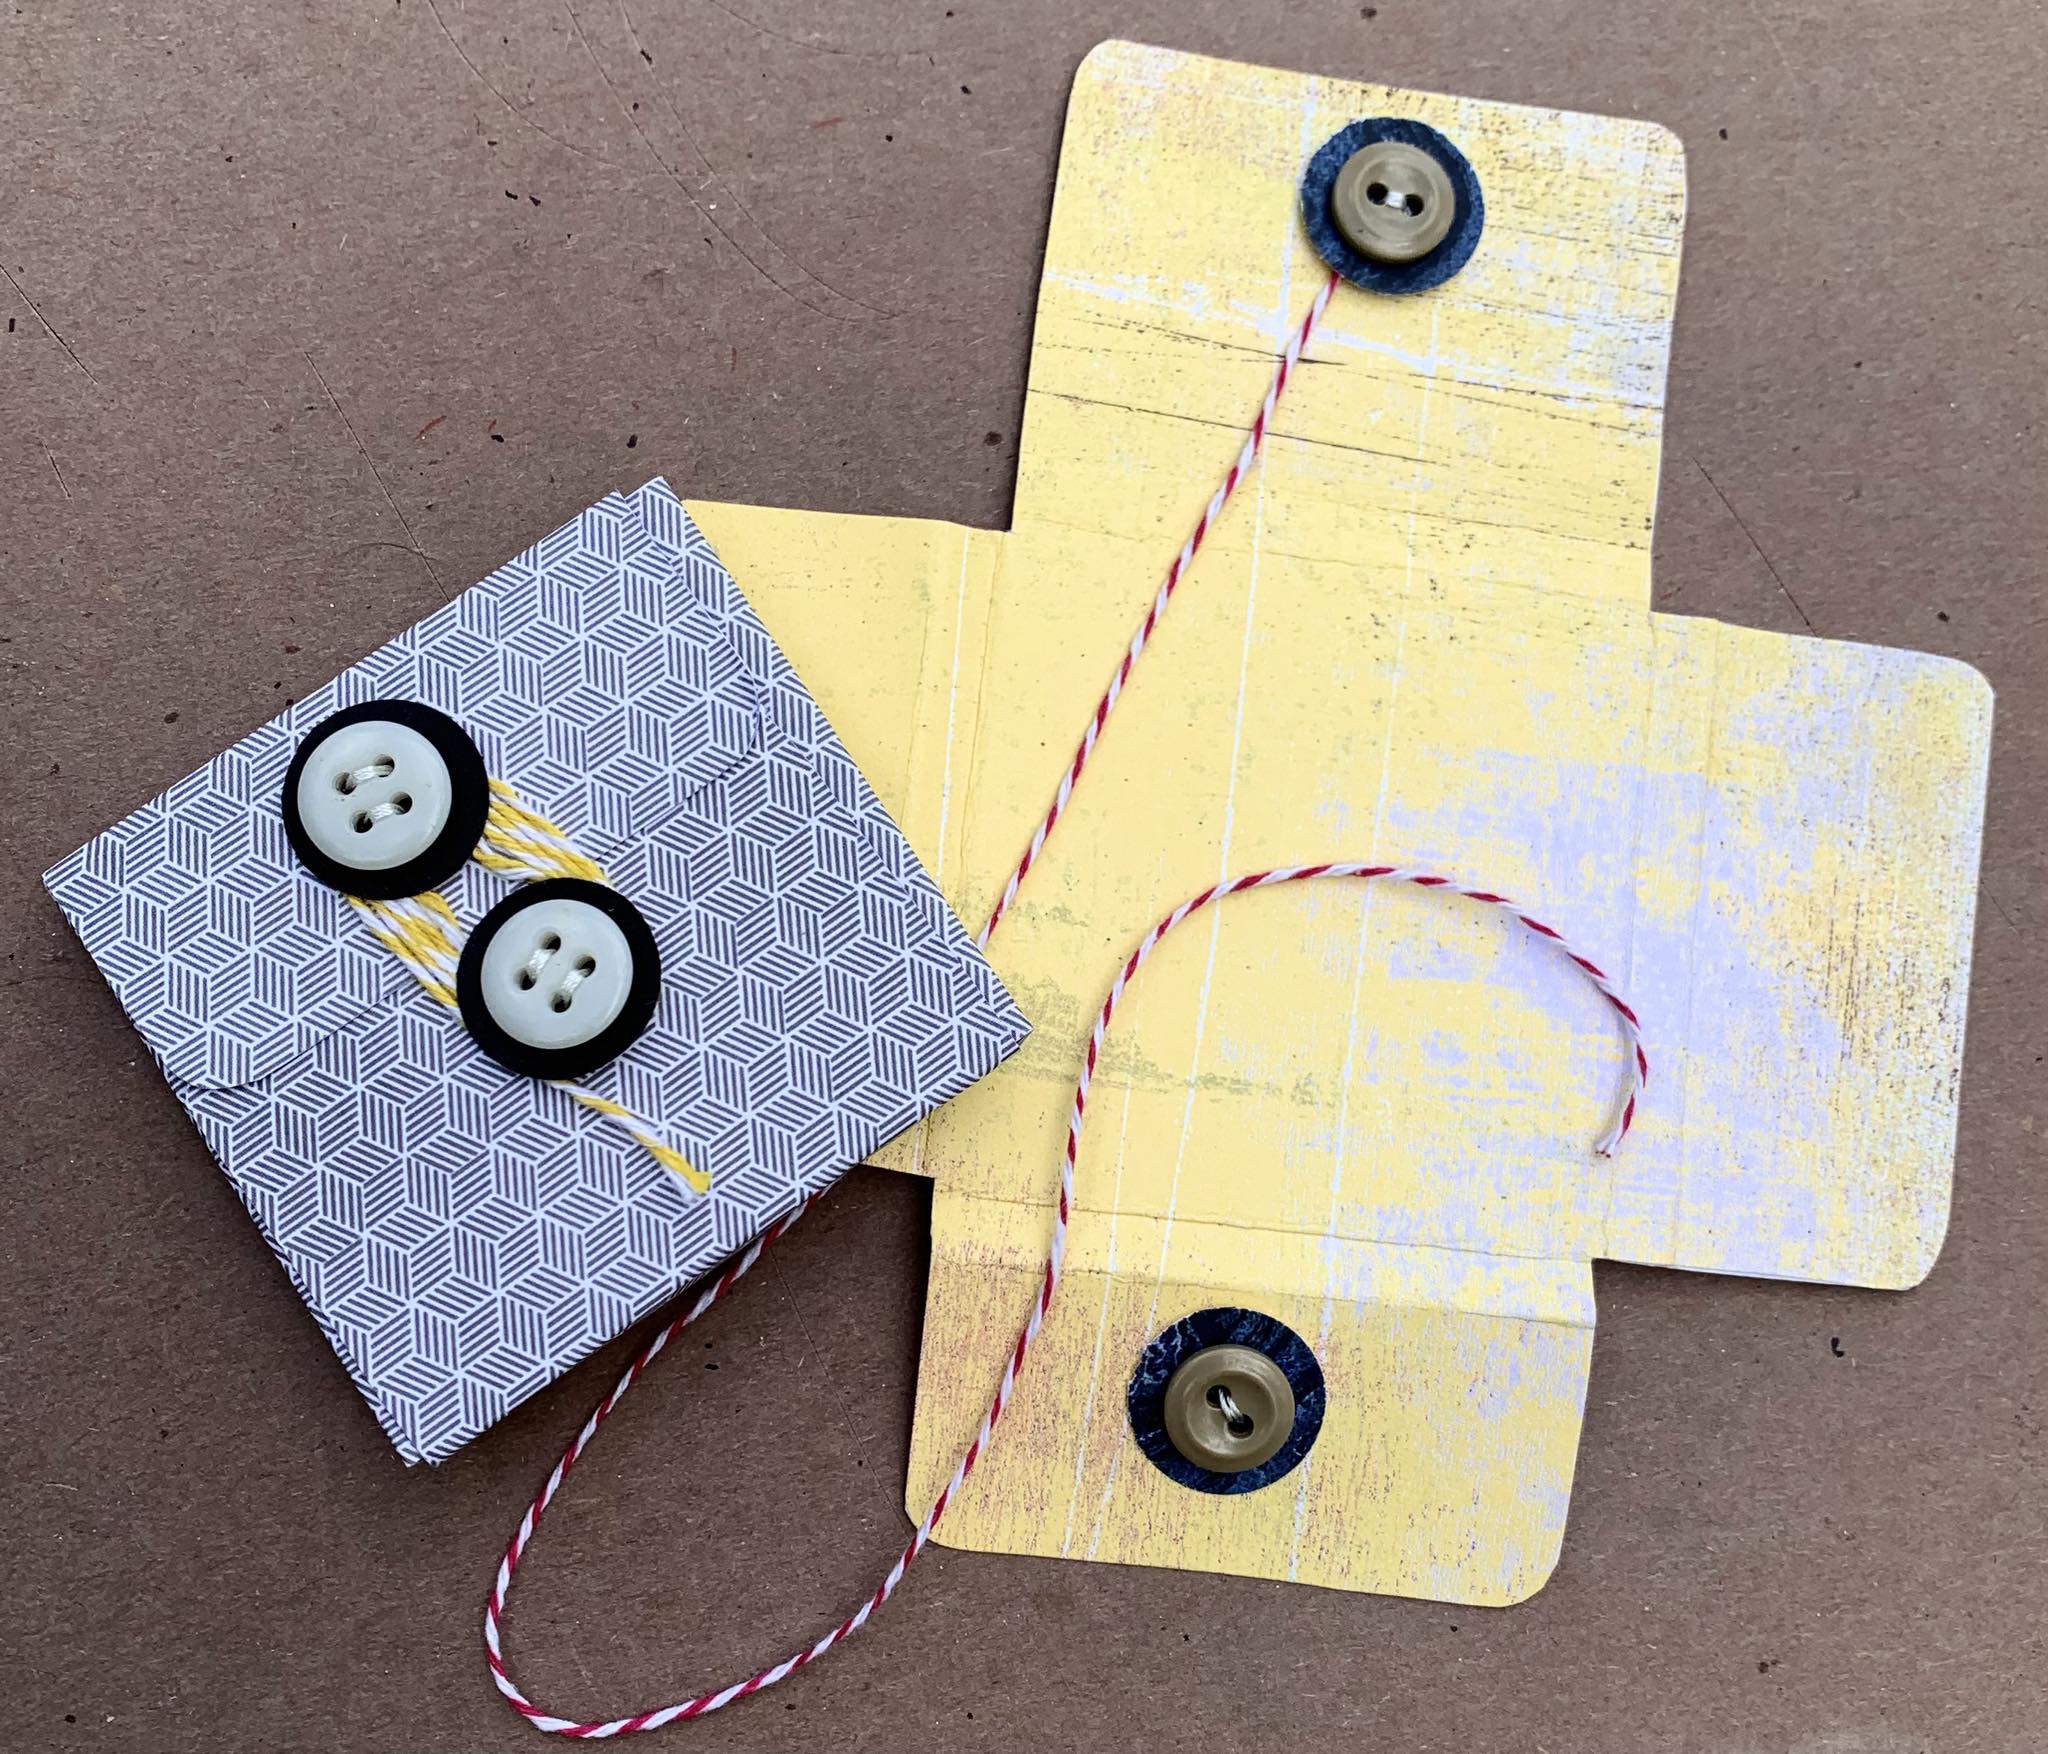
Fold the envelope at the dotted line, then sew buttons on the flaps. If you want, you can cut some circles out of cardstock with a punch to set off the buttons. Tie a piece of twine to one of the buttons to make the envelope closure. You’re done!
Sew buttons to the top and bottom flaps so you can wind twine around them for a closure when the envelope is closed.Tie twine to one of the buttons to make a wind around closure.
Here is a link to a similar project I made several years ago, this time with mini accordion books:
Many years ago, as one of my Mail Art projects, I used to fold two-inch wide pieces of paper into little accordion books and decorate them with rubber stamps and pieces of paper that I cut out from incoming Mail Art and decorated envelopes. I carved a rubber stamp with a little graphic of a Mail Box and the words “Bits of Mail” to stamp on the little book covers. Before sending them out, I dated and numbered them on the back. I saved one example for my archives and made a few color copies to use later as collage inspirations. While I was getting the color copies made, it came up in conversation with the copy center worker that one of the black and white machines had red toner in it. I made a lot of copies with the red toner because I knew I’d find uses for the copies later!
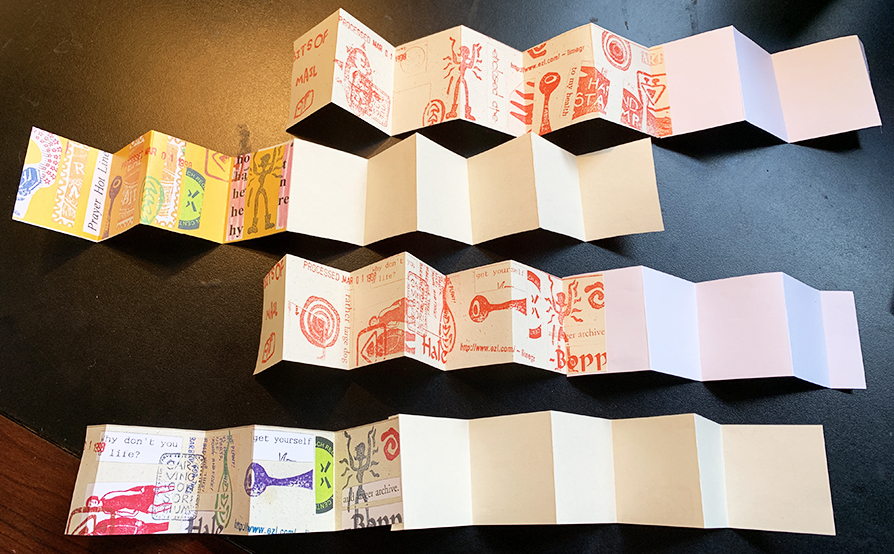
One of my original mini accordion books from 1998 with some color and red ink copies I made at the time for future collage work.
Some of my old collage papers along with my Mail Archives had been in storage unseen for 20 years or more. I’ve been getting some of them out lately as I move stuff. With fresh eyes, I’m getting some new ideas and inspiration for improving old ideas. I decided to take these old copies and make new versions of the mini accordion books.
First I cut up the copies that weren’t already in strips into two inch wide pieces, the same size as the originals. Then I folded them and glued one red ink copy to one color copy back to back to make longer books.
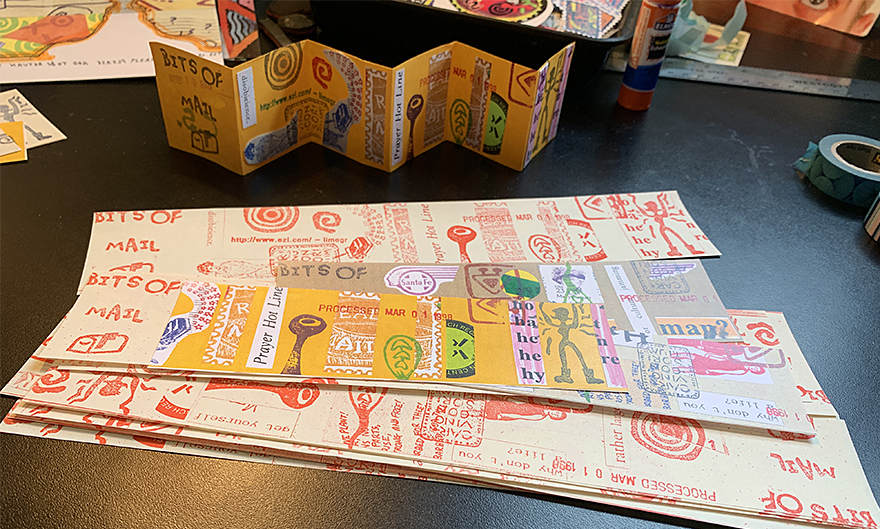
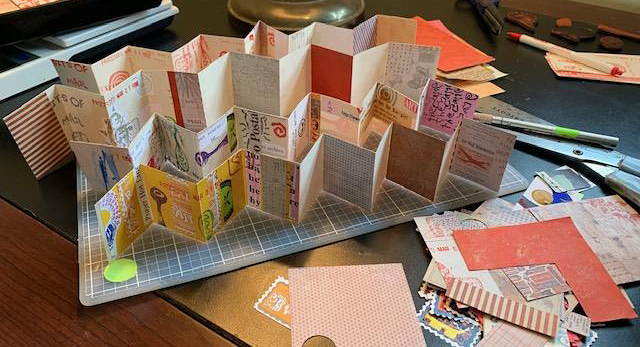
Old copies with color ink and red ink cut into two-inch strips, folded and glued to make mini accordion books.
I had a large paper crafting stash by 1998 already because I started making collages in 1985 in my first college design class and I’ve been collecting interesting papers for collages ever since. In the intervening years, there are a lot more paper crafting supplies available and some of them are a lot more to my taste than what was available in the late 1990s. Back in the day I would have said I was a “weird” stamper not a “cute” stamper. I also enjoy sophisticated antique imagery and have a lot of papers from two of my favorite brands, Tim Holtz and 7 Gypsies, in my stash. I decided that the Tim Holtz idea-ology Correspondence paper pad was a good fit for this project and I glued some of the postal themed textures onto a selection of the blank pages of my books. The dominant colors in this series are red white and blue which looks good with the red toner ink on some of my papers and the postal motifs fit the “Bits of Mail” theme.
Next I went through I box of paper scraps that I keep for teaching a card class that I run from time to time on how to make greeting cards from little scraps, rubber stamps and stencils. I took out a selection of papers that I thought would make good backgrounds and glued them in a random fashion to every other page, leaving some blank.
Mini accordion books ready for adding content.
There is an old trick that I learned in drawing class long ago to help get unstuck if you are facing a blank piece of paper with no ideas – draw a quick frame around your drawing area before you start. This helps because it’s less daunting to start drawing on a paper that you’ve made some marks on than a blank surface. I get the same creative boost from using scrap papers for perhaps a similar reason – there is already some content there, however sparse and random, and that is often all I need to get me going in a creative direction.
The little accordion books I’ve made are pictured above ready to add content. What kind of content would that be? There are lots of things I could do with these little books. I could write, draw, stamp or paste in words and/or images to make a finished artistic statement. I could use them as a storage and display folio for tiny works of art such as postage stamps, faux postage stamps or tiny photos and images. I could send them off into the Mail Art network as an “add and pass on” project. What would you make?
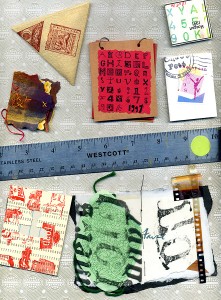
For additional inspiration, here are some samples of tiny books made by other people that I’ve received through the mail over the years. People of any age and ability level can make tiny books. Why not try one?
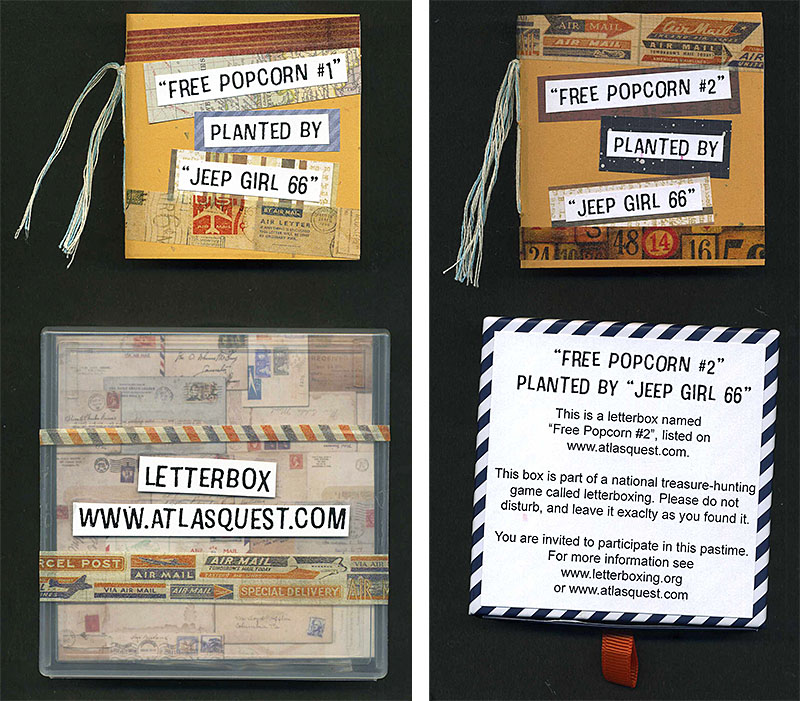
I’ve been involved in the letterboxing hobby since 2010 but I just now got around to planting my first letterboxes. Each box contains a logbook for visitors to stamp in and a hand-carved stamp for finders to stamp into their own personal logbooks. If you want to try to find either of these boxes, go to the web site www.atlasquest.com for clues. If you want to see the stamps in these boxes, you have to find them! It’s against the “rules” for me to show you online!
Screenshot of www.atlasquest.com
If letterboxing looks like an activity you would enjoy, I can teach you how to carve a custom rubber stamp, make a logbook, get clues and look for boxes. I hope you can join me at Schnarr’s Hardware on March 22 and 29, 2018 where I will be teaching: Introduction to Letterboxing