Tools and Materials
Mini book envelope template
Paper cutter
Stapler
Scissors
Glue stick
Card stock
Scrap chipboard
Marker
Pen
Pencil
Assorted text weight paper
Craft knife
Cutting mat
Metal ruler
Needle and thread
Buttons
Twine
Needle tool or awl for poking holes for sewing (optional)
Circular hole punch (optional)
Instructions
Download and print out the mini book envelope template. Roughly cut it out and glue it to card stock with a glue stick. Cut it out along the edges. Now it’s durable for repeated use.


Get an assortment of text weight paper, like typing or copy paper, and cut it into 4 inch by 2 inch pieces.
Fold three or four of these 4 x 2 inch pieces in half.
Cut some assorted card stock also into 4 x 2 inch pieces. Fold one in half for a cover for each book you want to make, over the folded text weight pieces.

Staple each book at the spine.

If needed to make the pages and cover even, trim the fore edge of each book with a utility knife and ruler, or a paper cutter.
Now you can doodle, color and collage on the tiny book pages whenever you have a little time. You can freehand draw or use a stencil to help you get started.


To make an envelope for your book, trace the mini book envelope template onto the reverse side of some card stock.
Fold the envelope at the dotted line, then sew buttons on the flaps. If you want, you can cut some circles out of cardstock with a punch to set off the buttons. Tie a piece of twine to one of the buttons to make the envelope closure. You’re done!


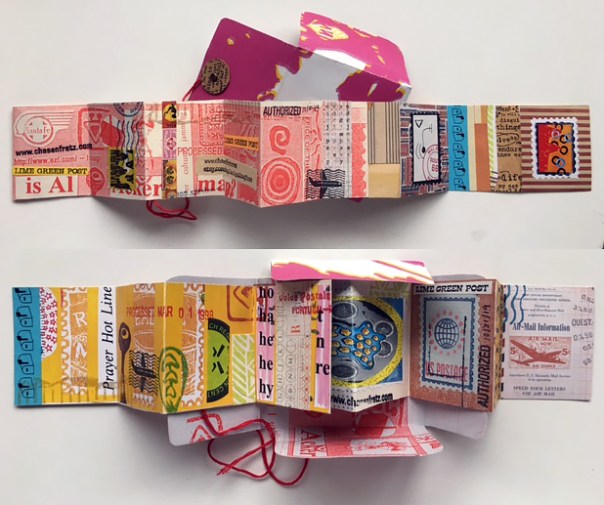
Here is a link to a similar project I made several years ago, this time with mini accordion books: