WHAT: If you have ordered something from my Etsy store recently, or if you get a Christmas card from me, you will find inside one or both of the following invitations for #12daysoftomsbeard.

These tags are intended for drawing on or decorating, then sending back to me, so that I can hang them on Tom’s beard each day from December 25 to January 6. During that time I will take a crazy picture of the results to put on social media for people to find when they search for the hashtag #12daysoftomsbeard. Last year Tom and I experimented with different lighting effects, backgrounds and filters to come up with something unusual each day. Last year I tried to group the beard art items, background and filters by color because bright colors usually go far toward cheering and inspiring me.
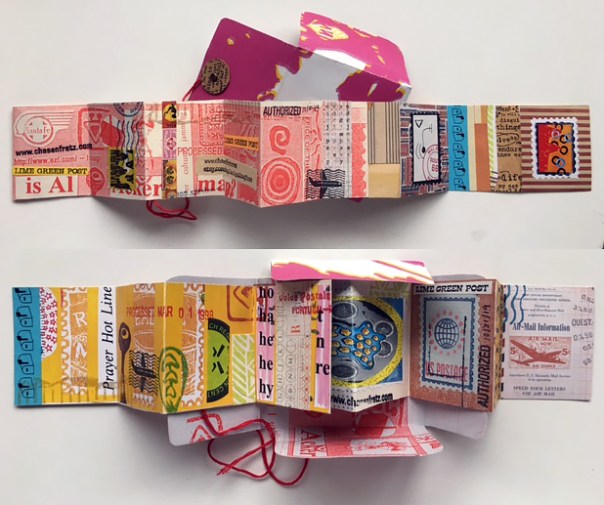
Here are some examples of tags I decorated last year, a couple that people sent in to me, and a few images that resulted.


WHY: We mostly like to do this because it’s a lot of fun, and it makes us laugh! You should have seen my MIL’s reaction when she saw the orange picture of Tom! “What have you done to my son!!!” We could do this without any participation from others, but we appreciate it whenever anyone wants to join in. It’s an extra creative challenge to use something someone else sent in, and it’s a way to connect with people who are sometimes separated by distance or who I don’t even know in “real life”.

Why do people paint rocks and leave them for others to find? Why do Jeep owners put rubber ducks on random other Jeeps? Why did I put a banana peel on my head earlier this year and have my picture taken with it on? Why did people in Toronto make a memorial display for a dead raccoon and share it on social media? Group activities and performance art projects are a satisfying activity for some reason, for quite a few people. I will probably write more later about the psychological reasons why that is the case.
Earlier this year I started a SWOT analysis of #12daysoftomsbeard to try to use some of what I learned in marketing class to try to increase participation this year. I didn’t finish the analysis yet, but I will keep adding onto it in the future as I finish sections. Here it is if you want to read what I have written so far – SWOT Analysis of #12daysoftomsbeard.
HOW – One idea I want to try for increasing participation is to provide some more specific instructions. The wording on the invitations reads: “To play, color, glue, punch, stamp or otherwise decorate this tag.” For some people, that will be enough guidance, others might feel comfortable with something more specific.
I am going to suggest techniques to try, and post examples here on this page. Watch this space as I add them! Since I like to use mixed media a lot, it will be a challenge for me to use just one technique at a time, so maybe I’ll try that. Enjoy!


?????????? – What other techniques could be used?

To participate, print out one or more of these sheets. Color or decorate the beard pieces with the designs and materials of your choice. Mail the pieces to Tom and I. Then check the hashtag #12daysoftomsbeard on Instagram between December 25 and January 6 each year to see what happens!
For more inspiration
Here is a link to a slideshow of images from the web page of IUOMA – The International Union of Mail Artists. I’ve been uploading the beard pictures to this gallery as I go. Intermixed are images that other people are uploading of conceptual art that they are both sending and receiving. This slide show changes daily as new images get added and older ones drop off. It might give you some ideas! Sometimes I put this slideshow on the screen while I’m working for extra inspiration!